Running the Admin Console
Setting up Fabric App
User Store Setup
You need to set up a few users to gain access to the Admin Console. Follow these steps to set up the user store:
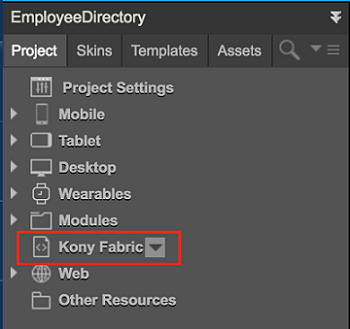
- In the Visualizer project explorer, select Kony Fabric.
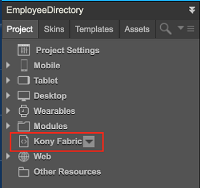
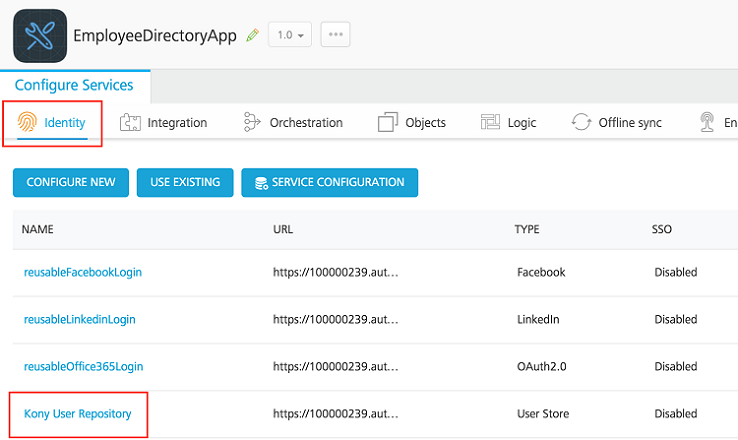
The Kony Fabric Console screen appears with the Events App page. The Configure Services tab is selected by default. - Click the Identity tab.
- Select Kony User Repository.

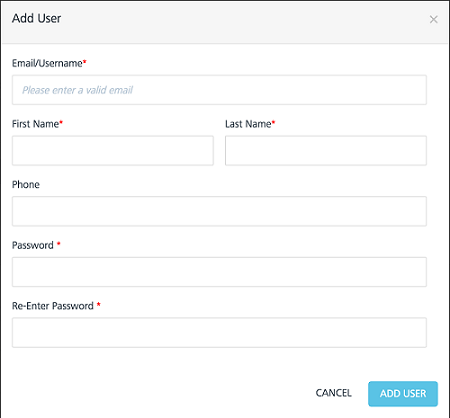
- Click ADD USER. Provide the user details in the Add User dialog that appears. You must use these user credentials for signing in to the client app.

Box account setup
For using the Image Gallery component, you need to have a box account (as mentioned in the Prerequisites). In your box account, you need to create a JWT Application. This requires you to sign in to the box developer console. Once the app is created, you need to configure the app and download the generated config.json file.
Please follow the steps mentioned in the Box Documentation to create and configure your JWT Application at Box.
Once you download the config.json file, copy its content. You will use it later to create the appropriate JAR file for Box integration.
Download the java project from the Kony Dev GitHub. You can use this java program and the config.json file to configure the Box Account.
Open the program in Eclipse and follow the given steps:
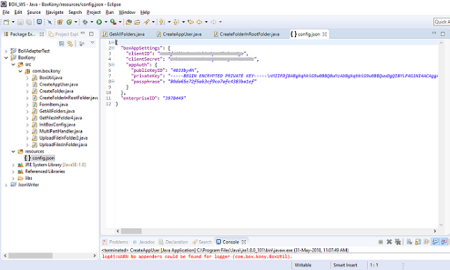
- In the java project you downloaded from Git, locate the config.json file. Replace the content of this file with the content of the file you downloaded from Box account.
- Open CreateAppUser.java file and provide a preferable user name against the variable appUserName and execute the main method (Right-click on the editor pad and go to Run as -> Java Application).
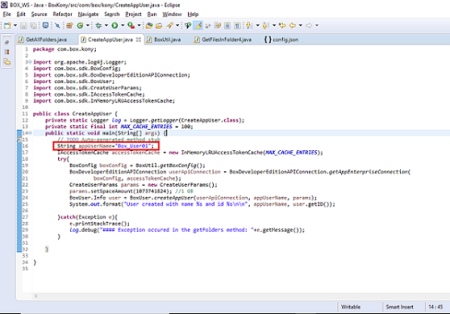
- Created app user will be assigned to the user variable and the user ID can be accessed by the
user.getID()method.


- Open CreateAppUser.java file and provide the app User Name created in the previous step against the variable app User ID.
- Provide the parent folder ID(this defaults to 0, which means it is the root folder in this case).
- Provide a preferable folder name to the variable folder Name and execute the main method (Right-click on the editor pad and go to Run as -> Java Application).
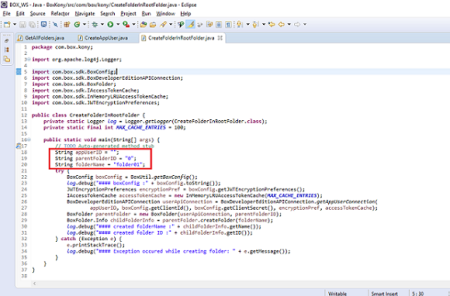
- The newly created folder info will be available in the childFolderInfo variable and you can access the child folder ID using the
getID()method.

Once you complete the configuration steps, you can create a JAR file from the java program. You need to upload this JAR file in the Kony Fabric app to link the Box account methods
- In the project explorer in Eclipse, right-click BoxKony and select Export.
- In the export wizard, select JAR file from the Java drop-down and click Next.
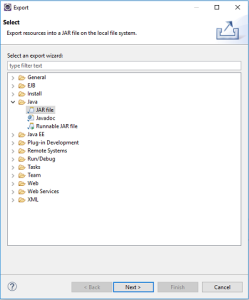
- In the next screen, deselect the parameters as shown in the following screenshot.

- Provide alocation on your machine to save the JAR file and click Finish.


Now that you downloaded the refreshed JAR file, let us move back to Visualizer and upload the JAR file to Kony Fabric.
- In the Visualizer project explorer, select Kony Fabric.
- Move to Integration tab and select the service named BoxService.
- In the next screen that appears, delete the existing JAR and upload the one you created in the previous steps.
- Save the service by clicking on the Save button at the bottom right corner.
Google account setup
The Events app makes use of Google’s Map API to provide the location of the event on a map widget. The map widget requires a map key to be set up in the visualizer settings in order to view the map in an app. Follow these steps to setup a Google account:
If you have already setup the API Key details for the mobile app, you can skip this step and directly move to Setting up the Key in the Project.
You must create a google developer account at Google Developer Console to use the map services for the app.
- Create a project in your developer account and give it a name.
- Once the app is created, move to the APIs tab and enable Geocoding API and Maps Embed API for your project.
- Click on any of the APIs.
- Click the credentials tab.
- Create an API Key for your project. You can use this API key in the following steps.
Once the key is generated from the google dev portal, it has to be set in the appropriate service in Kony Fabric.
- In the Visualizer project explorer, select Kony Fabric.
- On the Kony Fabric console page, click Integration.
- Select the service getLatLang and then move to the getBounds operation in the service.
- Now paste the API Key generated from the Google account against the Default Value under googlePlaceAPIKey.
Building Visualizer App
Once you complete all the set up, you need to build the app to render the desktop web app on a browser.
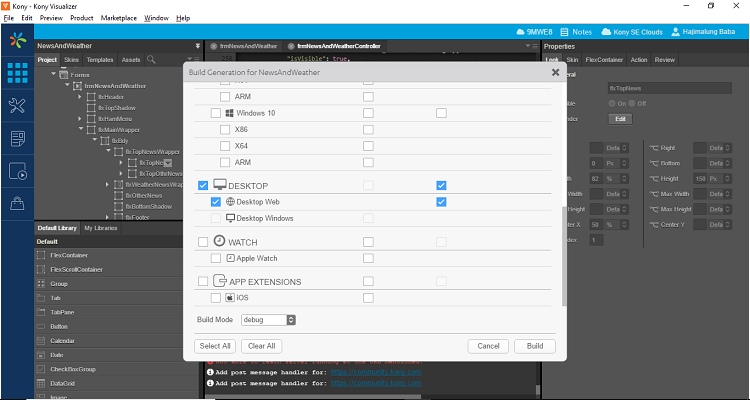
- Click Product->Build. The following screen appears.

- Select the Desktop Web channel and click build.
- Once the build is done, the Information dialog appears as shown in the screenshot. Also, a page with the layout of the desktop web app is shown in a browser, but will not have any functionality (only UI).
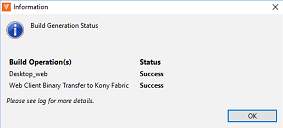
- Click OK to dismiss the dialog.

Publishing the Visualizer App
Once the app is built, you need to publish the app to Kony Fabric.
- On the File menu, select the Publish to Kony Fabric.
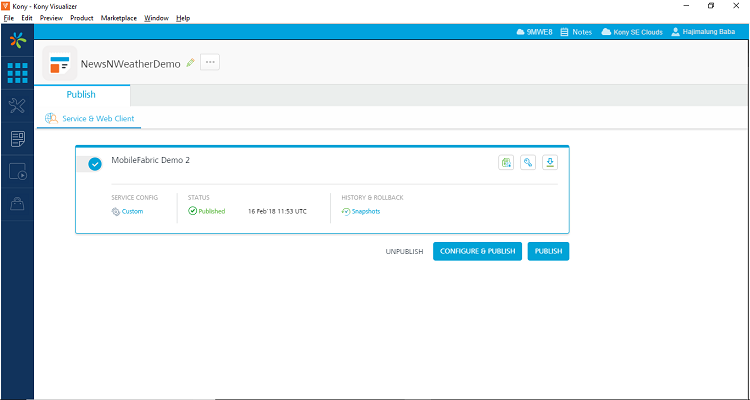
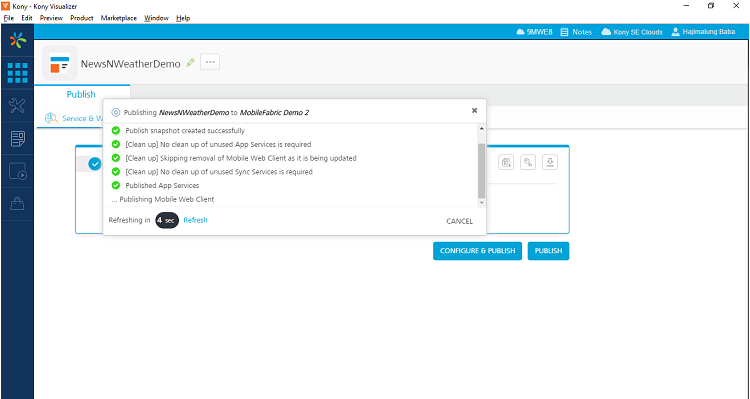
- Kony Fabric console will opens inside the context of Visualizer tool as shown in the screenshot:

- Select an environment and click Publish button at the bottom right corner. Once you click on the same, you can see the publish in progress. The publish process may take some time.

- Once the publish is done, the following screen appears.You can use the Web Application URL shown in the following image to run your application on a browser.


- You need to wait for 5-7 minutes after you publish the app on Kony Fabric. The server takes some time to deploy the new WAR that contains the desktop version of the app.
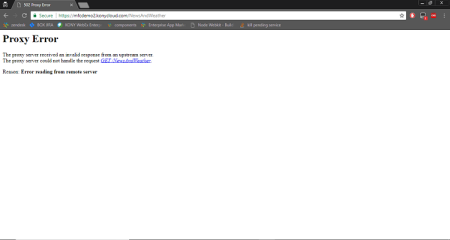
- In case, you open the link before the app is ready, the page shows a Proxy Error message.