
SCEP Server Setup on Windows Server 2008
This section covers the basics of setting up a SCEP server.
To setup SCEP server, follow these steps:
Note: Note that you can also setup SCEP Server on Windows Server 2012.
- Click the Server Manager icon on the task bar.
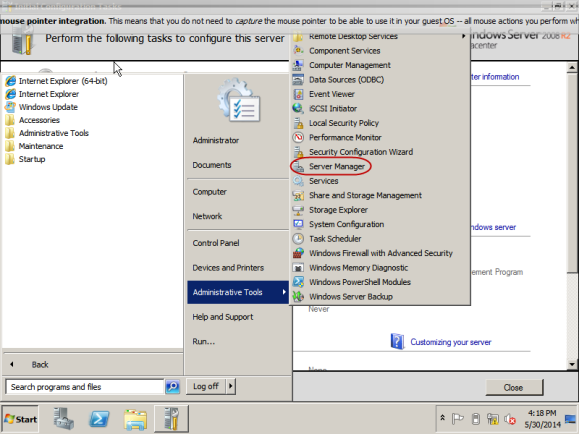
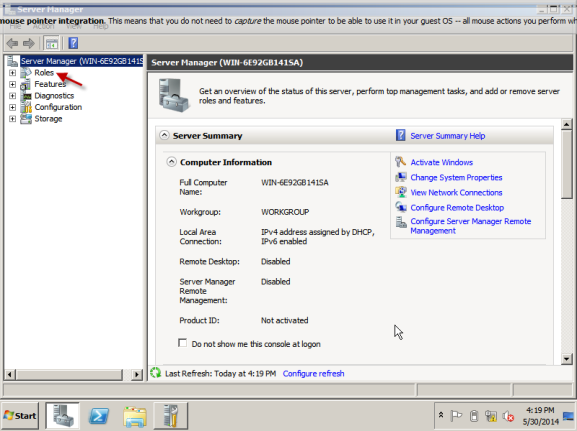
The Server Manager window appears.
- On the left panel, click Roles. The Roles window appears in the right panel.
Important: If Active Directory Certificate Services is already installed, you can skip steps until Step no. 23
- Click the Server Summary label.
The Roles Summary menu appears.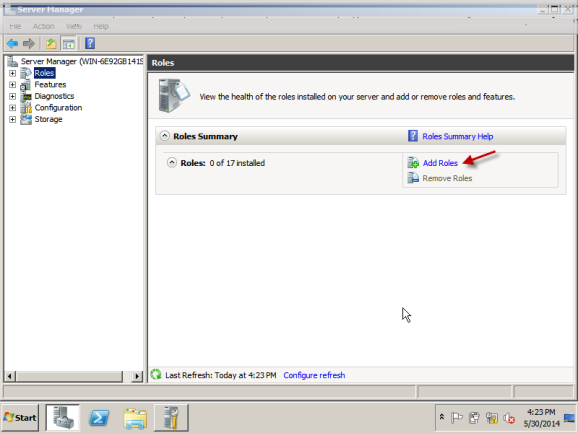
- Under Role Summary, click Add Roles. The Add Roles Wizard appears.
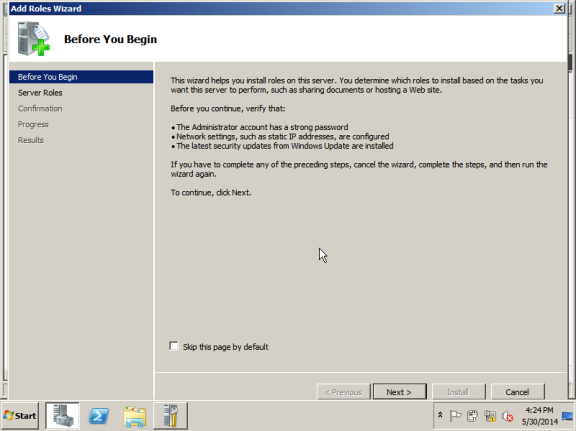
- Click Next to continue.
The Select Sever Roles window appears. - Select the Active Directory Certificate Services checkbox, and click Next.
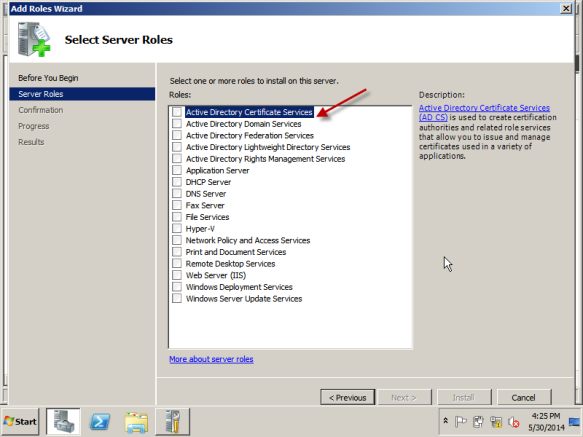
Following links are available on the Select Server Roles window:
- More about server roles: Click this link to open the Adding Server Roles and Features window that informs about how to manage and secure multiple server roles in an enterprise with the Server Manager console.
- Active Directory Certificate Services (AD CS): Click this link to open Active Directory Services Overview window that informs about how to deploy AD CS.
The Introduction to Active Directory Certificate Services window appears.
- Select the Active Directory Certificate Services checkbox, and click Next.
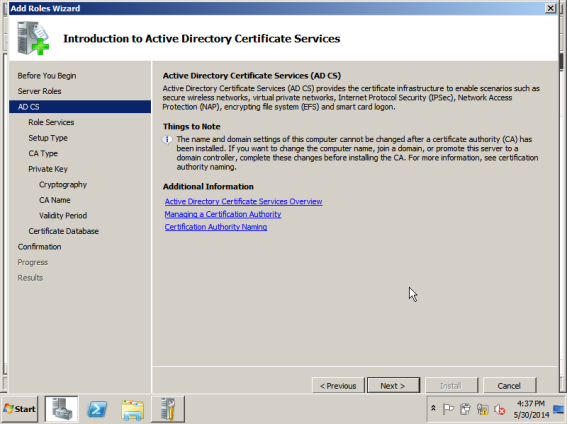
Following links are available on the Introduction to Active Directory Services window:
- Active Directory Certificate Services Overview: Click this link to open Active Directory Certificate Services Overview help window that informs about how to set up Active Directory Certificate Services.
- Managing a Certificate Authority: Click this link to open Managing a Certificate Authority help window that informs about two broad categories of tasks: infrequent management tasks and the recurring management tasks.
- Certificate Authority Naming: Click this link to open Certification Authority Naming help window that informs about how to establish a CA naming convention before you configure certification authority (CAs)
- Click Next.
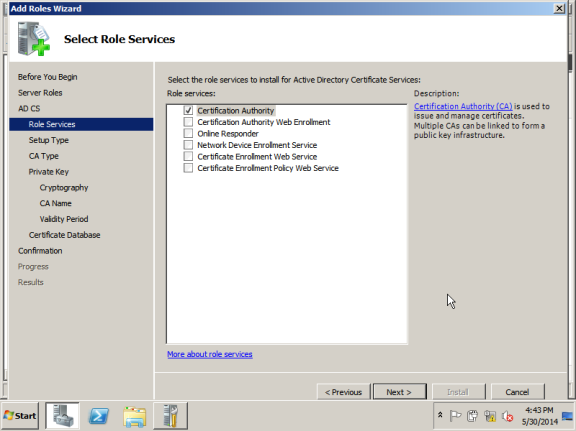
The Select Roles Services window appears
- Click Certificate Authority checkbox if it is not selected.
- Click Next.
-
Following links are available on the Select Role Services window:
- Certification Authority (CA): Click this link to open the Types of Certification Authorities window that informs about the types of certification authorities.
- More about role services: Click this link to open the Roles, Role Services, and Features window that informs about what roles, role services and features are, and how they are integrated in your enterprise.
The Specify Setup Type window appears.
- By default the Standalone option is selected. Click Next to continue.
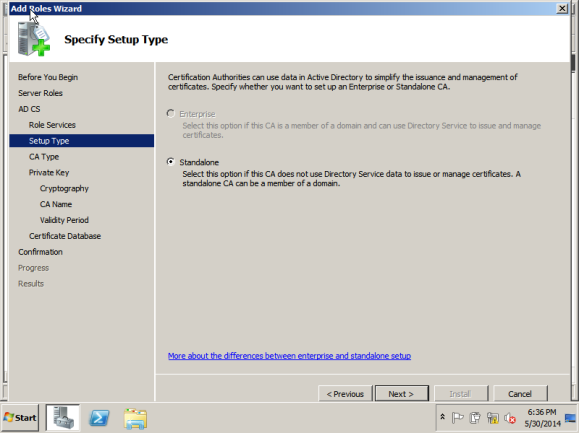
Following links are available on the Specify Setup Type window:
- More about the difference between enterprise and standalone setup: Click this link to open the Types of Certification Authorities window that informs about the types of the certification authorities.
The Specify CA Type window appears.
- More about the difference between enterprise and standalone setup: Click this link to open the Types of Certification Authorities window that informs about the types of the certification authorities.
- By default the Root CA option is selected. Click Next to continue.
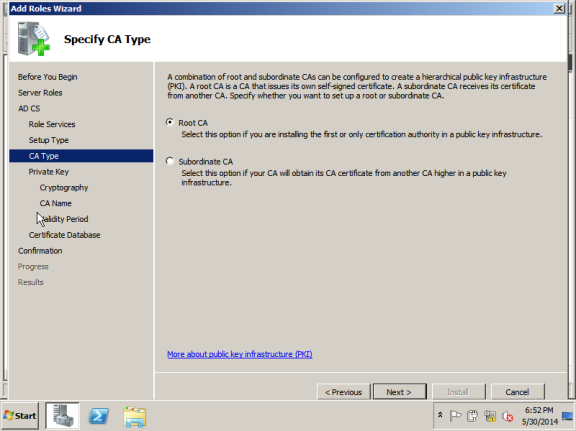
Following links are available on the Specify CA Type window:
- More about public key infrastructure (PKT): Click this link to open the Public Key Infrastructure window that informs about the use of digital certificates, certificate authorities and registration authorities that verify and authenticate the validity of each entity that is involved in an electronic transaction that involves the use of public key cryptography.
The Setup Private Key window appears.
- By default the Create a new private key option is selected. Click Next to continue.
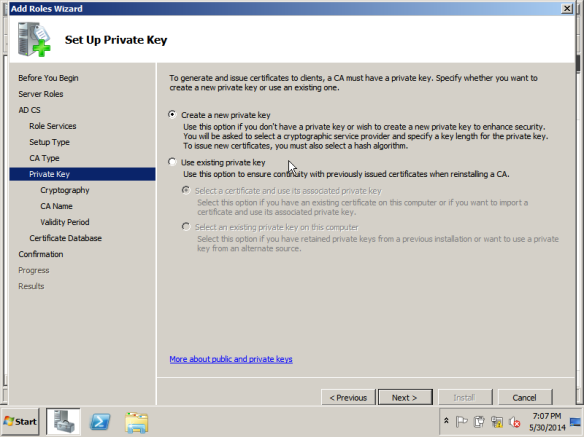
Following links are available on the Setup Private Key window:
- More about public and private key: Click this link to open the Public and Private Keys window that informs about how to encrypt and decrypt the information.
The Configure Cryptography for CA window appears.
- Ensure Key character length value is 2048 This is used to define -DSCEP_KEY_SIZE while configuring SCEP settings in EMM Server. refer section 5.1.4
- Click Next to continue.

Following links are available on the Configure Cryptography for CA window:
- Cryptographic service provider, hash algorithm: Click this link to open the Cryptographic Service Providers help window that informs about cryptographic service providers.
- More about cryptographic options for CA: Click this link to open the Cryptographic Options for CAs window that informs about how to implement the cryptographic options.
The Configure CA Name window appears.
- Copy text from the Common name for this CA field. This is used to define –DSCEP_COMMON_NAME, -DSCEP_CA_DOMAIN and –DSCEP_CA_INSTANCE_NAME, while configuring SCEP settings in EMM server. For more details, refer section 5.1.4
- Click Next to continue.
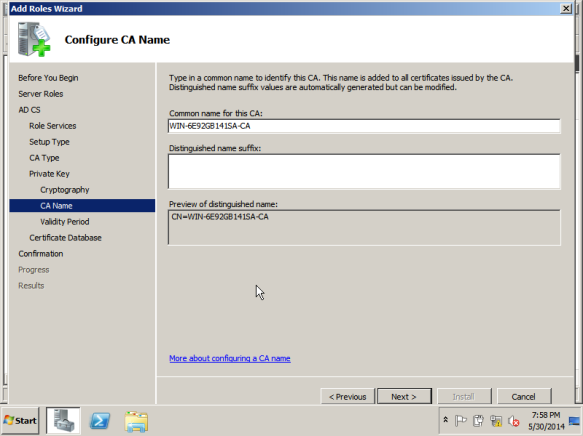
Following links are available on the Configure CA Name window:
- More about configuring a CA Name: Click this link to open the Certification Authority Naming help window that informs about how to create a name.
The Set Validity Period window appears.
- More about configuring a CA Name: Click this link to open the Certification Authority Naming help window that informs about how to create a name.
- Click Next to continue.
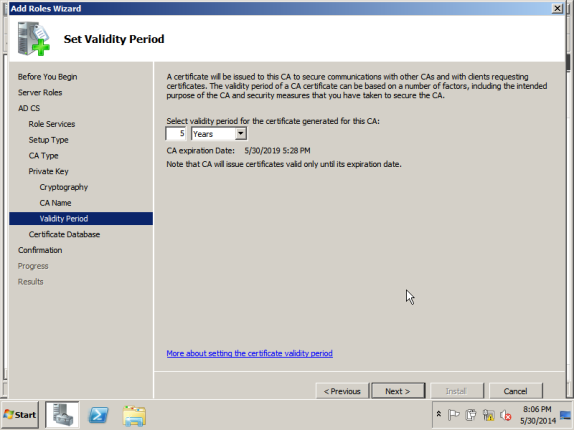
Following links are available on the Setup Validity Period window:
- More about setting the certificate validity period: Click this link to open the Certificate Validity Periods help window that informs about how to renew a certificate issued from a Windows based enterprise certification authority (CA).
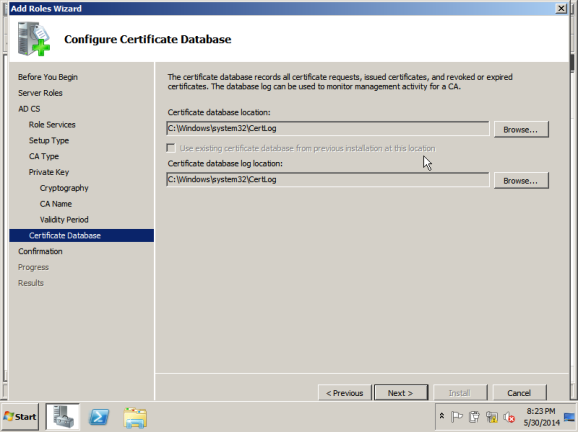
The Configure Certificate Database window appears.
- Click Next to continue.
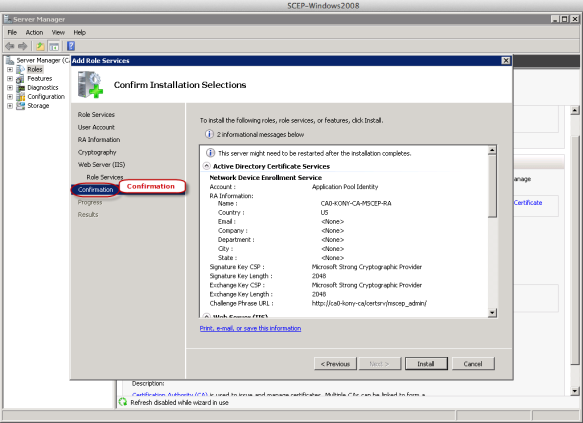
The Confirm Installation Selections window appears.
- Click Install.
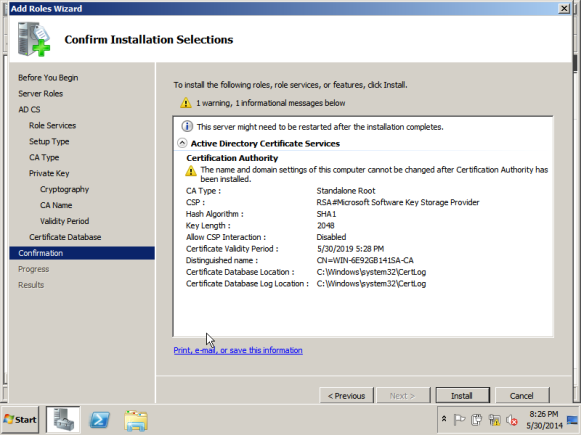
Following links are available on the Confirm Installation Selections window:
- Print, e-mail, or save the information: Click this link to open the C:\\Windows\Logs\ServerManagerInstallationLog.html
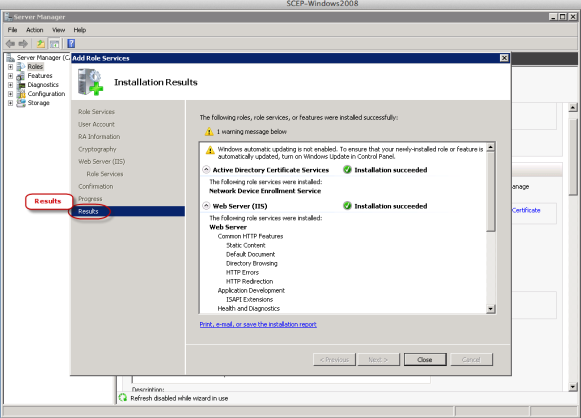
The Installation Results window appears with the confirmation message, stating that following roles, role services, or features are installed successfully.
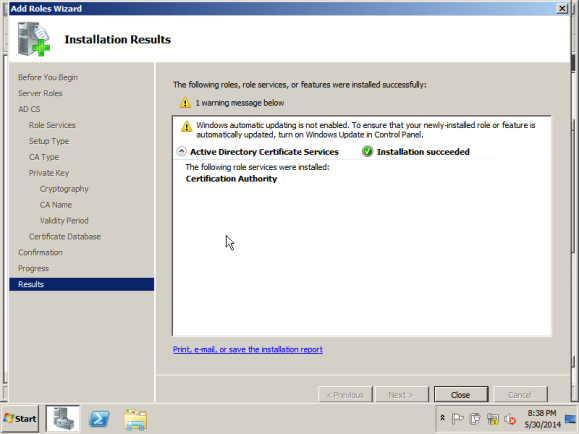
- Click Close.
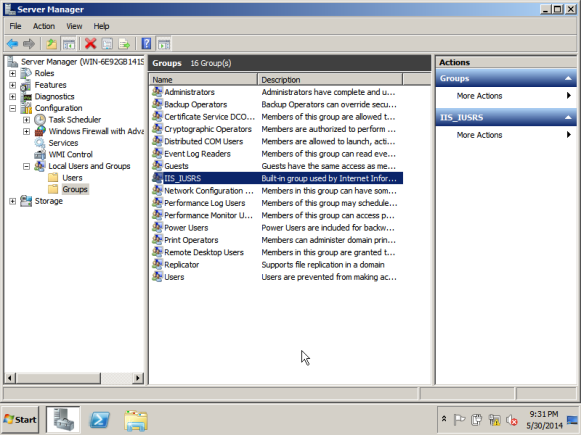
- Click Server Manager > Configuration > Groups.
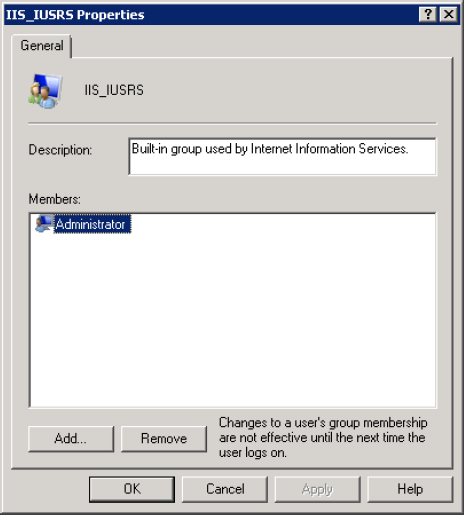
- The Groups section appears in the right panel. Add the administrator user to IIS_IUSRS group.
-
The following image shows that the administrator is added to IIS_IUSRS group.
-
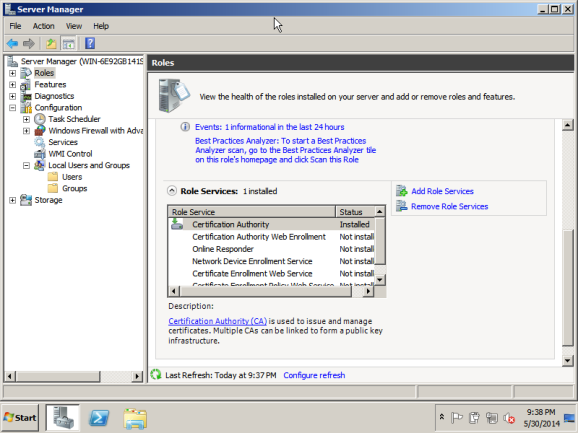
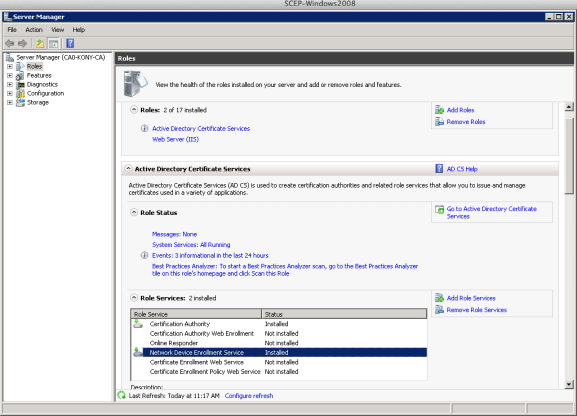
On the left panel, click Roles.
The Roles window appears in the right panel.
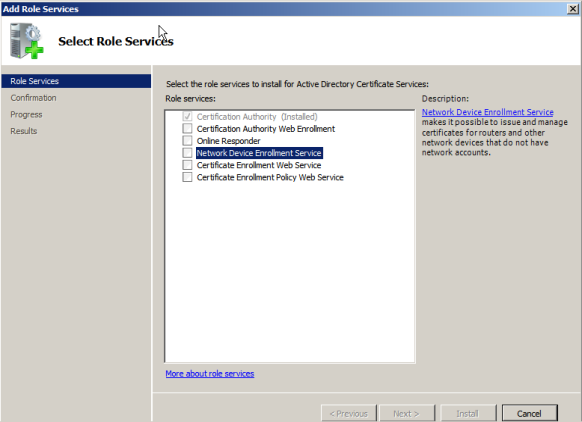
- Click the Add Role Services button.
- Select Network Device Enrollment Service checkbox. Click Next.
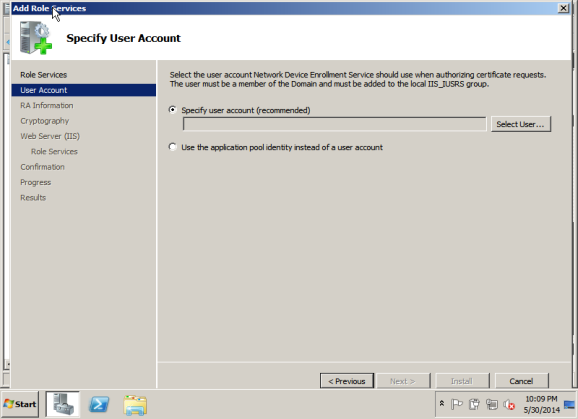
- Select the Specify user account (recommended) option and select user account as Administrator. Provide the User Name and Password . This User Name -DSCEP_CA_USERNAMEand the Password -DSCEP_CA_PASSWORD is used to configure SCEP details in EMM Server.For more details, refer section 5.1.4
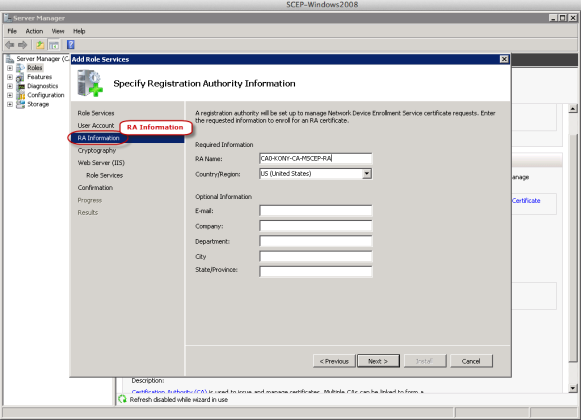
- Click Next to continue. The RA Information tab becomes active.
- Accept the default values for the RA Name and Country/Region fields. Click Next to continue.The Cryptography tab becomes active.
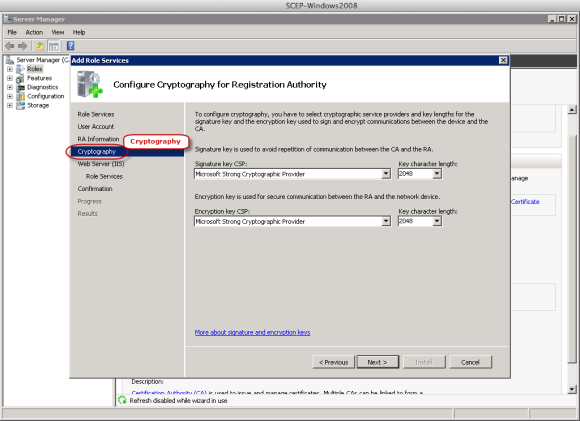
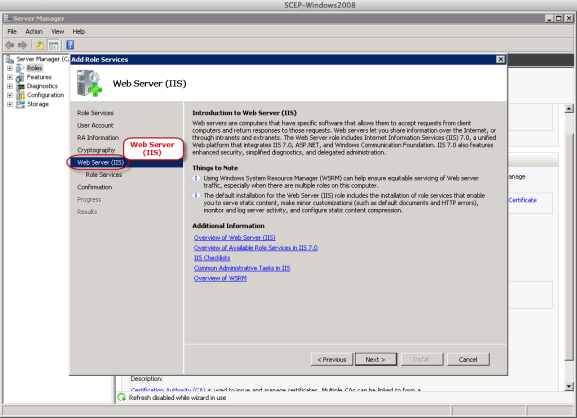
- Accept the default values for Signature Key CSP and Encryption Key CSP fields, and then click Next to continue. The Web Server (IIS) tab becomes active.
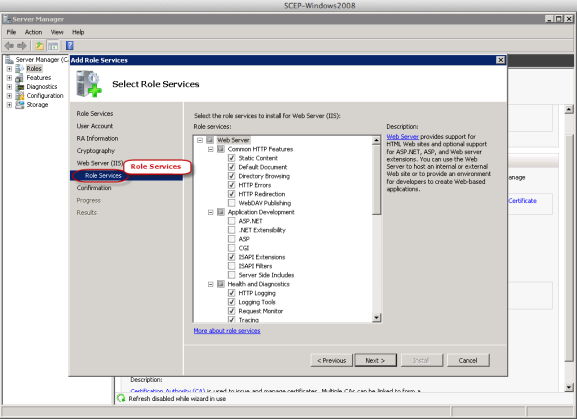
- Click Next to continue.The Role Services tab becomes active.
- Accept the default values and then click Next to continue.The Confirmation tab becomes active.
- Accept the default values and then click Next to continue.
- Click the Install button to continue.
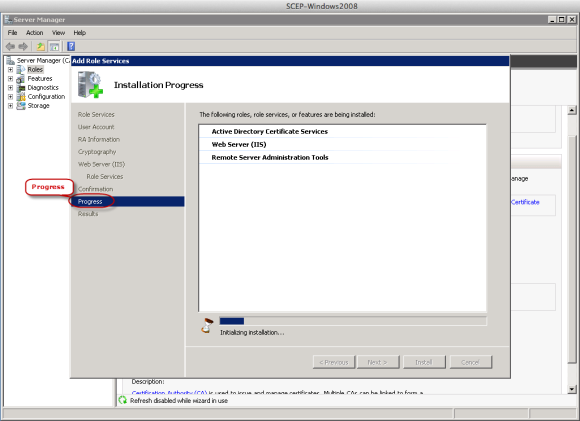
The above window shows the installation in progress. After the installation is complete, the Results window appears.
- Verify the Active Directory services, and check if it is successful for the Active Directory Certificate Services and Network Device Enrollment Service. Click Close to continue.
- Click the Server Manager icon on the task bar. On the left panel, click Roles. The Roles window appears.
- Under Role summary, click Add Role Services.
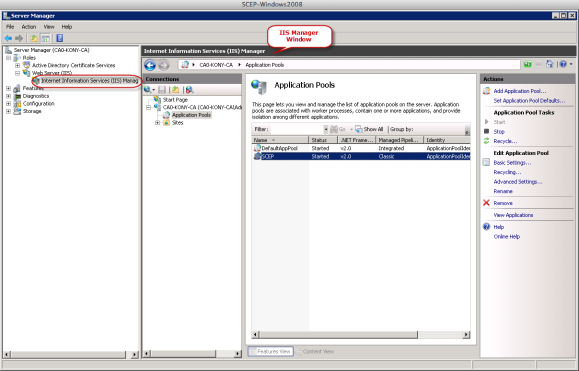
- Open Server Manager and expand Roles. From Web Server, select Internet Information Services (IIS) Manager.
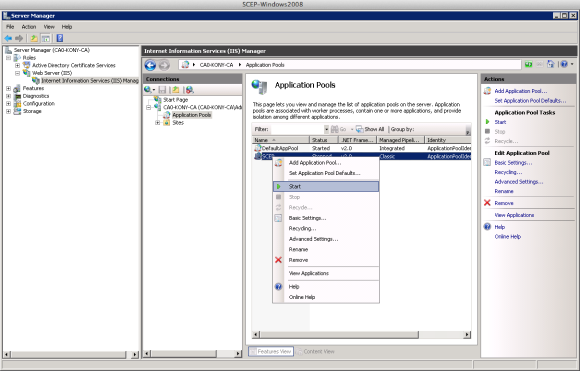
- In the IIS Manager window, select Application Pools. Click Application Pools and select SCEP from the Application Pools window.
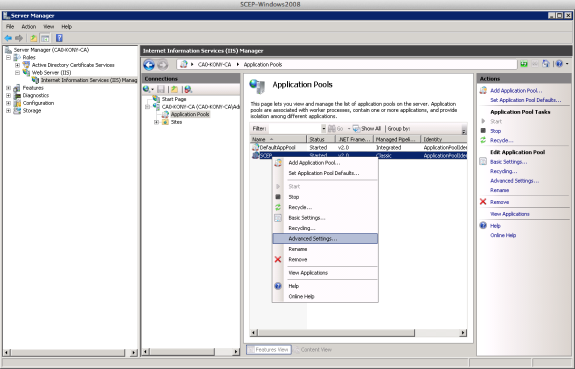
- Right-click the SCEP application and click Advanced Settings.
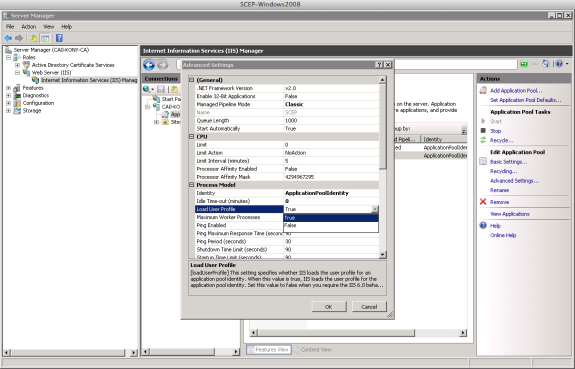
- From the Advance Settings window, double-click Load User Profile to change the property from false to true. Click OK to continue.
- Right-click the SCEP Application pool, and click Stop.
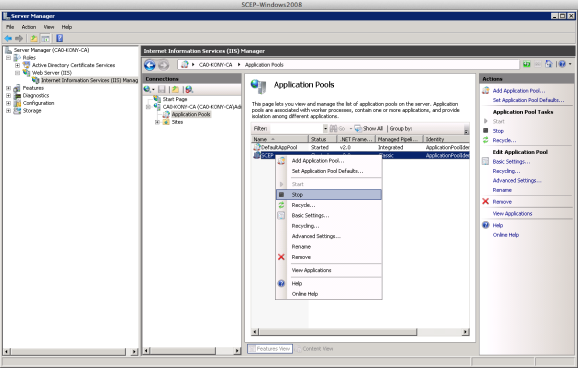
- Right-click Application Pool and click Start.
- Open Windows Registry with the command
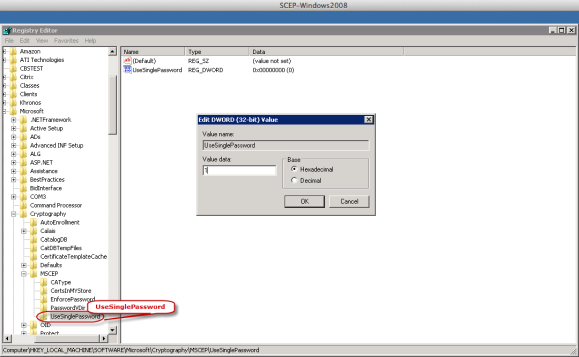
regedit - Navigate to the location HKEY_LOCAL_MACHINE\Software\Microsoft\Cryptography\MSCEP
- Create a new registry key UseSinglePassword.
- In the UseSinglePassword key, create a DWORD key UseSinglePassword and set its value to 0.
- Create a new registry key PasswordMax.
- In the PasswordMax key, create a DWORD key PasswordMax and set its value based on your environment.
Note: Recommended value is 50% of your total ios devices.
- Click UseSinglePassword folder.
Edit DWORD (32-bit) Value window appears.
- Find the registry key value as UseSinglePassword and modify Value data as 1. Click OK to continue.
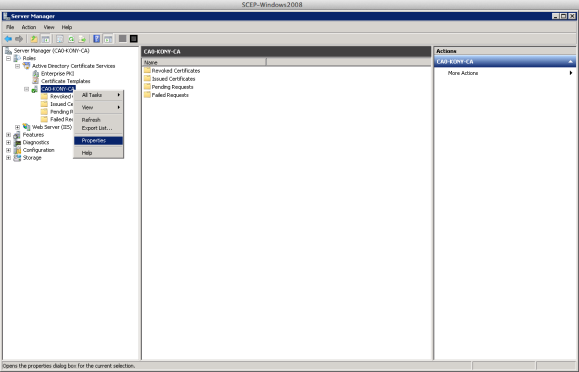
- From the Server Manager, navigate to CA0-KONY-CA section. Right-click to go to properties.
- Under the Security tab, select Administrator and allow all the permissions displayed in the image above. Accept the default values and click Apply. Click OK to continue.

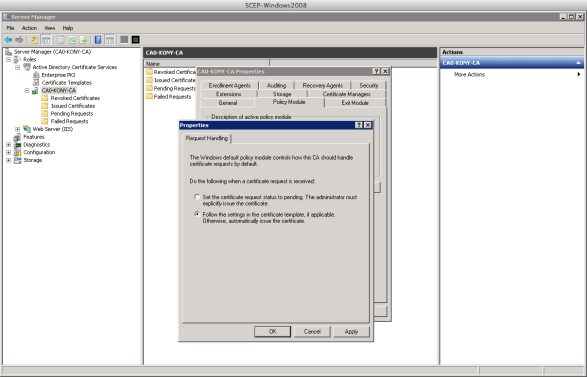
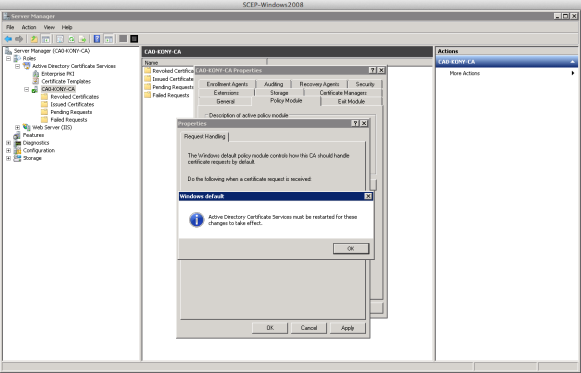
- Navigate to the Policy Module tab, and then click Properties.

- Select Request Handling property as "Follow the settings in the certificate template, if applicable Otherwise, automatically issue the certificate"
- Click the Apply button and then OK to continue.
- Accept the message, and click OK to continue.
- Go to Server Manager and select Active Directory Certificate Services (ADCS).
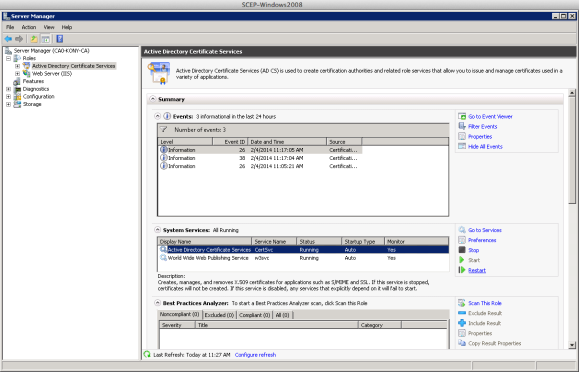
- Click the Restart button to restart this service.
| Copyright © 2018 Kony, Inc. All rights reserved. |