
Creating the Apple Application Manager (Launchpad app) Push Certificate
To create Apple Application Manager (Launchpad app) Push Certificate, follow these steps:
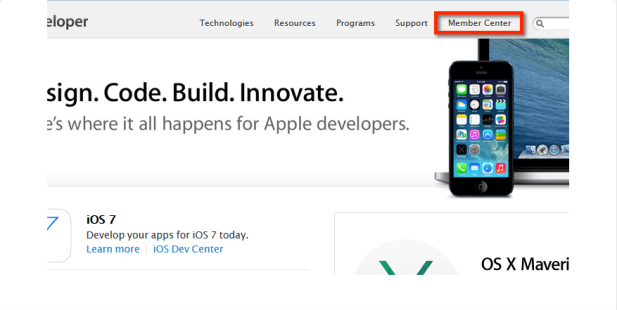
- In a browser, go to https://developer.apple.com and click Member Center. Apple Developer Home page appears.
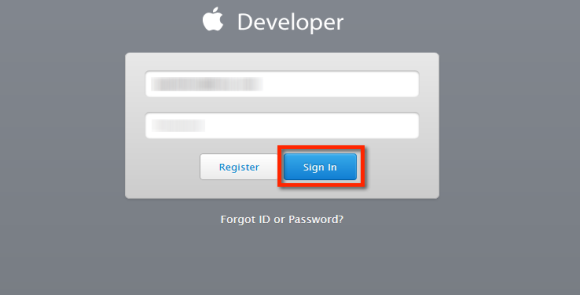
- Enter your Apple Developer Enterprise Program credentials and click Sign in. Developer Program Resources page appears.
-
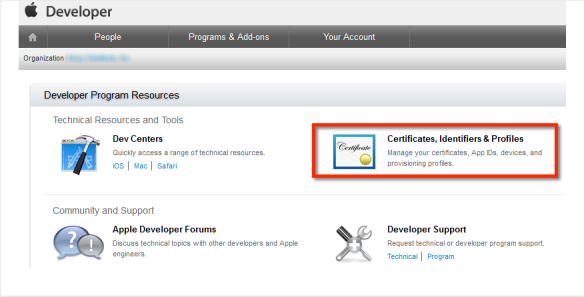
Click the Certificates, Identifiers & Profiles icon.
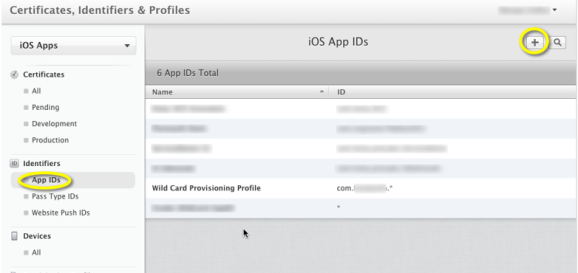
- Click Identifiers
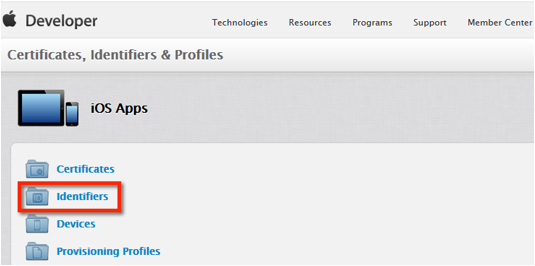
- Click App IDs in the left column, then click the + symbol to create a new App ID.
- Choose the option Explicit App ID and provide an App ID description (Launchpad is recommended).

- Provide the Bundle ID:
com.companyname.containerapp(Note that the com. as the first segment and the .containerapp as the third segment are required. Companyname in the middle segment must match the middle segment choice of the Wild Card App ID chosen in a previous step. A different companyname entry between the IDs here will cause a Bundle ID Mismatch error later)
- Review details and choose Submit.
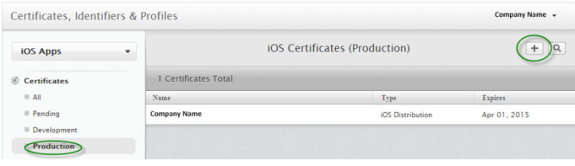
- In the Certificates section, click on Production, then click the + symbol to add a new certificate. The Production page appears.
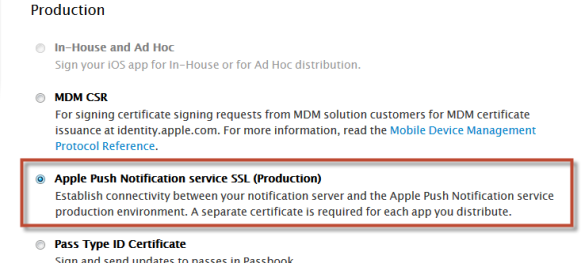
- Choose the Apple Push Notification service SSL (Production) option.
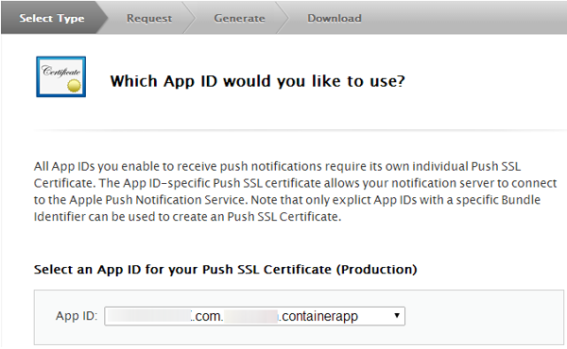
- Choose the App ID created previously (the ID ends with .containerapp) from the drop-down list and click Continue.
-
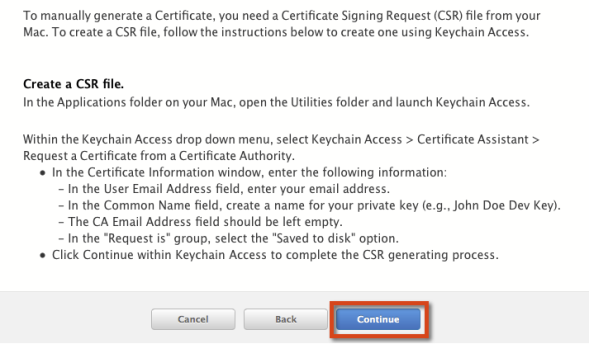
Follow the displayed instructions to generate a CSR file and click Continue.
-
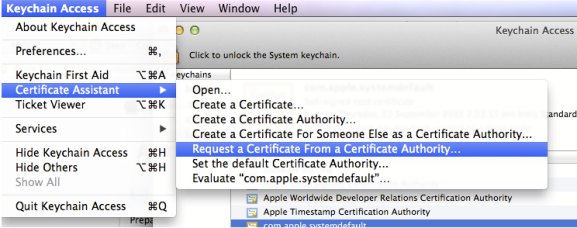
In the Keychain Access application on your Mac, under the Certificate Assistant menu, choose the Request a Certificate From a Certificate Authority option.
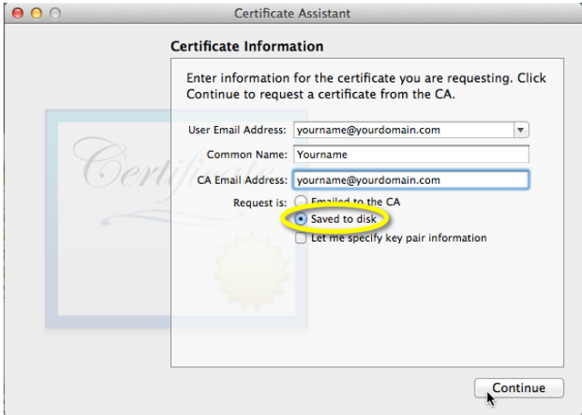
- Enter details for the following fields, choose Saved to disk, and click Continue:
-
Save the Certificate Signing Request (CSR) to your local machine.
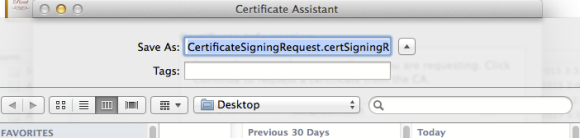
- Click Done. You have now generated your CSR.

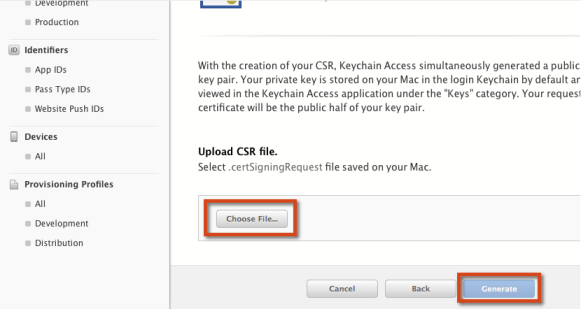
- Back in your developer.apple.com site, click the Choose File button and upload your CSR file, and then click the Generate button.
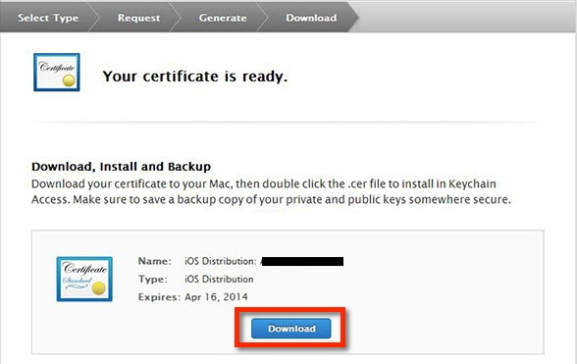
- Click the Download button to download the Certificate you have just generated.
- To verify that push is enabled, navigate to Identifiers > App IDs.
- Select the certificate you created. Push Notifications will be enabled. You should see details as below.

- Import the downloaded .
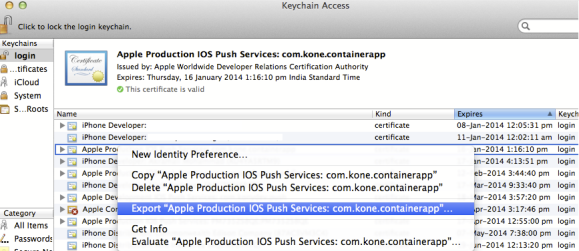
cerfile to the local Keychain by double-clicking it. - In the Keychain Access application on your Mac, select the Push certificate downloaded (it will be listed as Apple Production iOS Push Services: com.companyname.containerapp), right-click it, and then select Export.
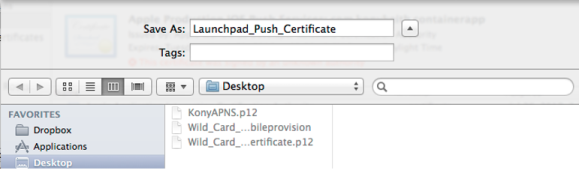
- Save the exported certificate in a secure location. It is recommended to name this file Launchpad_Push_Certificate
- You will be required to provide a certificate password. Make a note of this password for future use with this certificate.

- Your Apple Application Manager (Launchpad app) Push Certificate is now complete. Store this file in a safe place to be used during your Management Cloud initial configuration.
You can now delete the CSR file saved locally, the aps_production.cer file saved locally, and the imported entry from your keychain.
Recreate Apple Application Manager (Launchpad app) Push Certificate
You cannot renew a certificate. You can only create a new certificate with the old certificate details. To recreate an Apple Application Manager Push Certificate,
- Go to your Apple developer member center in an internet browser.
- In the Certificates, Identifiers & Profiles section, select Certificates.
- Under the certificates section, select Production. All existing certificates appear.
- Select the Certificate you want to recreate. If the certificate has expired, the Revoke button will be active.
- Click Revoke. The certificate will be revoked.
- Once the certificate is revoked, create a new certificate with the details of the old expired certificate as explained in the previous section.
| Copyright © 2017 Kony, Inc. All rights reserved. |