
Creating the Apple Application Manager (Launchpad app) Provisioning Profile
To create Apple Application Manager (Launchpad app) Provisioning Profile, follow these steps:
- In a browser, go to https://developer.apple.com in a web browser and click Member Center.
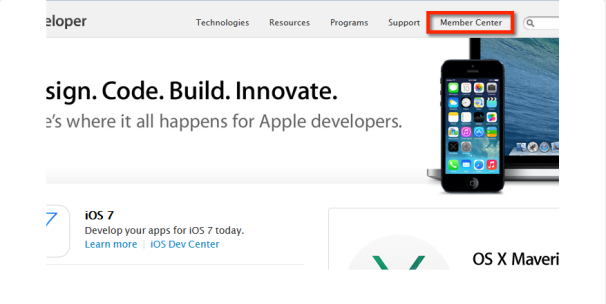
-
Enter your Apple Developer Enterprise Program credentials and click Sign in.

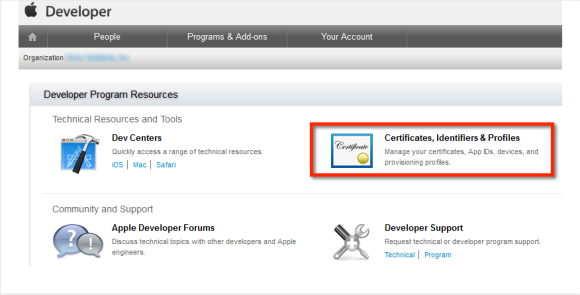
Apple Developer Home page appears.
- Click the Certificates, Identifiers & Profiles icon.
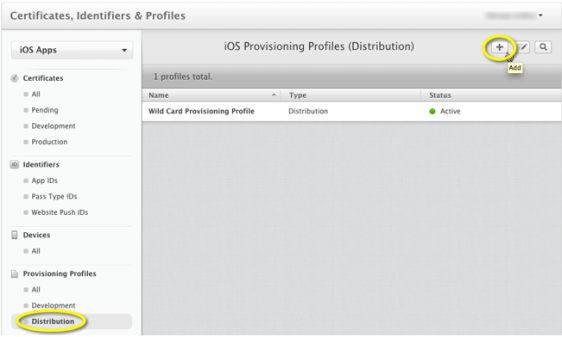
- Click on Distribution under the Provisioning Profiles menu, then click the + symbol to create a Distribution Provisioning Profile.
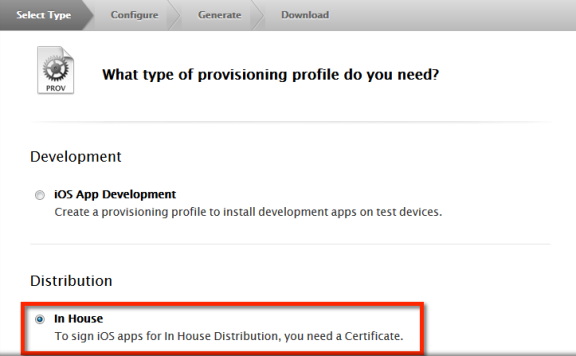
- Choose the In House option under the Distribution heading.
-
Select the App ID ending with
.containerappfrom the drop-down list and click Continue.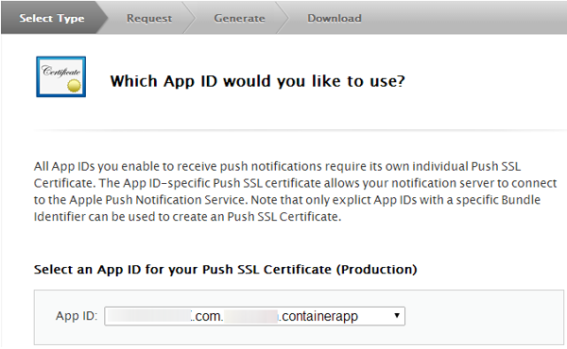
-
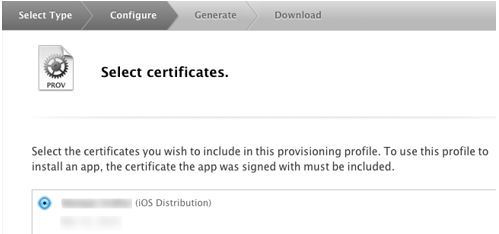
Choose the iOS Distribution certificate from the list to include in this provisioning profile and then choose Continue. If there are two in this list, make note of the expiration date to ensure you choose the same certificate when you create another Provisioning Profile in a later step.
-
Enter the Profile Name (Launchpad Provisioning Profile is the recommended Profile Name), then click the Generate button.

- Click the Download button to download the Application Manager Provisioning Profile.
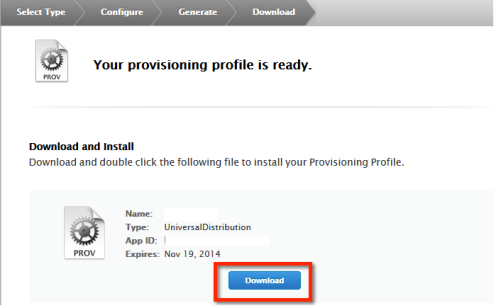
- Your Apple Wild Card Provisioning Profile now complete. Store this file in a safe place to be used during your Management Cloud initial configuration.
Recreate Apple Application Manager Provisioning Profile
You cannot renew a provisioning profile. You can renew an expired provisioning profile by editing and re-generating it. To recreate a provisioning profile,
- Go to your Apple developer member center in an internet browser.
- In the Certificates, Identifiers & Profiles section, select Provisioning Profiles.
- Under the Provisioning Profiles, select All, Development or Distribution. All existing provisioning profiles appear.
- Select the provisioning profile you want to modify and click Edit. The Edit Provisioning Profile page appears.
-
Select the app id (com.CompanyName.*) and the certificate the provisioning profile corresponds to, and click Generate. The Add iOS Provisioning Profile page appears.
- Click Download. The provisioning profile will be downloaded.
| Copyright © 2017 Kony, Inc. All rights reserved. |