
iOS Device initiated Enrollment
The entire process is driven on the device and the user need not leave the Enterprise Store. If
The generic process to
Note: In EMM 2.5 onwards, while
Note: For iOS devices, enterprise store on a deactivated device from a previous enrollment, a user can enroll the device through enterprise store.
Authentication
- To download the enterprise store from the Kony Enterprise App Store, the user must provide the following credentials:
- Company Name (optional)
- User name
- Password
You can download an Enterprise store through two ways of authentication:
- Using Kony Management suite user login credentials
- Using Kony Fabric Identity Service OAuth 2.0 user login credentials
Important: Ensure that pop-ups are enabled in your web browsers. If pop-ups are not enabled, you may not see the log in page.
Server Side Authentication and Verification
- The details provided by the User are authenticated.
- The EMM Server ensures that the device is not
Terms Acceptance
- Once the authentication and verification is successful, the Terms and Conditions (T&C) are shown to the user.
- The User must accept the terms specified. If the User does not accept the Terms, the
Download and Install Profile
User should download the EMM Profile and install the same to complete the process. You need to enable Cookies while downloading Kony EMM enterprise store.
- The User is requested to affirm any prompts by the application.
- Once, the installation is complete, System displays the confirmation message that device is successfully enrolled with Kony EMM. This marks the completion of enrollment of the device.
Important: If MDM profile is already installed, but device enrollment does not happen, then delete the MDM profile and try to enroll the device again. If you experience difficulties in removing MDM profiles, then restart the device, go to Airplane mode, and then remove the profile.
To perform iOS Device initiated
- Enter application URL in the device based browser.
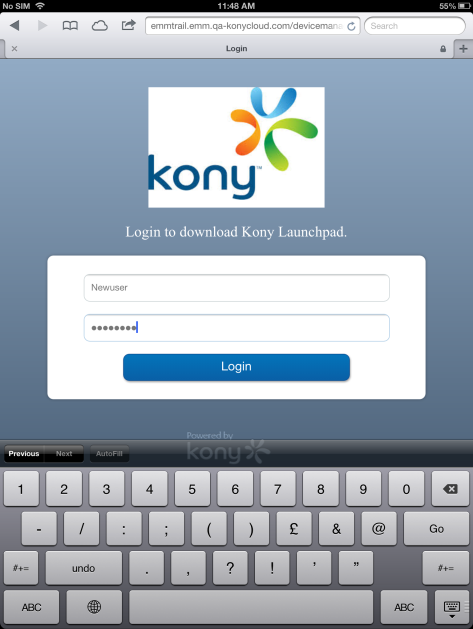
The Log-in page appears.
If JavaScript is turned off, the app logo image is not visible in the container download page in Safari browser.
- Enter your log-in credentials. These details are sent to the Server along with the device information.
Important: Based on users’ existence in multiple ADs and sources, users need to provide domain and source details for authentication. For more details, refer to Login > Authentication Scenarios
- After verifying the credentials the system displays the confirmation message. Click the Install button. The installation starts.
The above image indicates that installation process is in progress.
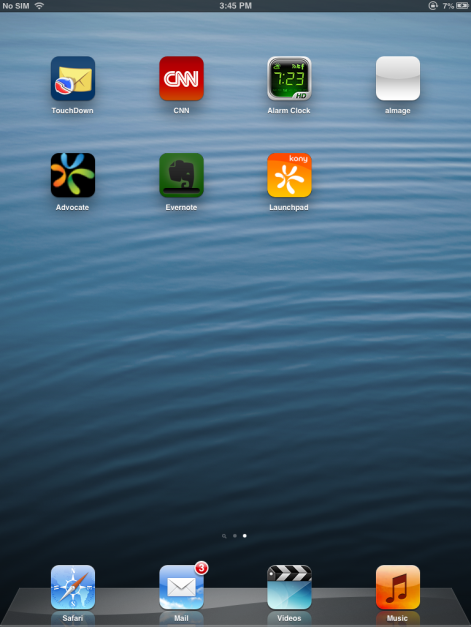
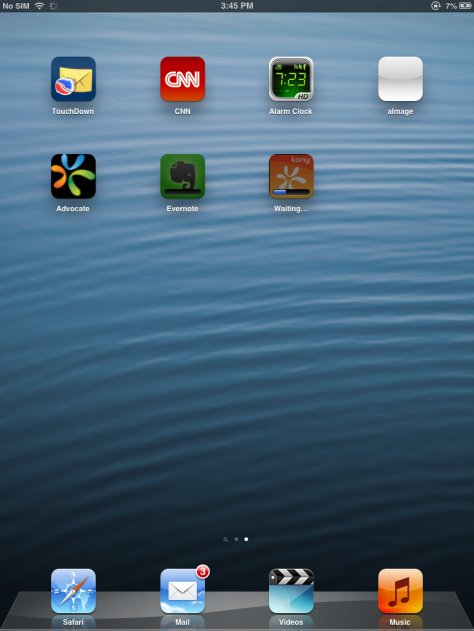
- The enterprise store is installed on device.
Important: From iOS 9 onwards, a pop-up appears to trust the app profile. Navigate to Settings > General > Profile > {Select Profile} >and the click on Trust {Profile Name}.
-
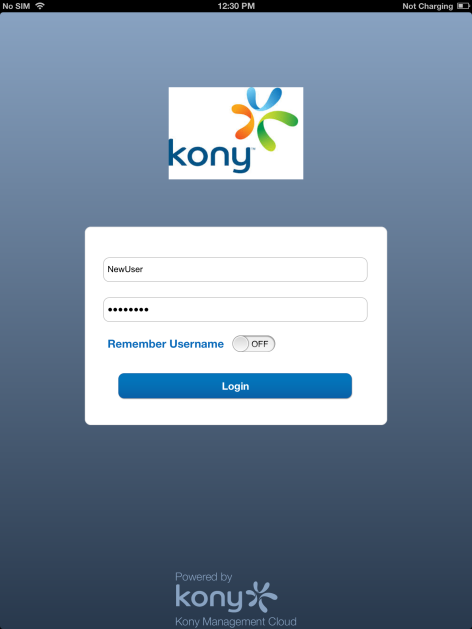
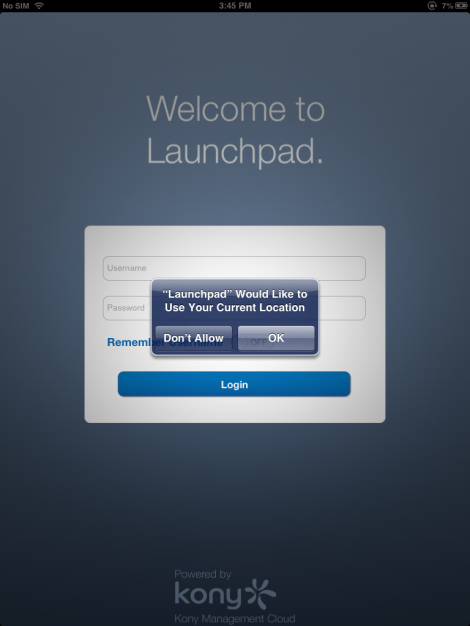
Kony EMM Login page appears.
- Enter your User Id and the Password.
Note: The Device Users is required to Authenticate themselves by providing User Name and Password. These details are sent to the Server along with the device information. The details provided by the User are authenticated. The EMM Server ensures that the device is not
- The system verifies the credentials. Once the authentication and verification is successful, system displays the Terms and Conditions.
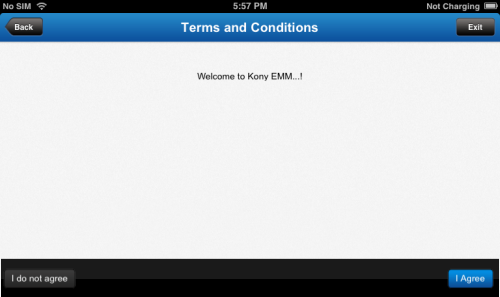
- You must accept that you have read and agree to the terms specified. Click the I Agree button. If you do not accept the terms, the
Note: If a user tries to re-enroll a completely wiped device listed under Enrollment Denied List, the device displays the Terms and Conditions page, in a loop every time a user tries to log in. In Enterprise wiped device it works as expected.

- Click the Install button to install Profile on your device.
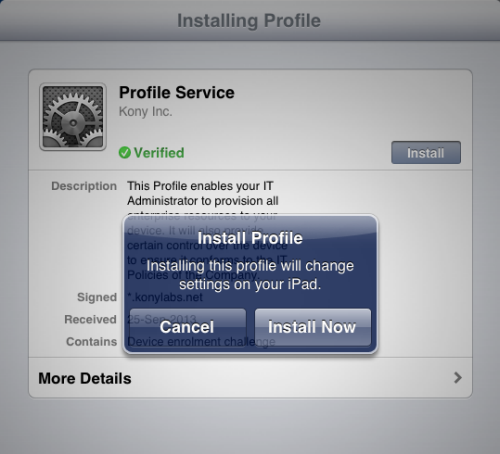
- The System displays the Warning message. Click the Install Now button to proceed.
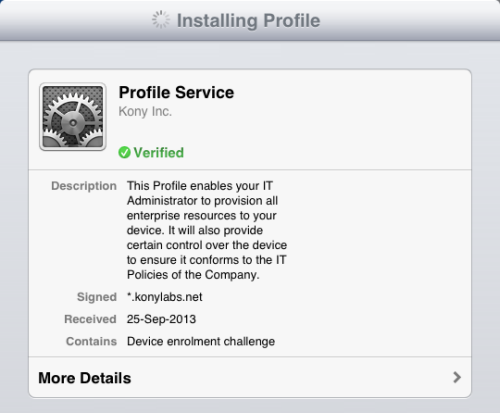
The Profile is verified.

-
Read the Warning message carefully. Click the Install button to install Profile on your device.
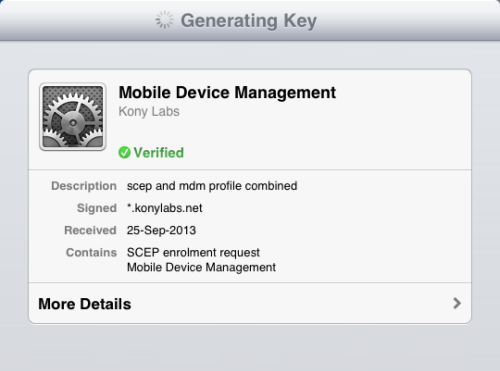
The system generates the key.
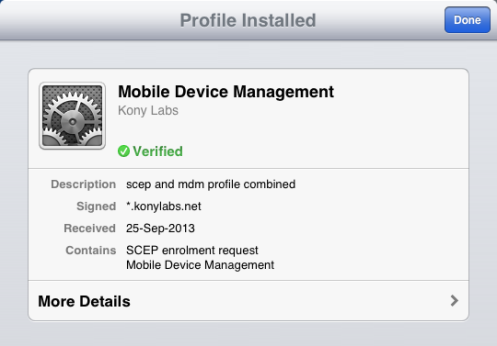
- The profile is installed on your device. Click the Done button.
- The system displays the confirmation message. Click OK to proceed.
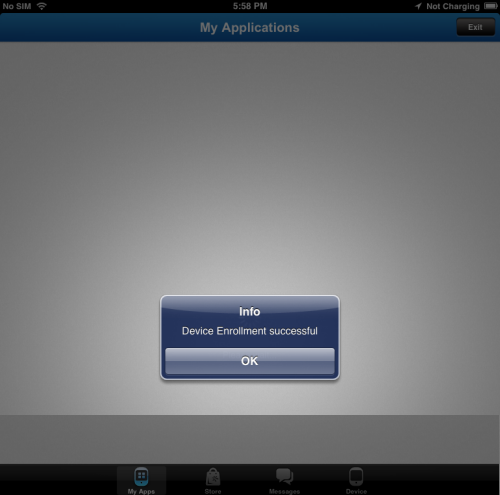
- The system displays the confirmation message. Click OK to proceed.
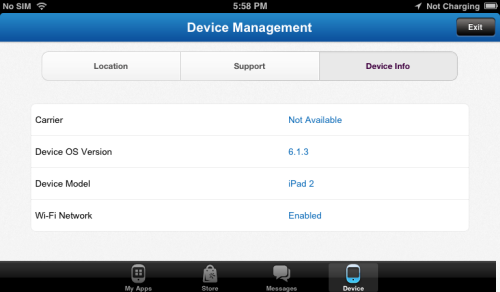
- The system displays the Device particulars such as Device OS Version, Carrier and so on. Click the Exit button to close the window.
| Copyright © 2018 Kony, Inc. All rights reserved. |