Prerequisites
The setup script creates all the resources in an Azure account. In your Azure subscription, your account must have the following permissions.
Azure Subscription Permissions
- Your account must have the role of an Owner.
- If your account has the role of a Contributor, you do not have adequate permissions. Contact your Azure Account Administrator for getting the required permissions.
To check the permissions of your Azure subscription, follow these steps:
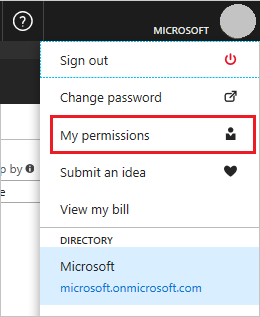
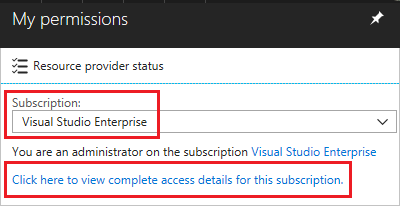
- In the Azure Portal, select your account from the upper right corner, and then select My permissions.
- From the drop-down list, select Subscription, and then click Click here to view complete access details for this subscription.
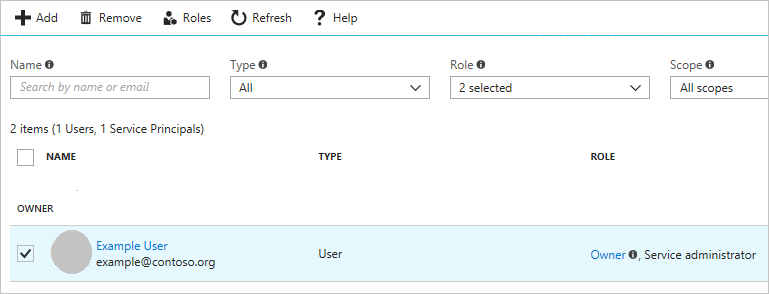
- View the roles that are assigned to you. In the following image, the user has the role of the Owner, which means that the user has adequate permissions.

Azure Active Directory Permissions
You must have the role of a Global Administrator. If you do not have this role, contact your administrator to assign this role to you.
To check your Azure AD permissions, follow these steps:
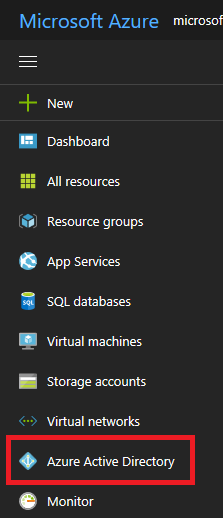
- From the left navigation pane of the Azure portal, select Azure Active Directory.
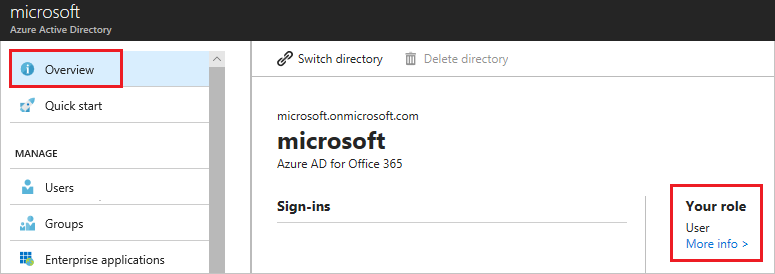
- In Azure Active Directory, select Overview, and then view your user information.

The Quantum Fabric Containers on Azure Solution does not need any pre-installed software.
The following prerequisite packages are downloaded and installed as part of the installation scripts.
azure-clikubectljqsponge.
NOTE: To make sure that the script is able to download all the necessary software, you might need to open outbound connections to the respective sites. For more information, refer to Appendices → Prerequisite Packages.
You can use the SSH protocol to connect and authenticate to remote servers and services. The Quantum Fabric setup requires an SSH key pair for authentication. The SSH public key is used for creating an Azure Virtual Machine and to install the Quantum Fabric Setup. You need to specify the SSH Public Key in the properties file.
On an Ubuntu terminal, use the ssh-keygen command to generate SSH public and private key files. The files are created by default in the ~/.ssh directory. The command can be executed from your local (Ubuntu) machine. The generated key must be named id_rsa.
For example, the following command is used to generate the SSH key pair using RSA encryption and a bit length of 2048:
ssh-keygen -t rsa -b 2048
You must create and configure a key pair as you need to provide them in the Configuration settings.
- The SSH keys need to be placed in the sshkeys folder.
- You must leave the passphrase empty while generating the SSH key. VM logins are protected by other features such as the Google Authenticator.
You can have any Domain Name for the solution, which you can purchase from any third-party organizations.
You must have a proper DNS, which you must map to the public DNS of the Application Gateway. For more information, refer to Appendices → Hosting your domain with Azure DNS.
For secure communication, you must acquire the SSL certs and provide them during the Installation process. The Azure Application Gateway requires certificates in the .pfx format. The SSL certs must be associated with the Domain Name that you have procured. For more information, refer to Appendices → Generate a PFX file from PEM .
Ensure that you place the SSL certificate (in the .pfx file format) in the ssl-cert folder, and then provide the Server Domain Name and AppGateway SSL Cert Password.
To enable HTTPS at the back end of the app gateway, follow these steps:
- The SSL certificates with the cert data and key data must be in separate files (both in a .pem file format).
- Save the Cert file as
ingress.pem. - Save the Key file as
ingress_key.pem. - Place the
ingress.pemandingress_key.pemfiles in the certs folder of the installation directory.
- Temenos recommends using CA signed SSL cert to avoid any errors.
- To execute the installation scripts, you must use Bash version 4 or later.
- If you are using Marketing Catalog Microservice or Campaign Microservice, refer to the Additional Tasks section.
VM Setup
You need an Azure Virtual Machine to download the artifacts, and execute the setup scripts from the VM to install Quantum Fabric on Azure. Follow these steps to create a VM through Azure Portal
- Sign into the Azure Portal with the account that you configured for the Global Administrator role, and then Navigate to the Virtual Machines Tab.
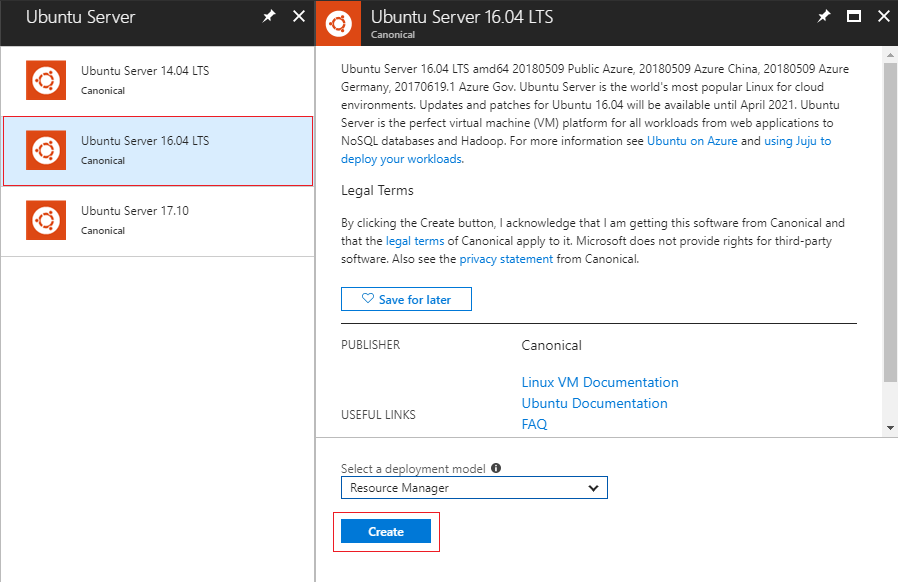
- Click the +Add button, and then select the Ubuntu Server image.
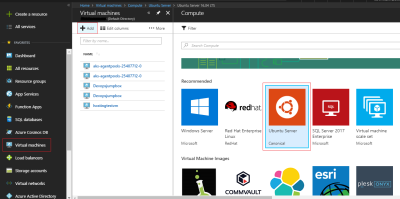
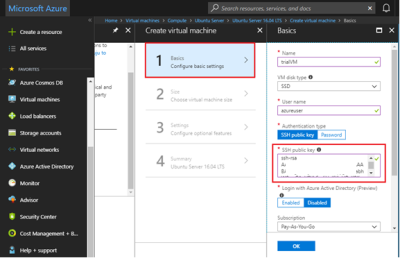
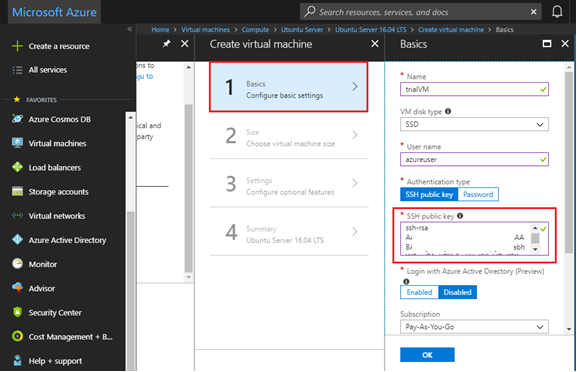
- Select the Ubuntu Server 16.04 LTS image, and then click Create.

- Proceed with the remaining steps in the wizard and provide the SSH Public Key where needed.