
Post Installation Tasks
Launching Quantum Visualizer
To launch Quantum Visualizer, follow these steps:
-
Double-click the Visualizer shortcut on the desktop to open the login screen of Visualizer.
NOTE: You can also navigate to the folder where Visualizer is installed and double-click Visualizer to launch it.
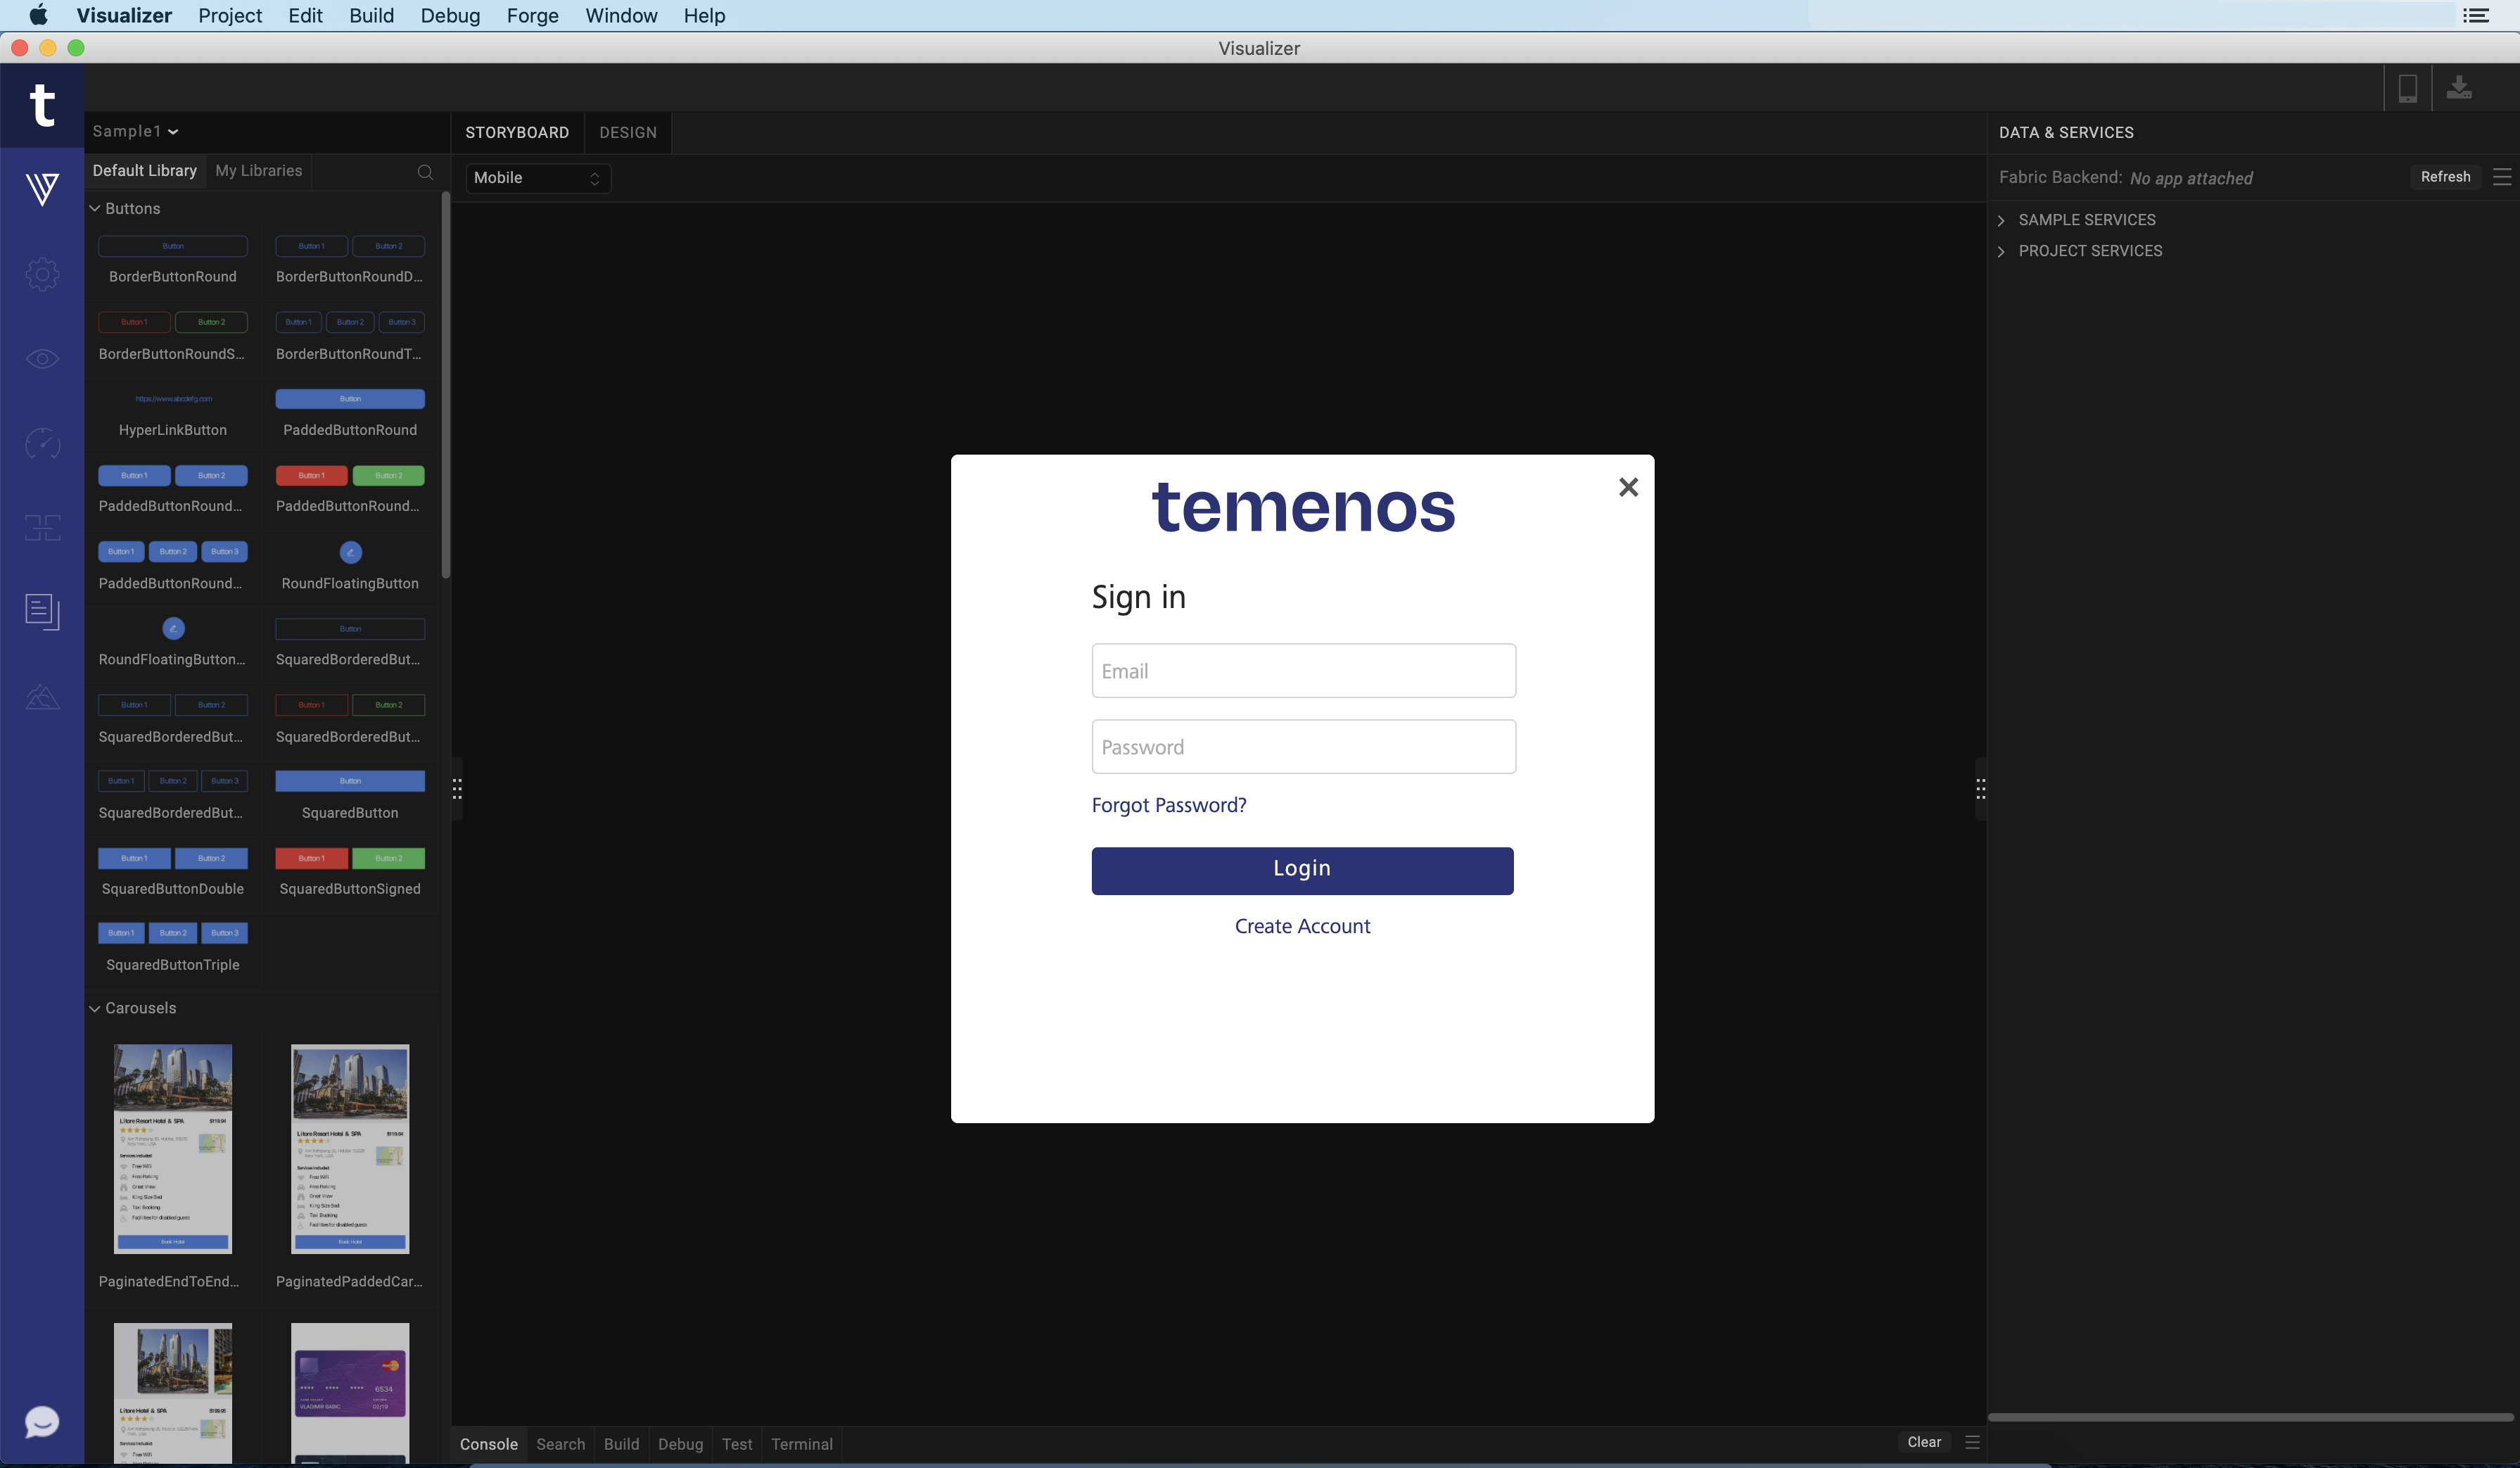
- On launching Visualizer, the Quantum Cloud Login screen appears for license validation.
-
Enter your Quantum Cloud credentials and click Login.
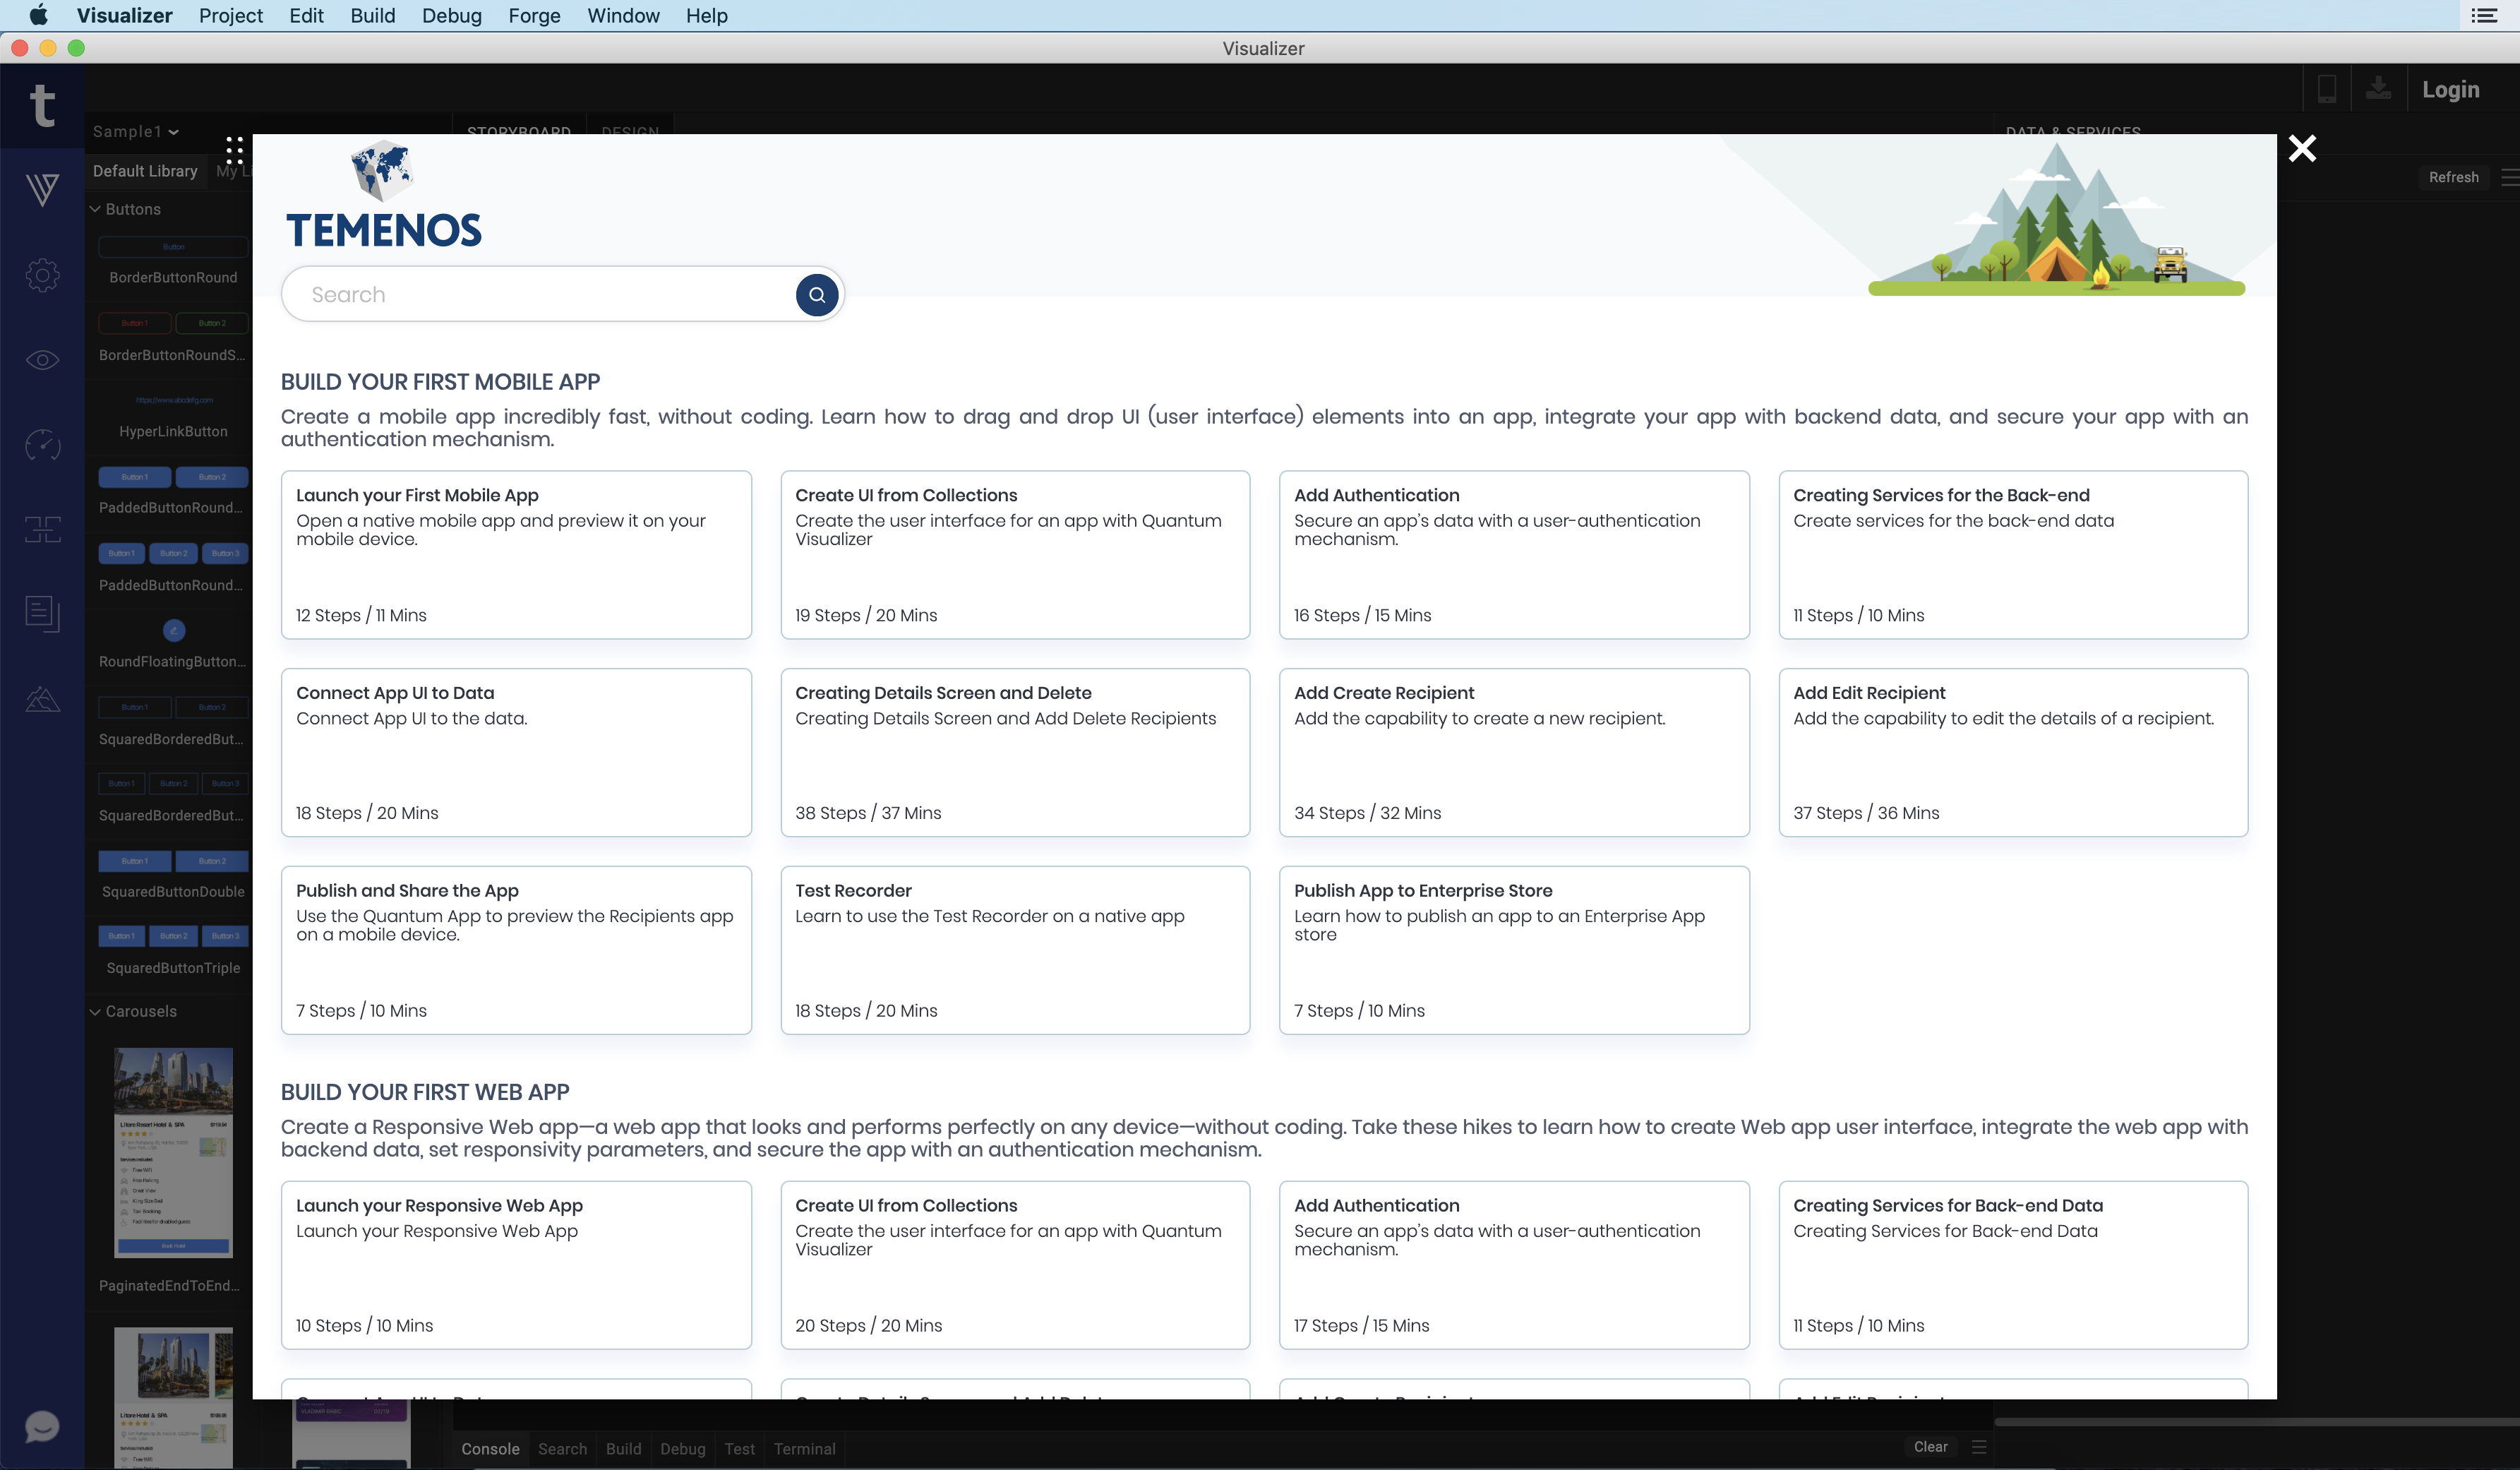
Visualizer validates the license associated with your Quantum account. - The Hikes screen appears. The Hikes screen displays links to different Hikes available in Quantum Visualizer. You can go through these hikes to understand various features of Quantum .
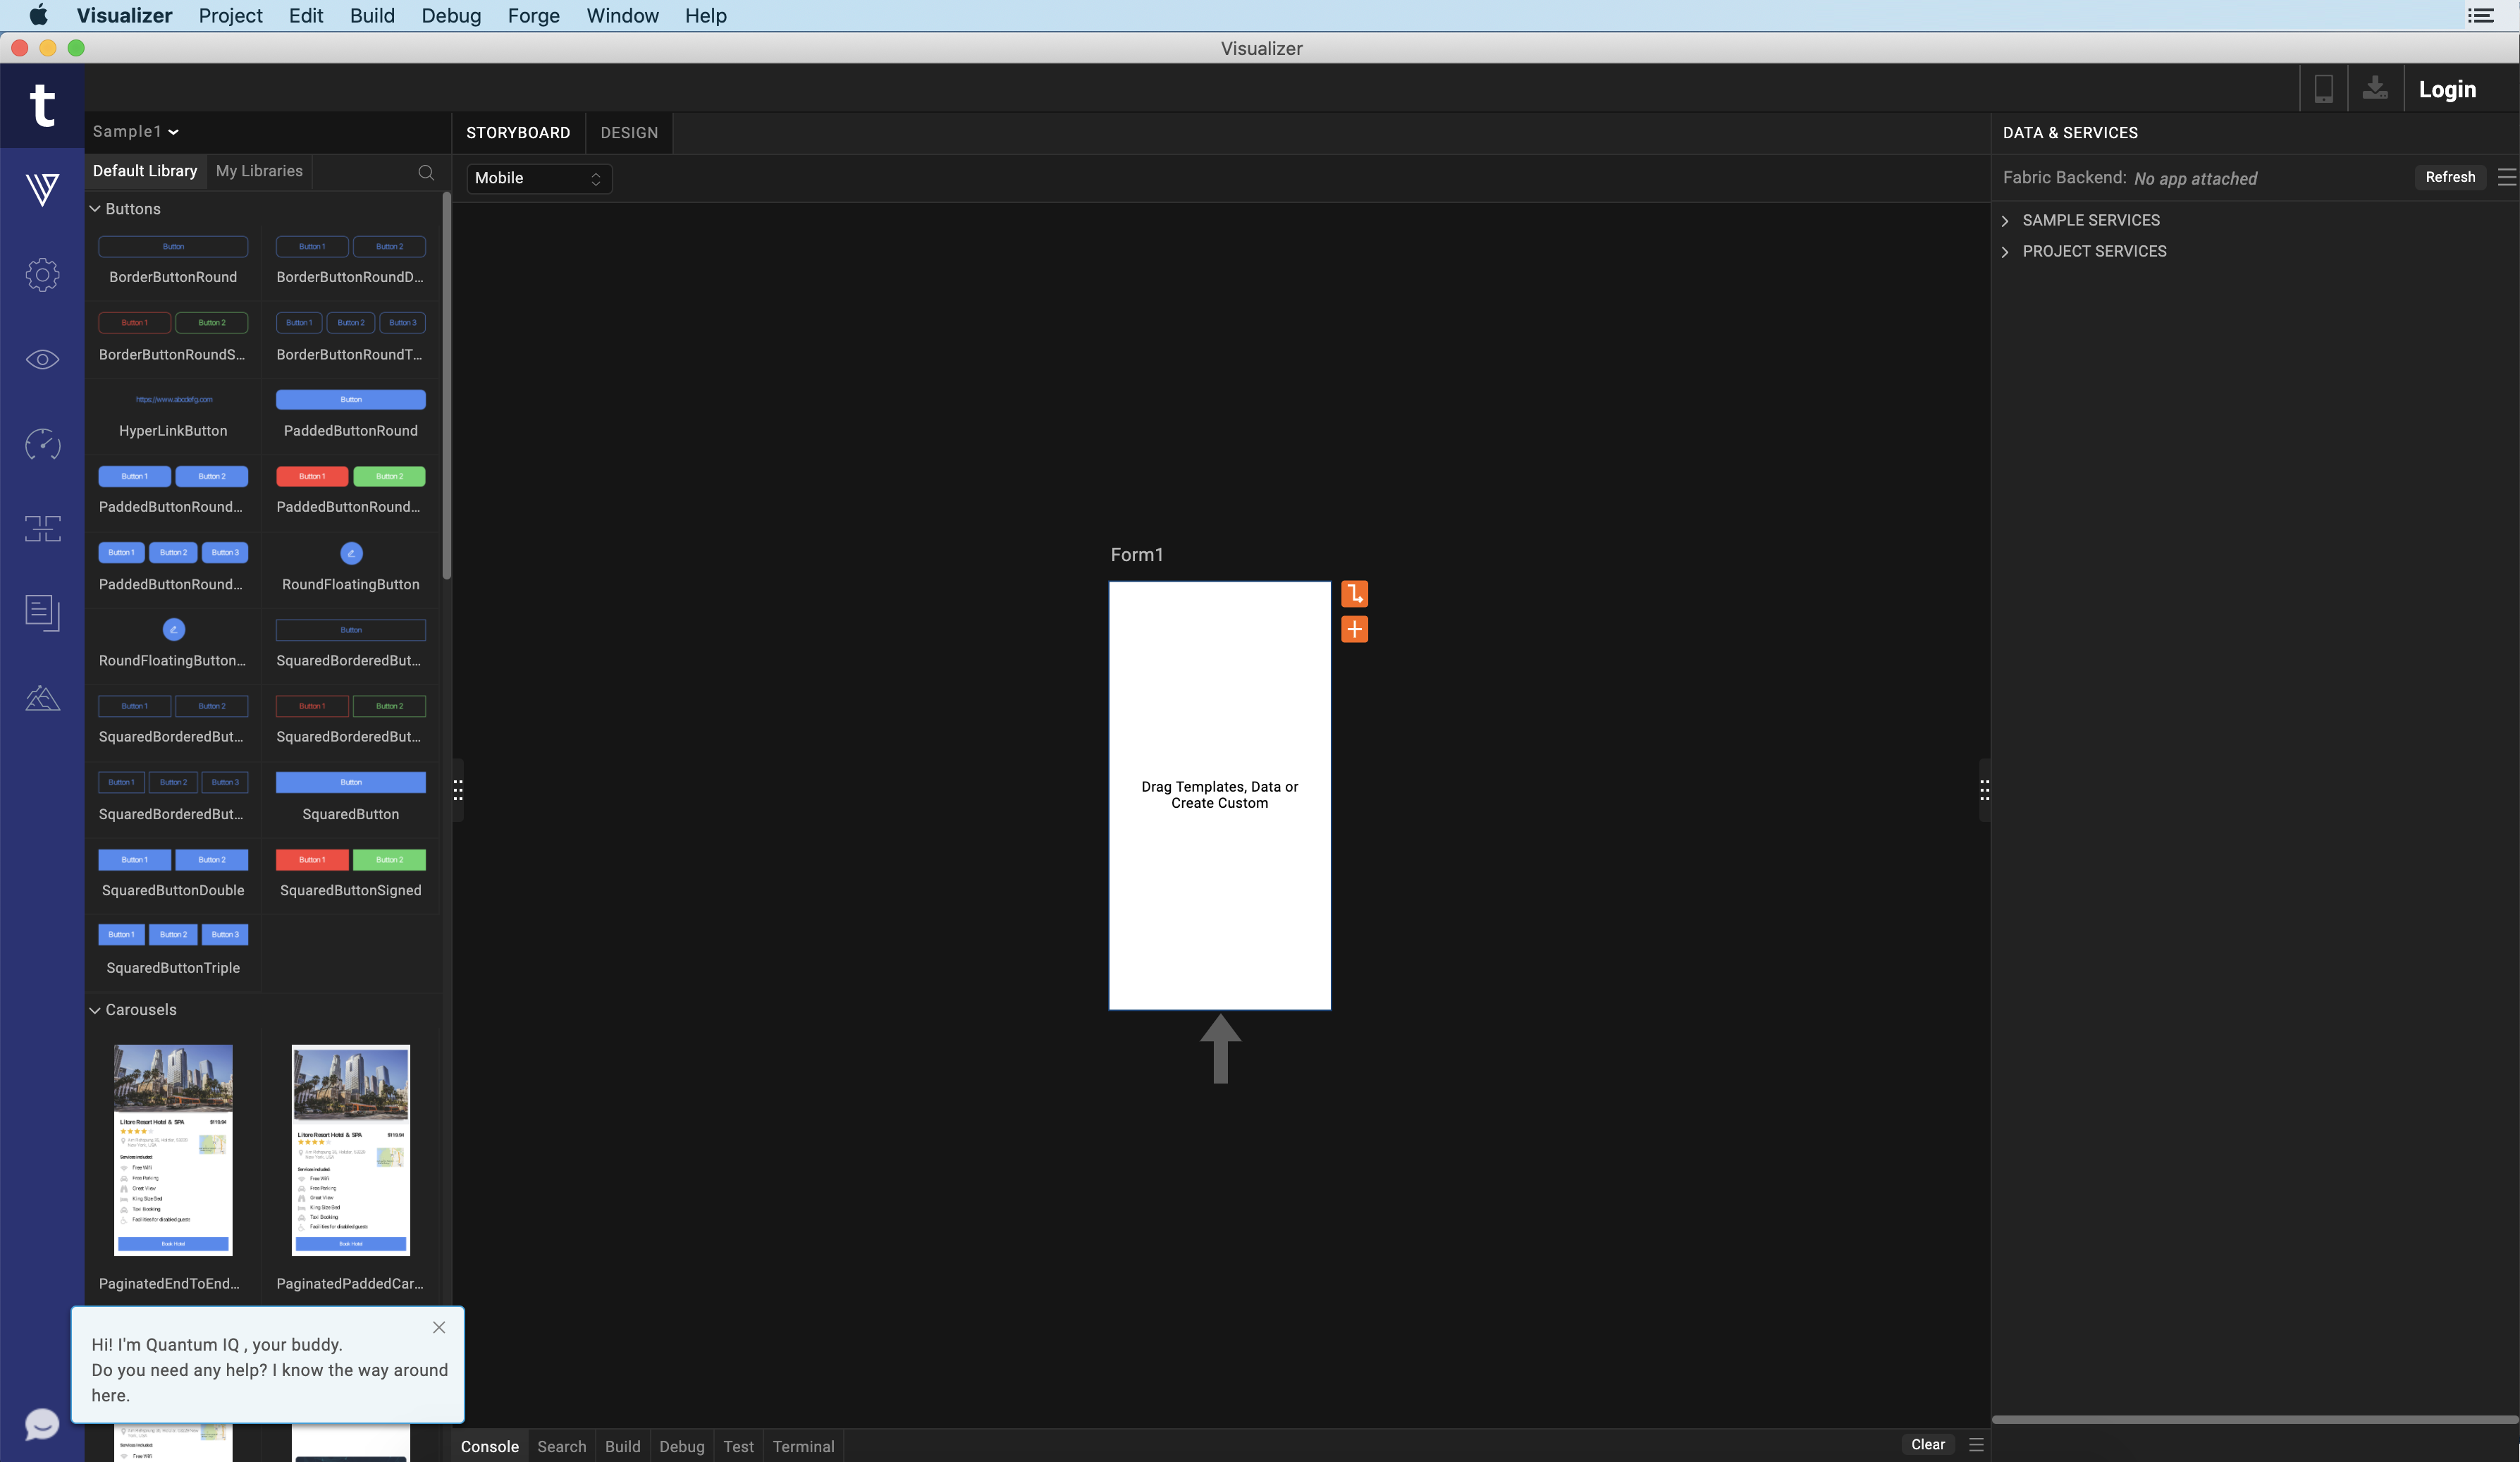
- Close the Hikes screen. The IQ bot gets activated.
Use the bot to guide you in the process of developing applications in Quantum Visualizer. - After the Quantum IQ bot disappears, a Sample application loads in the application canvas.
- Click Project > New Project to create a new Visualizer project.

NOTE: To avoid issues with Visualizer's performance (such as project load or assets update), ensure that you exclude the Visualizer Workspace from Live Virus Scanning. The simultaneous read/write operations performed by both the anti-virus software and Visualizer may negatively impact the performance. However, you can continue to run scheduled Virus scans to discover any threats.
For details on how to uninstall the Quantum Visualizer application from your system, refer Uninstall Quantum Visualizer.