
iOS Application Extensions
An iOS application extension lets you extend custom functionality and content beyond your application, making it available to users while they are interacting with other applications or the iOS system. For example, your application could appear as a widget on the iOS Today screen, or you could add a custom interface for your application's notifications.
Quantum Visualizer supports the following types of application extensions on the iOS platform:
- Action Extension. An Action extension manipulates or views content originating in a host application. For example, an Action extension might let a user edit an image in a document viewed in a text editor, or view a selected item in a different format or language.
- iMessage. An iMessage extension interacts with the Messages application. For example, an iMessage extension could let users create and share content, add stickers, or make payments without leaving their conversations.
- Intents. An Intents extension handles tasks related to supporting Siri integration with your application. Siri and Maps interact with your application through the Intents extension. The Intents extension directs Siri to the objects capable of responding to user requests.
- Intents UI. An Intents UI extension customizes the Siri or Maps interface after handling a task related to supporting Siri integration with your application.
- Notification Content. A Notification Content extension handles tasks that your application can perform in response to a delivered notification.
- Share Extension. A Share extension posts to a sharing web site, or shares content with others. A Share extension gives users a convenient way to share content with other entities, such as social sharing websites or upload services. For example, in an application that includes a Share button, a user could choose a Share extension that represents a social sharing website and then use it to post a comment or other content.
- Today Extension. A Today extension gets a quick update or performs a quick task in the Today view of Notification Center. For example, a user could check current stock prices or weather conditions, see the current day’s schedule, or mark a current task item as done.
Create an iOS Application Extension
You can create an iOS application extension in Quantum Visualizer using a custom App Extension project.
To create a new custom iOS application extension, follow these steps:
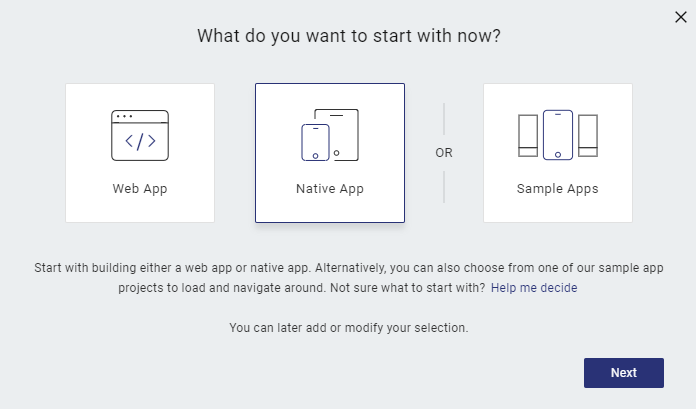
- From the Project menu, click New Project.
The What do you want to start with now? screen of the New Project wizard appears. - Select Native App, and then click Next.
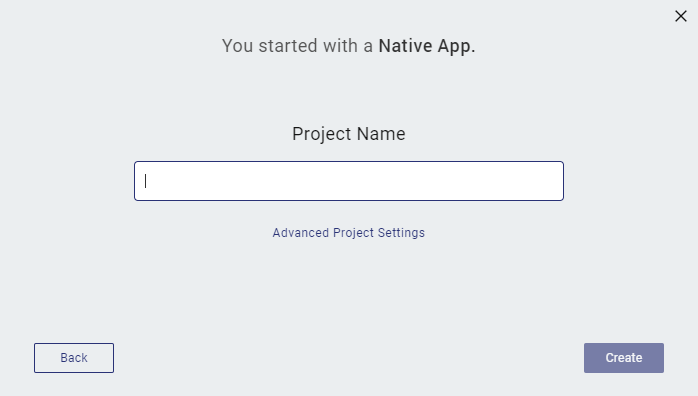
- In the Project Name text box, enter a name for your application extension project, and then click Advanced Project Settings.
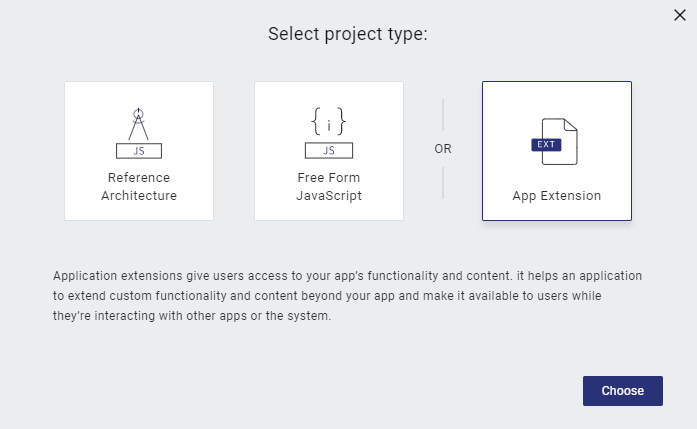
- In the Select Project Type dialog box that appears, select App Extension, and then click Choose.
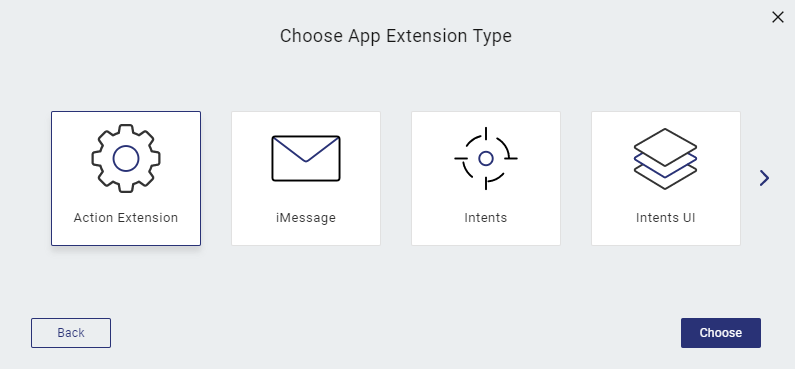
- In the Choose App Extension Type dialog box, select an extension type, and then click Choose.
- In the Configure App Extension dialog box, enter the Extension Name, Display Name, and Template details.
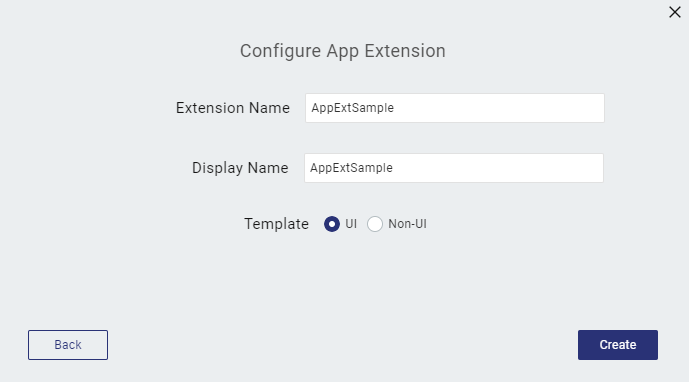
- Click Create.
Quantum Visualizer creates the App Extension project with the following entries in the Project Explorer:
- An Info.plist information property list file.
- A javascript folder for associated JavaScript modules.
- A resources folder for any associated resources. To import a resource, right-click the resources folder and select Import Resources.
You can import or add native function modules to the project by selecting Manage Native Functions from the Edit menu, if required.
For information on the iOS application extension programming interface, refer App Extension API for iOS.
Open an App Extension Project
Follow these steps to open an application extension project:
- From the Project menu of Quantum Visualizer), select Open.
- From the dropdown list that appears, select App Extensions.
Quantum Visualizer displays a list of available extensions.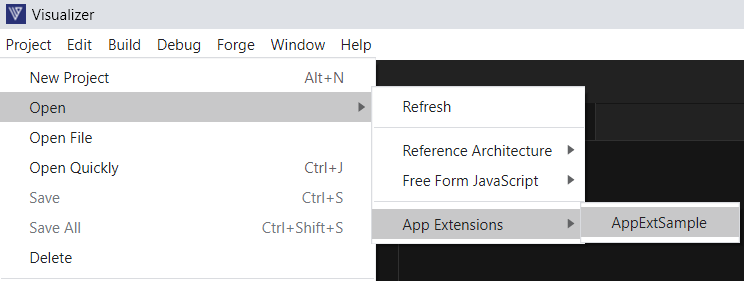
- Select the extension that you want to open.
Quantum Visualizer opens the app extension project.
Import an iOS Application Extension into a Project
You can add custom functionality and content to your application by importing an application extension into your project.
Follow these steps to import an application extension into the project:
- From the Project menu of Quantum Visualizer), select Import.
- From the dropdown list that appears, select App Extensions.
Quantum Visualizer displays a list of available extensions.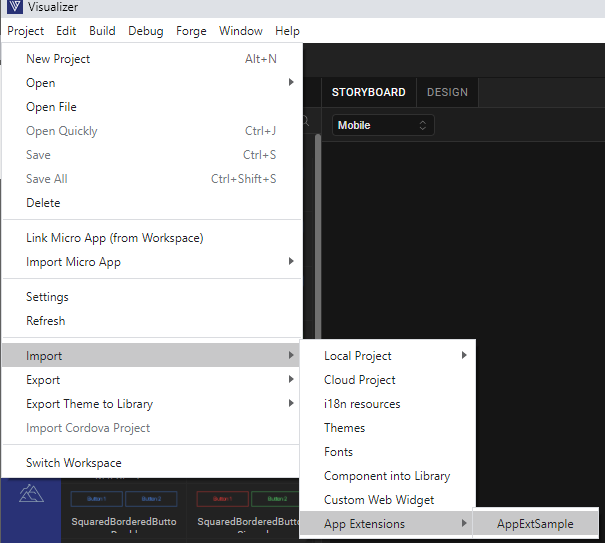
- Select the extension that you want to import.
Quantum Visualizer adds the extension to an app-extensions folder and creates the following entries in the Project Explorer:
- An Info.plist information property list file.
- A javascript folder for associated JavaScript modules.
- A resources folder for any associated resources. To import a resource, right-click the resources folder and select Import Resources.
NOTE: Any changes made to the extension's code or resources after importing the extension into a project are local to that project.
Perform Operations on an App Extension in a Project
You can perform the following operations on App Extensions present in a project:
- Enable or Disable an App Extension
- Configure an App Extension
- Manage Native Function APIs
- Delete an App Extension
Enable or Disable an App Extension
Follow these steps to enable or disable an application extension:
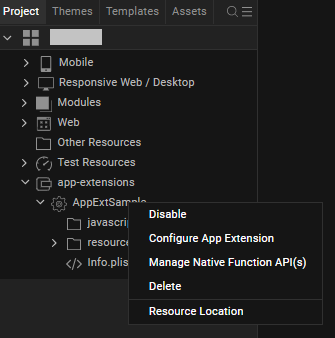
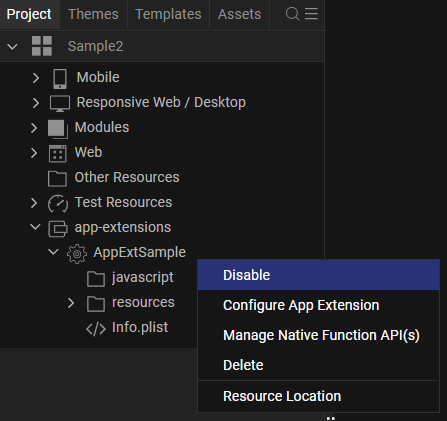
- From the Project Explorer, right-click the app extension.
- If the extension is currently disabled, select Enable to enable it.
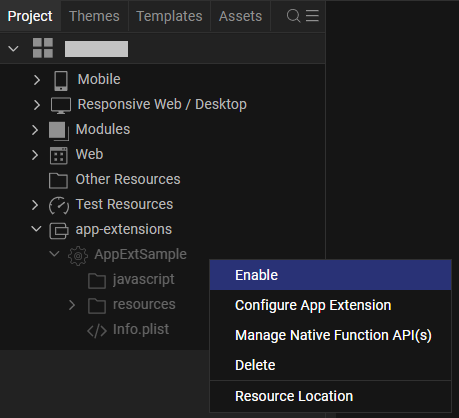
- If the extension is currently enabled, select Disable to disable it.
NOTE: Disabled app extensions are not compiled or added to the application when you perform a build.
Configure an App Extension
- From the Project Explorer, right-click the app extension.
- From the context menu that appears, select Configure App Extension.
- You can update the following details in the Configure App Extension dialog box:
- Extension Name
- Display Name
- Bundle Identifier
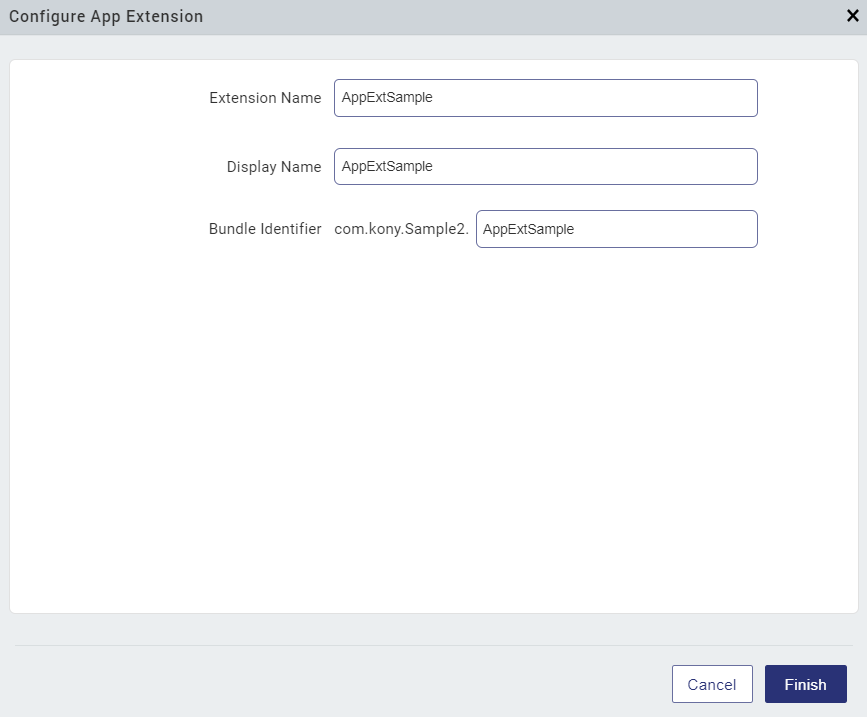
- Click Finish.
Manage Native Function APIs of an App Extension
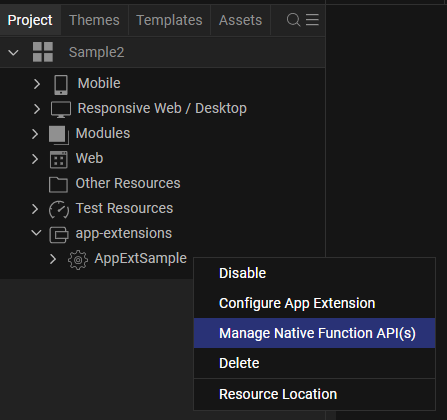
- From the Project Explorer, right-click the app extension.
- From the context menu that appears, select Manage Native Function API(s).
-
In the Native Function Interface dialog box, you can perform the following operations:
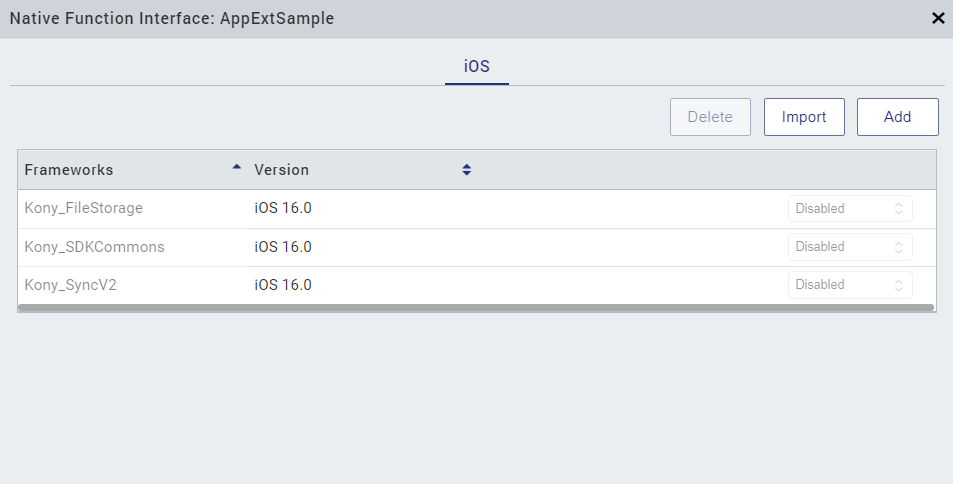
- Import NFIs from a location on your system.
To do so, click Import, locate the file on your local drive, select it, and then click Open.
The NFI is added to the Frameworks in the App Extension. - Add NFIs.
To do so, click Add, select the required NFI from the list of available Frameworks, and then click Add.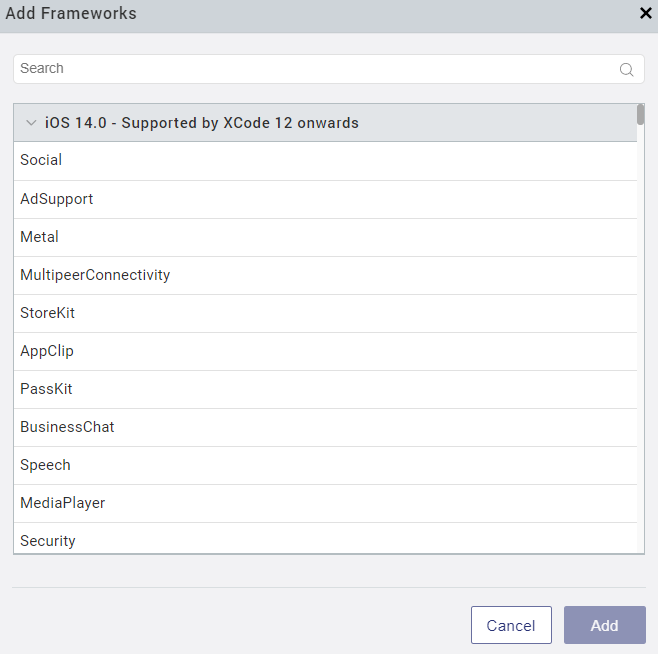
The selected Frameworks are added to the App Extension in the Project.
- Import NFIs from a location on your system.
Delete an App Extension from a Project
Follow these steps to delete an application extension from the project:
- From the Project Explorer, right-click the app extension.
- From the context menu that appears, select Delete.
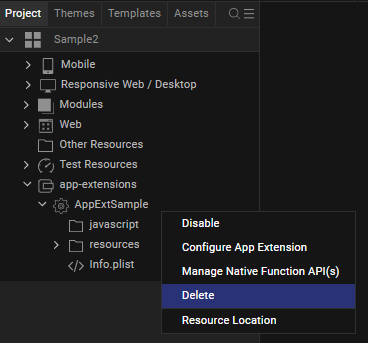
Quantum Visualizer deletes the app extension from the project along with the associated resources.
Create an Apple Wallet Extension
From the 202404 release, Quantum Visualizer supports the creation of Apple Wallet Extensions in apps that use the Apple Wallet.
Apple Wallet Extensions allow developers to request and provision payment passes from within the Apple Wallet.
Follow these steps to create an Apple Wallet Extensions in your app:
- In Quantum Visualizer, create an Application Extension of type Action Extension.
Refer Create an iOS Application Extension for information on creating an Application Extension. - Open the app in which you want to add the extension, and import the extension that you created in Step1.
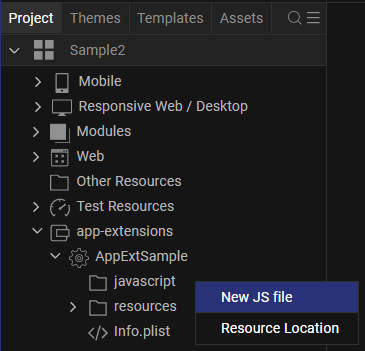
Refer Import an iOS Application Extension for information on importing an Application Extension. - From the Project Explorer of Quantum Visualizer, expand the app-extensions > <AppExtName> folder.
- Right-click javascript, and select New JS file from the context menu.
- In the js file, enter the following code to invoke the kony.actionExtension.setExtensionsCallbacks API to register callbacks:
For App Extensions that use a UI Template: Kony.walletExtension.setExtensionsCallbacks({ “viewDidLoad” : viewDidLoad }); function viewDidLoad(){ // Enter your code for UI Extension } For App Extensions that use a Non-UI Template: Kony.walletExtension.setExtensionsCallbacks({ “statusWithCompletion” : statusWithCompletion, “passEntriesWithCompletion” : passEntriesWithCompletion, “remotePassEntriesWithCompletion” : remotePassEntriesWithCompletion, “generateAddPaymentPassRequestForPassEntryWithIdentifierConfigurati onCertificateChainNonceNonceSignatureCompletionHandler” : generateAddPaymentPassRequestForPassEntryWithIdentifierConfigurationCerti ficateChainNonceNonceSignatureCompletionHandler }); // Provide methods for the values against each of the four keys. - Save and close the file.
- From the Project Explorer of Quantum Visualizer, navigate to app-extensions > <AppExtName>, and open the info.plist file.
- In the info.plist file, update the values of the following keys based on the type of App Extension Template:
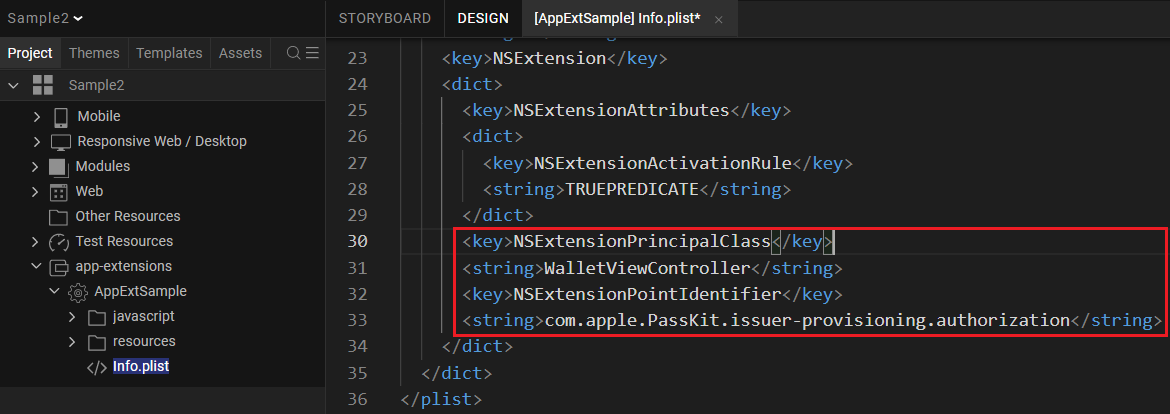
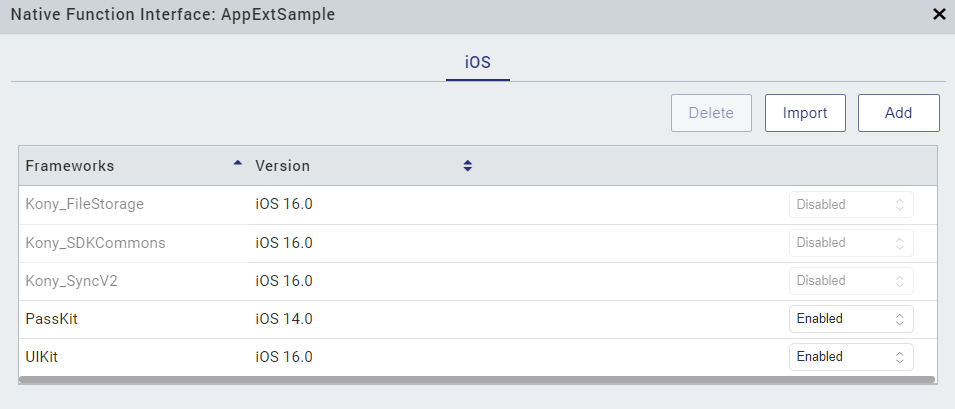
App Extension Template NSExtensionPrincipalClass NSExtensionPointIdentifier UI Template WalletViewController com.apple.PassKit.issuerprovisioning.authorization Non-UI Template WalletController com.apple.PassKit.issuer-provisioning - Add (or import) the PassKit Framework in the NFIs of the App Extension.
Refer Manage Native Function APIs of an iOS Application Extension for information on adding or importing NFIs to an Application Extension.NOTE: For App Extensions that use a UI Template, ensure that you add the UIKit NFI Framework in addition to the PassKit NFI.
The Apple Wallet Extension is added as part of the app (in the kar file), and will be available as an extension target in the extracted kar file.