
Generating an Apple Push Notification Service (APNS) Certificate
The APNS certificate is needed for the iOS devices to register with Apple to receive notifications. To generate the APNS certificate, follow these steps:
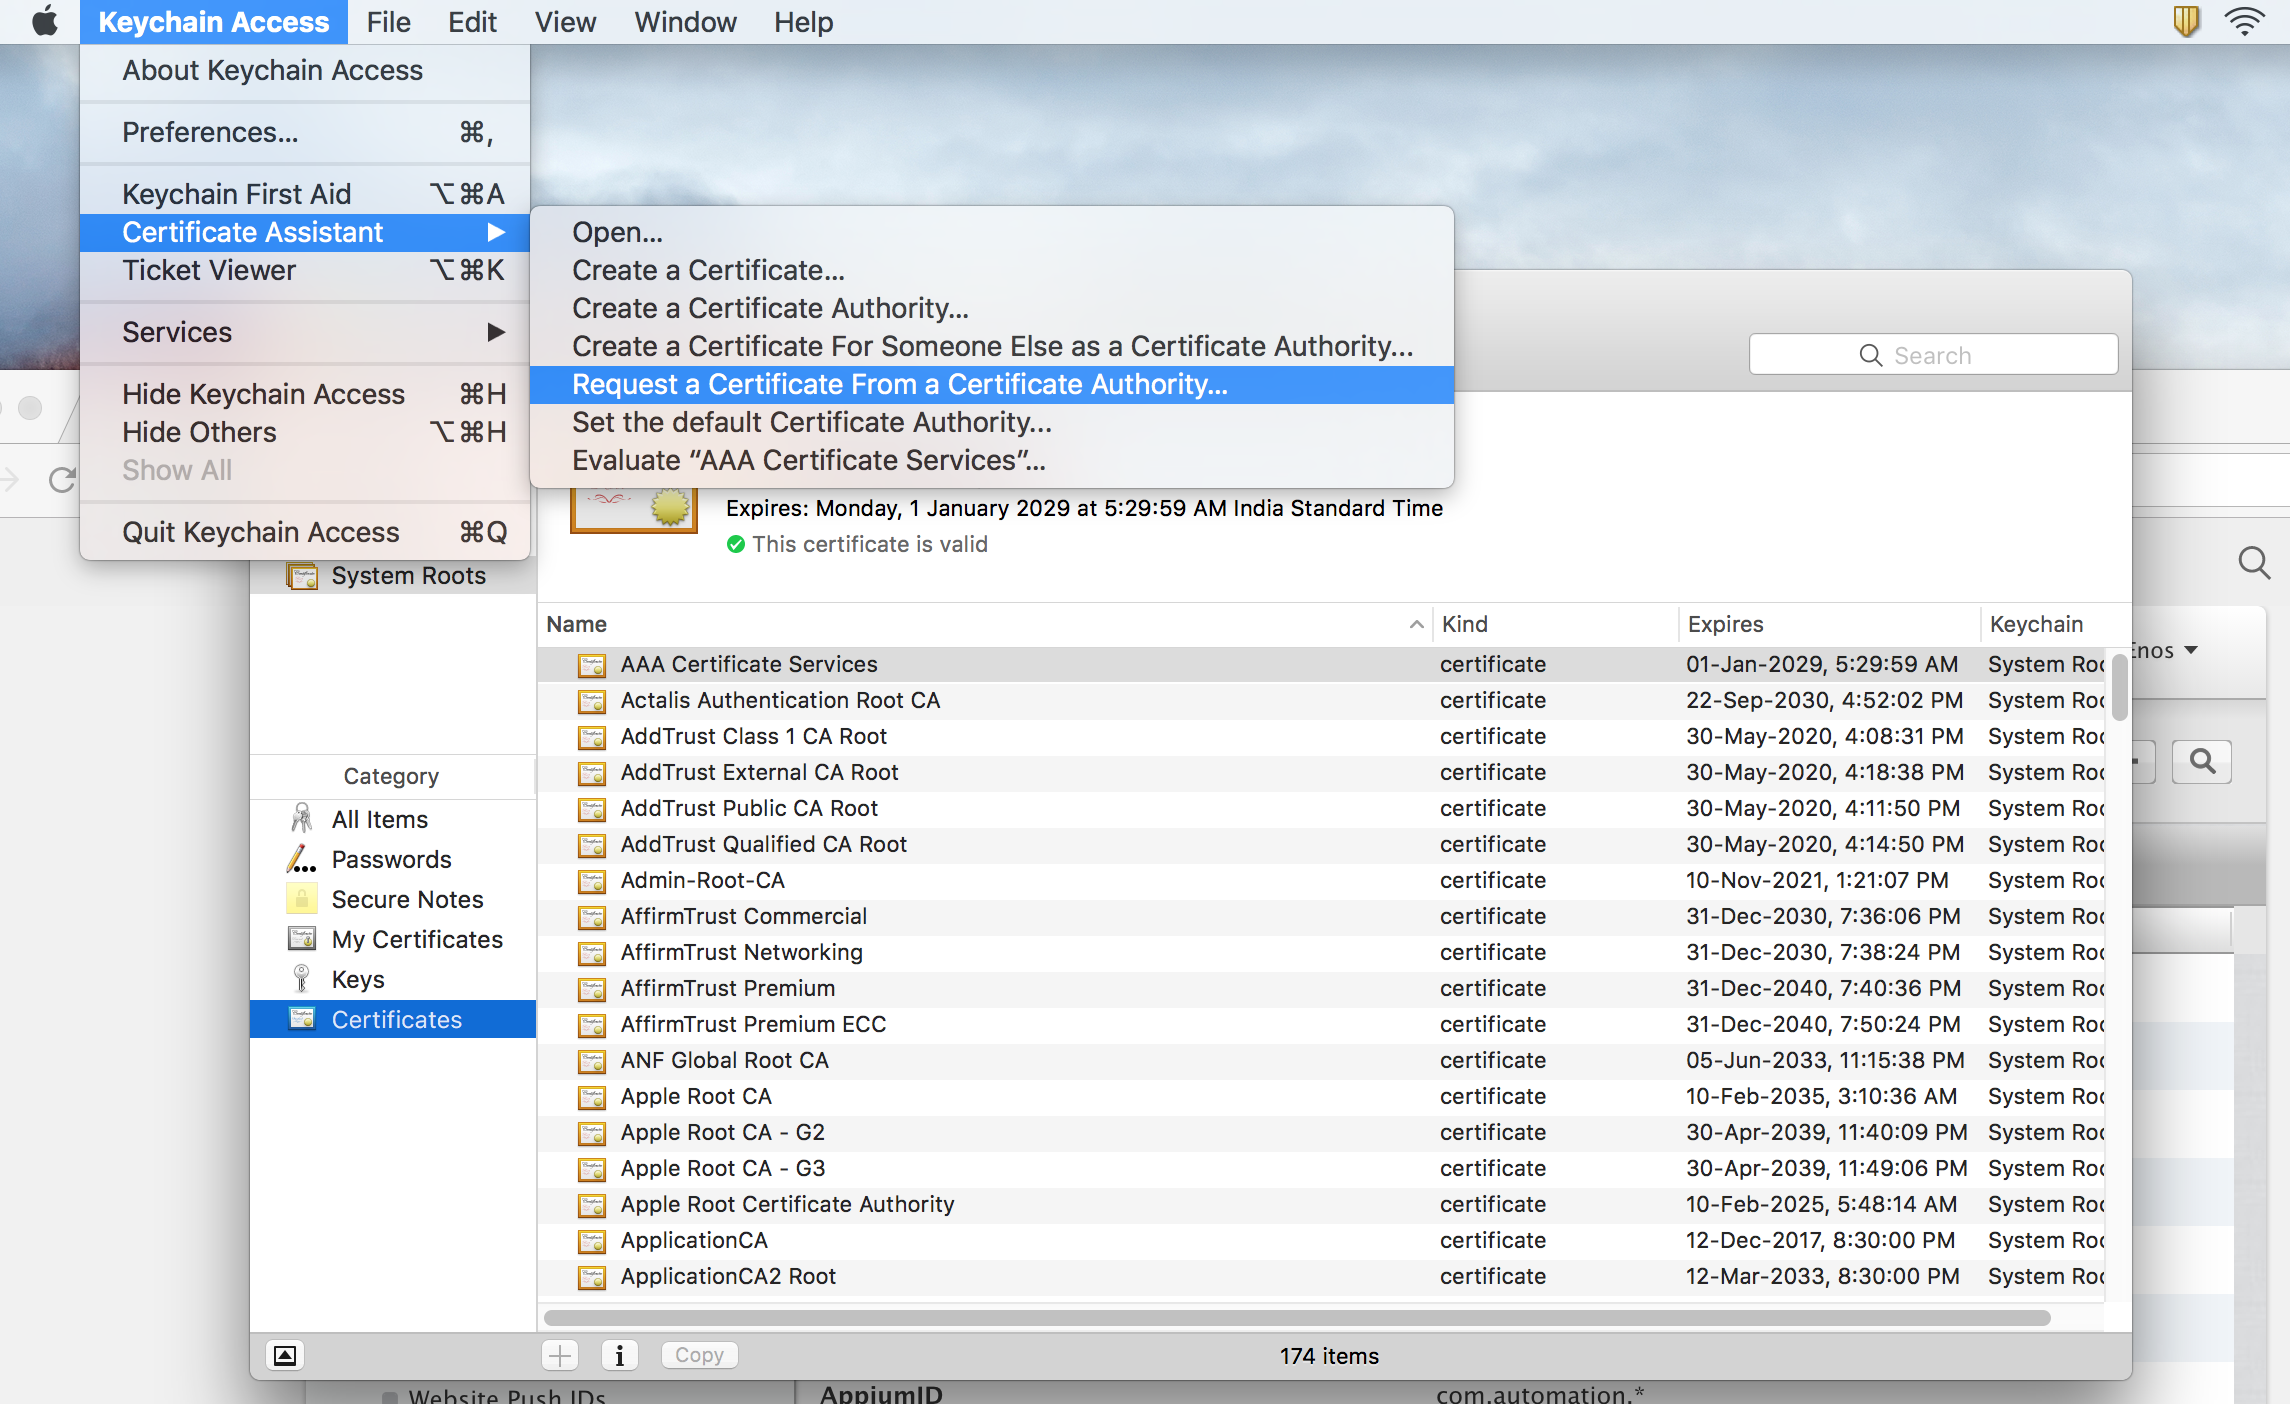
- The first step to generate an Apple Push Notification Service (APNS) certificate is to generate a certificate request (CSR) file. The certificate request (CSR) file is used to request a development SSL certificate. To generate a CSR file, launch the Keychain Access application from the LaunchPad.
- Select the Keychain Access > Certificate Assistant > Request a Certificate From a Certificate Authority to create an SSL certificate.
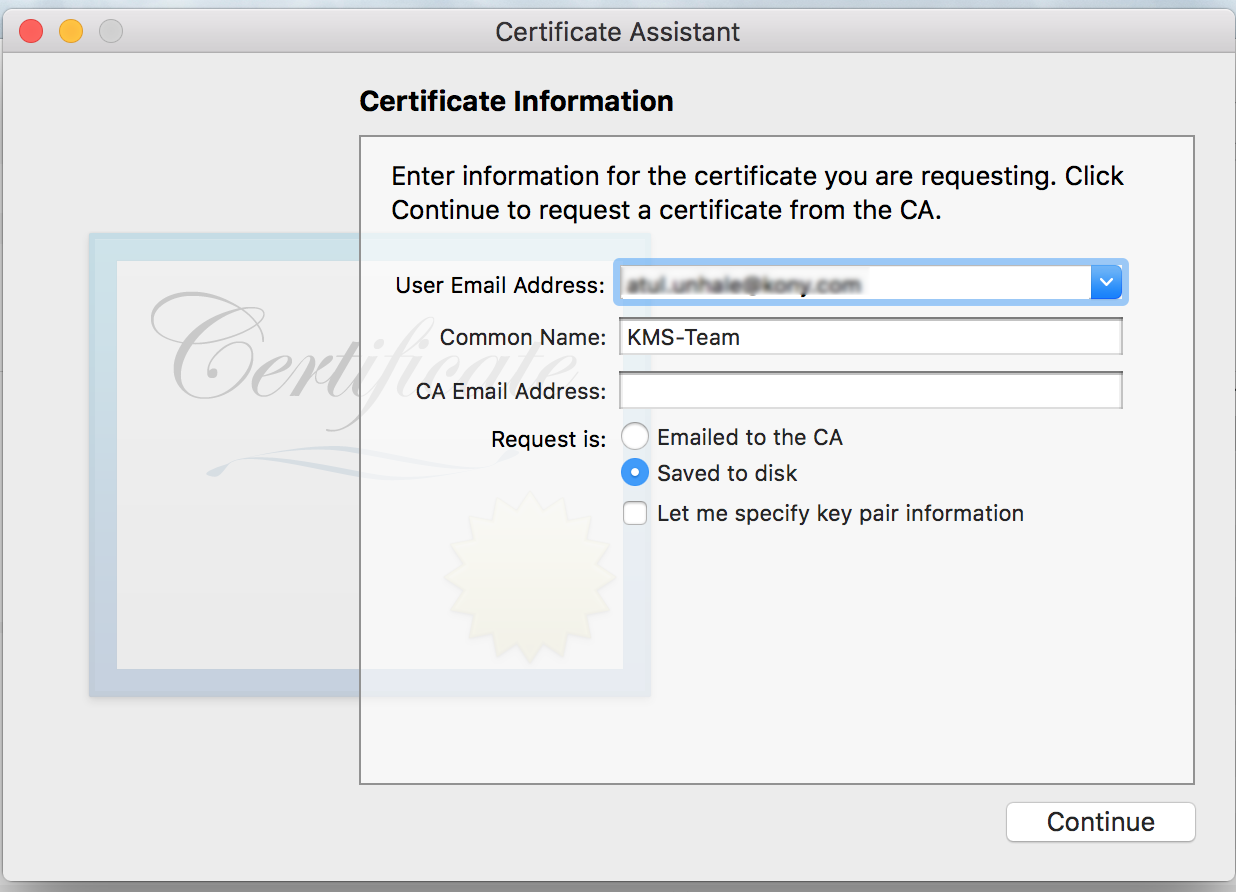
- Enter the email address and the common name in the screen below and select the option Saved to disk. Click Continue.
- In the screen below, change the file name extension in Save As to CSR. Click Continue.
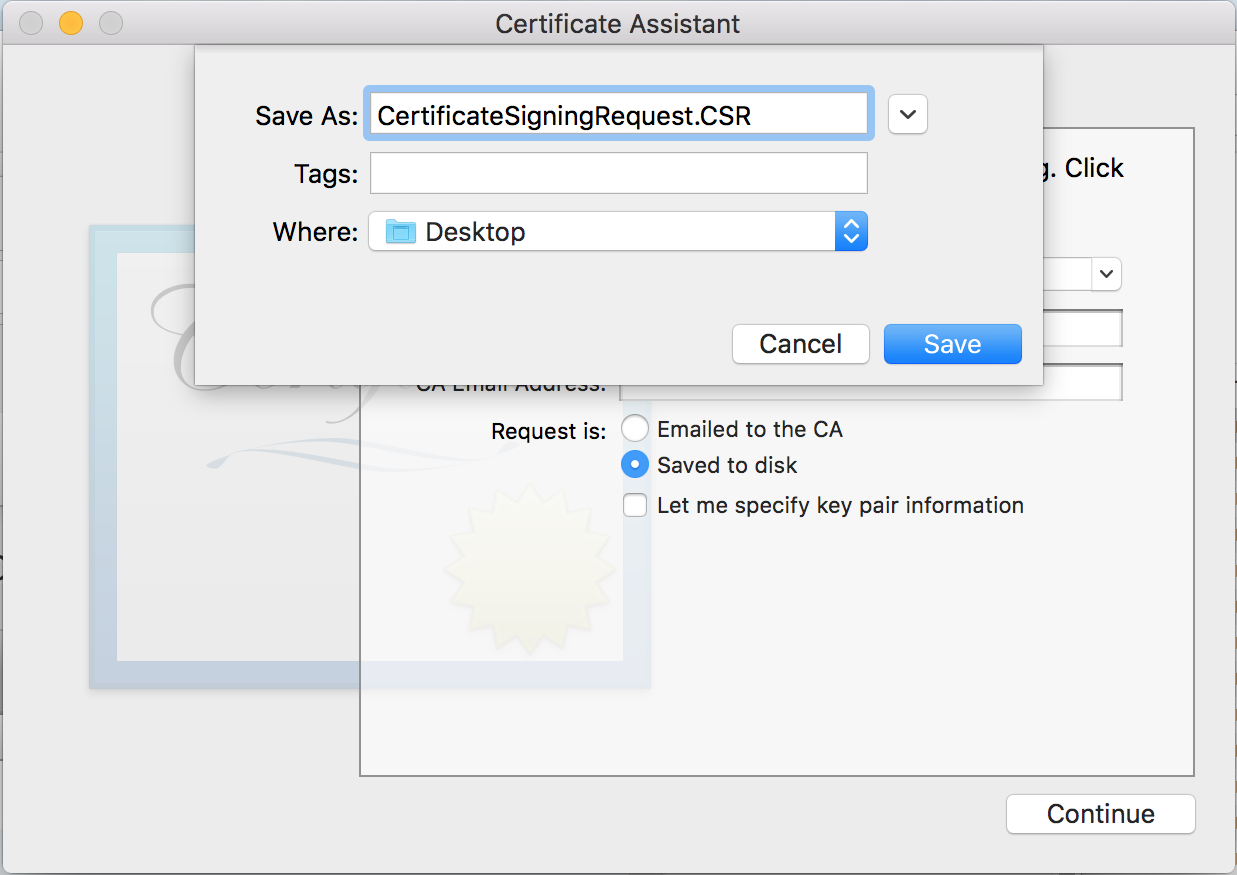
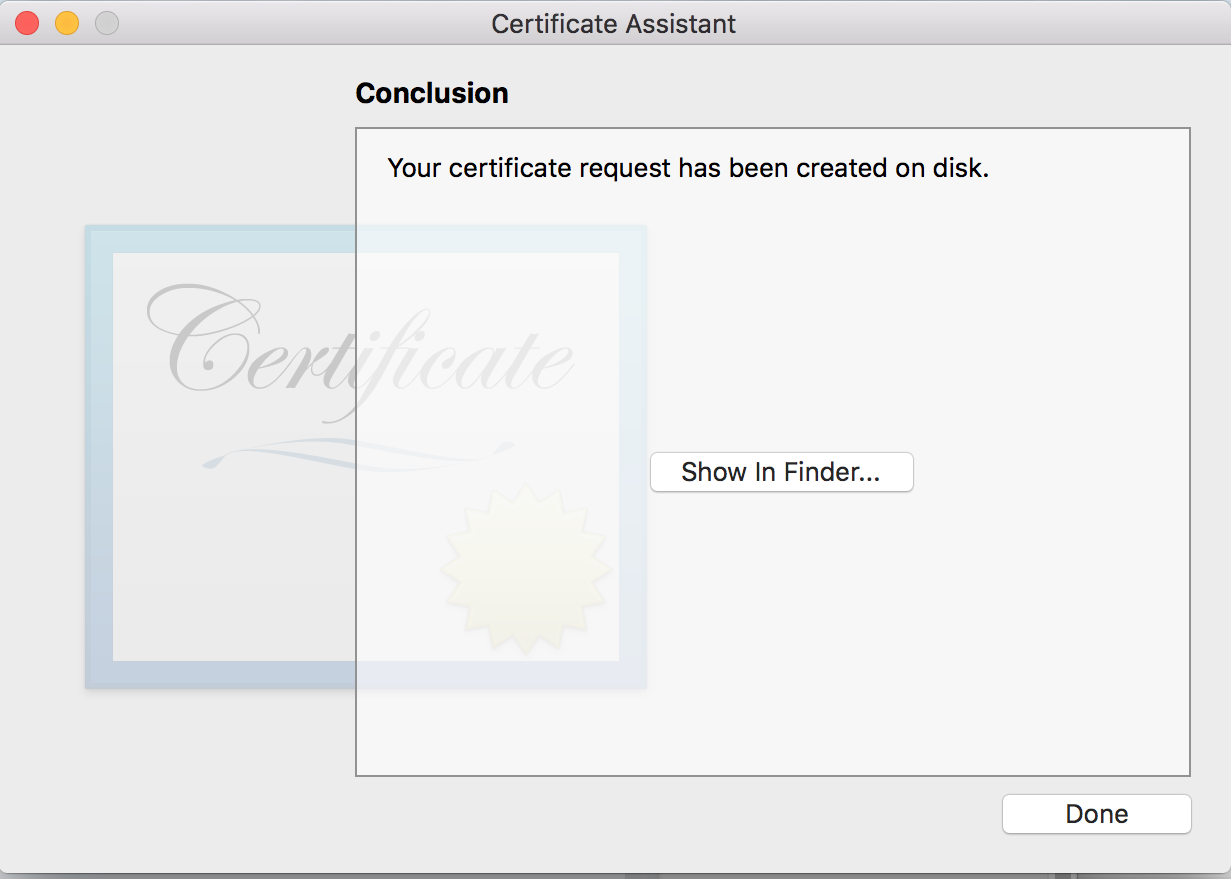
- Click Done to create the CSR request and save it on your computer.
- Log on to the developer.apple.com site with your Apple user ID. If you don’t have an Apple developer account, go ahead now and register with Apple.
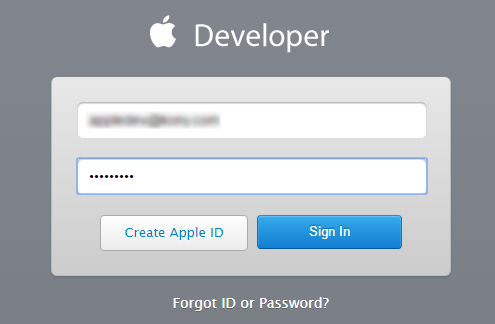
- Click Sign In to continue.
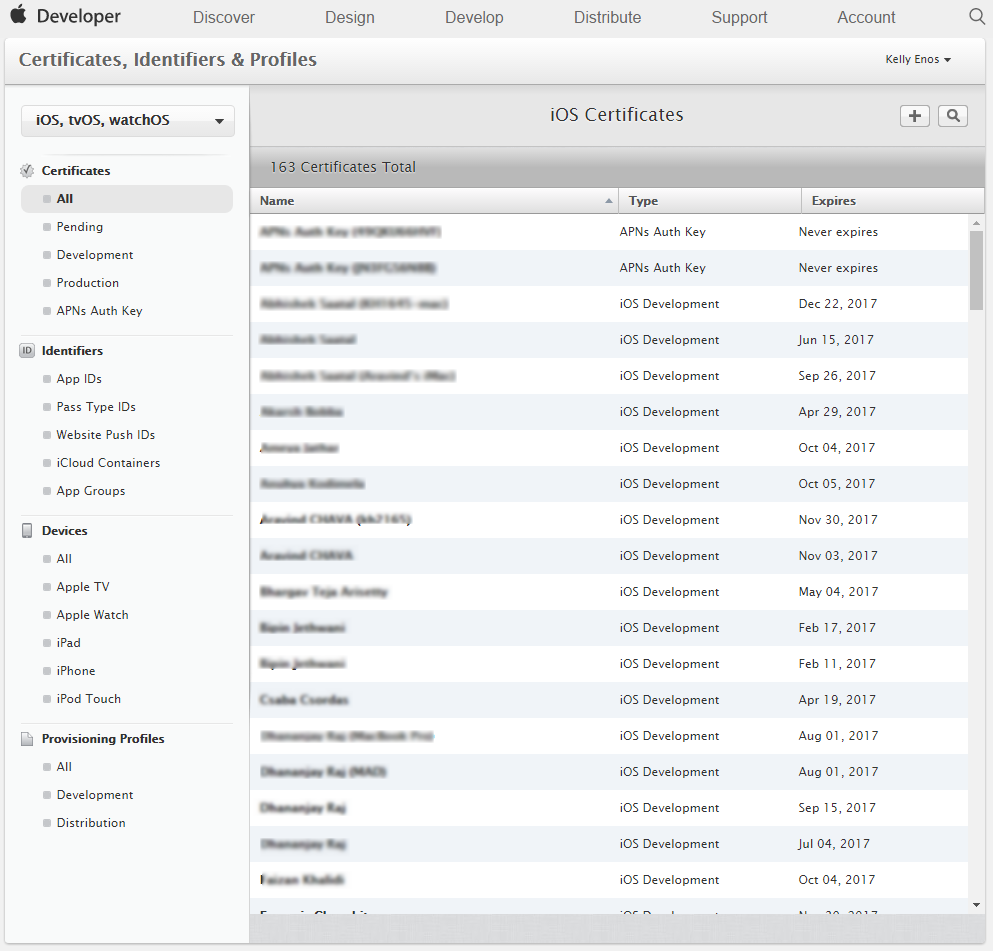
- The next step is to craete an app ID for push notifications. On Developer Account page, click Certificates, IDs and Profiles in the left pane to continue. The Certificates, Identifiers and Profiles page appears.
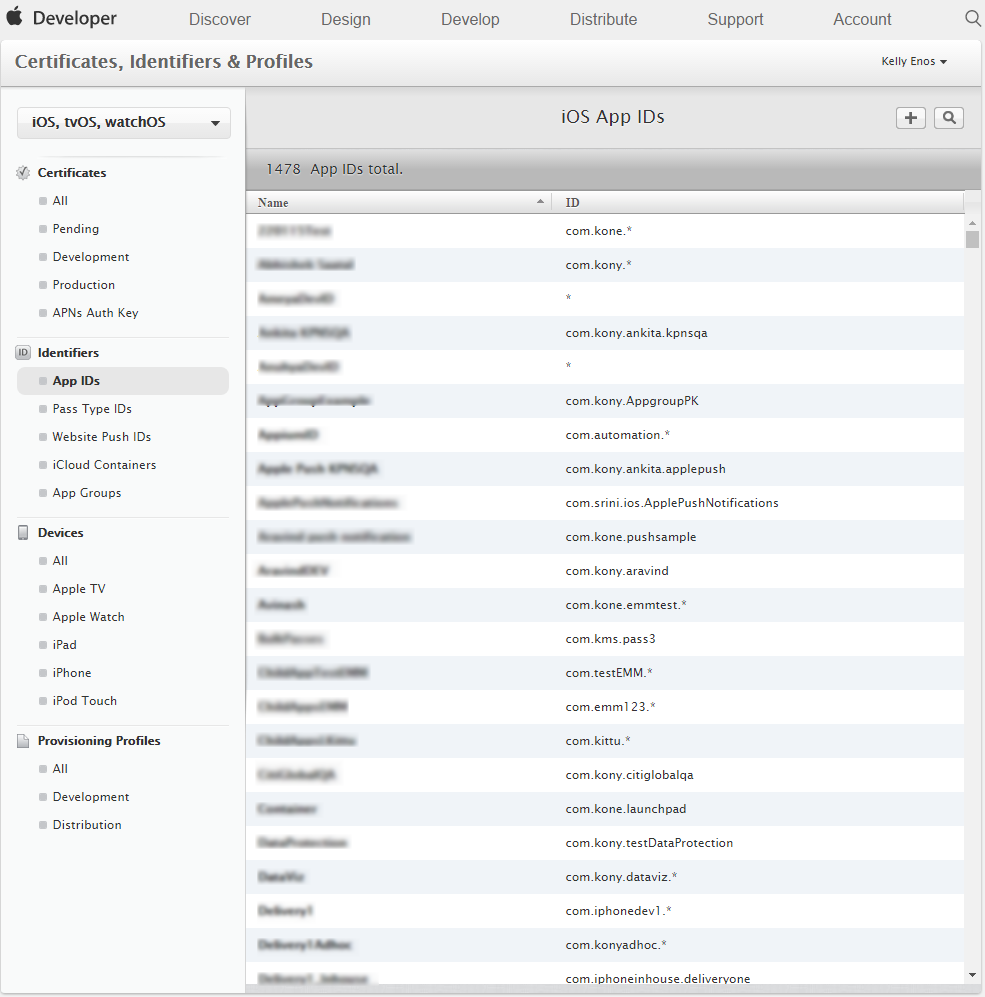
- Click App IDs under Identifiers in the left pane to add a new App Id. The iOS App IDs page appears with a list view of existing App IDs.
- Click plus sign next to the label iOS App IDs.The Register iOS App IDs page appears.
- Register iOS App IDS: Enter the application name for the description and a bundle Id. Remember the bundle Id as it will be used to configure the application in Visualizer.
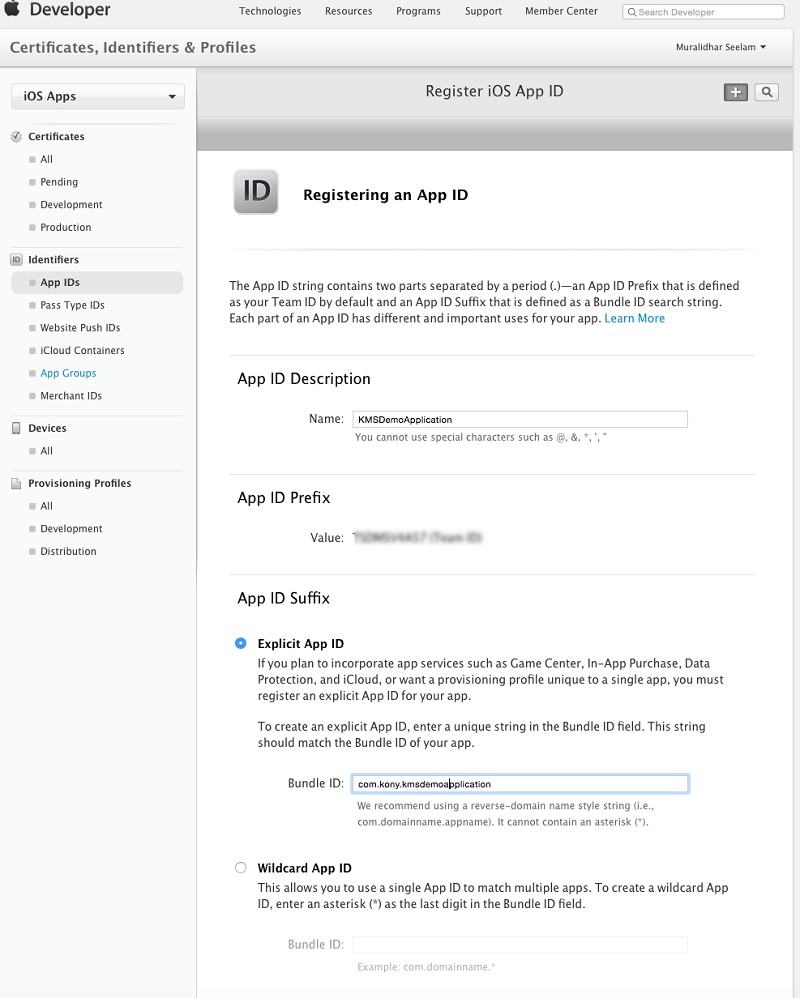
- Ensure that Push Notifications is checked under the App Services section. Click Continue.

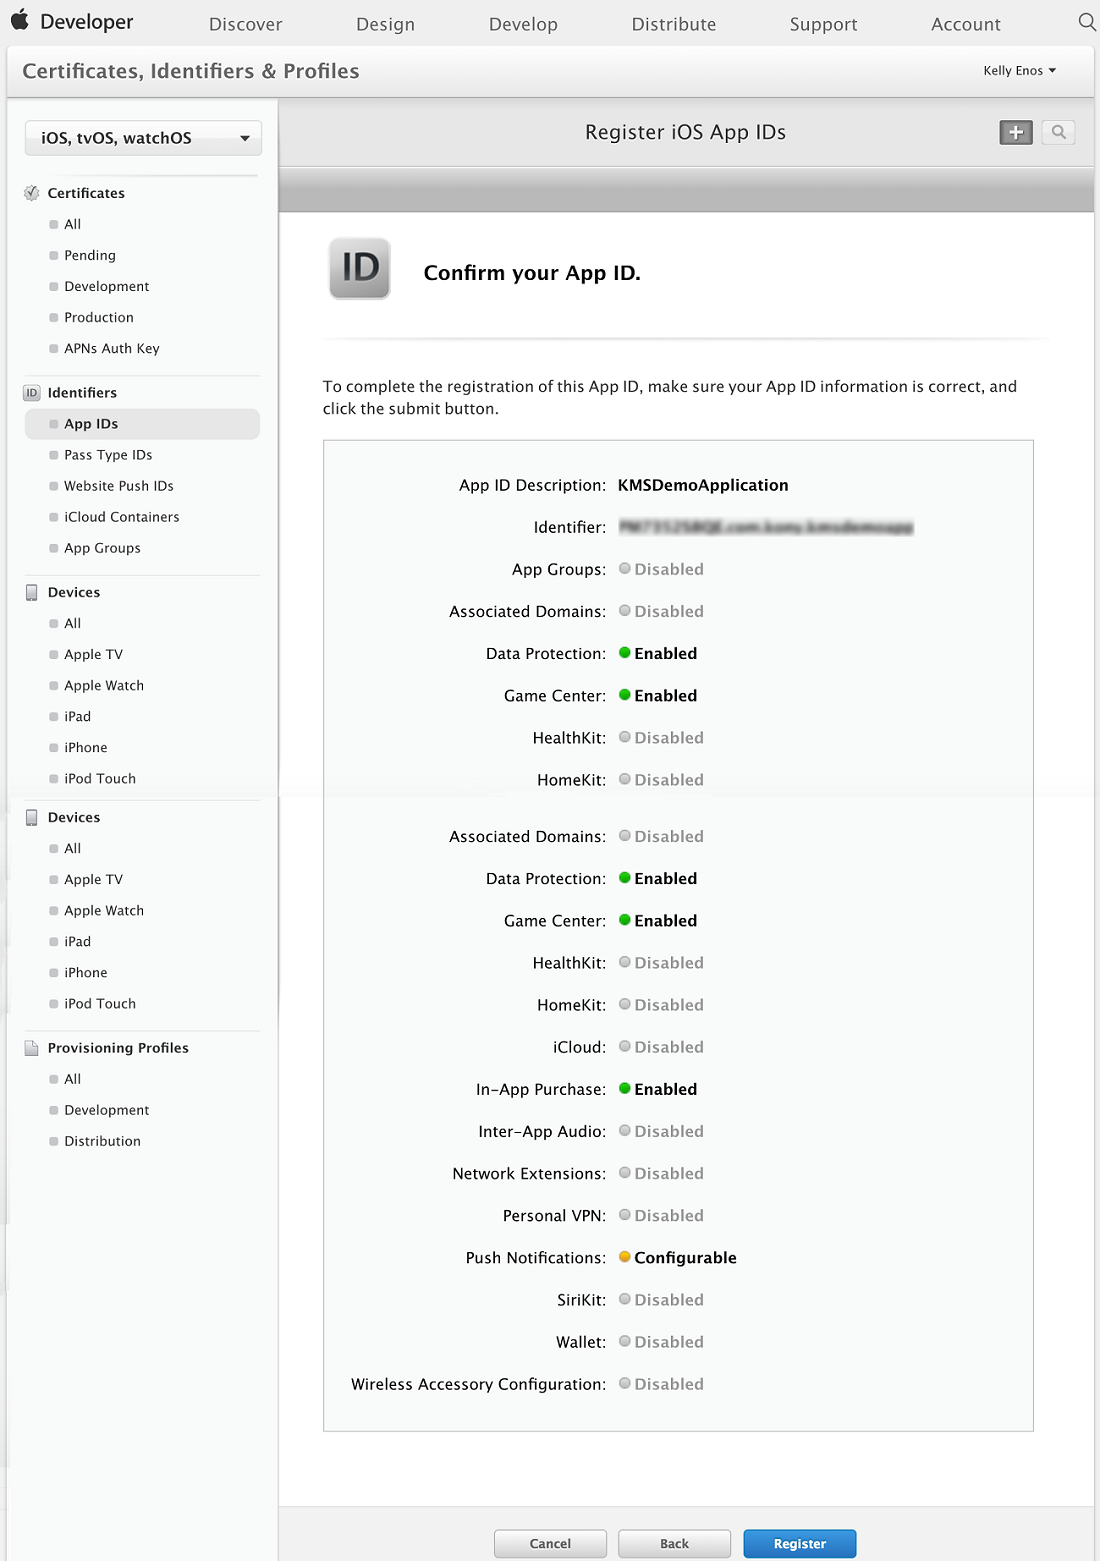
- The screen below is the confirmation screen with all the details of the App Id that will be created. Click Register to continue.
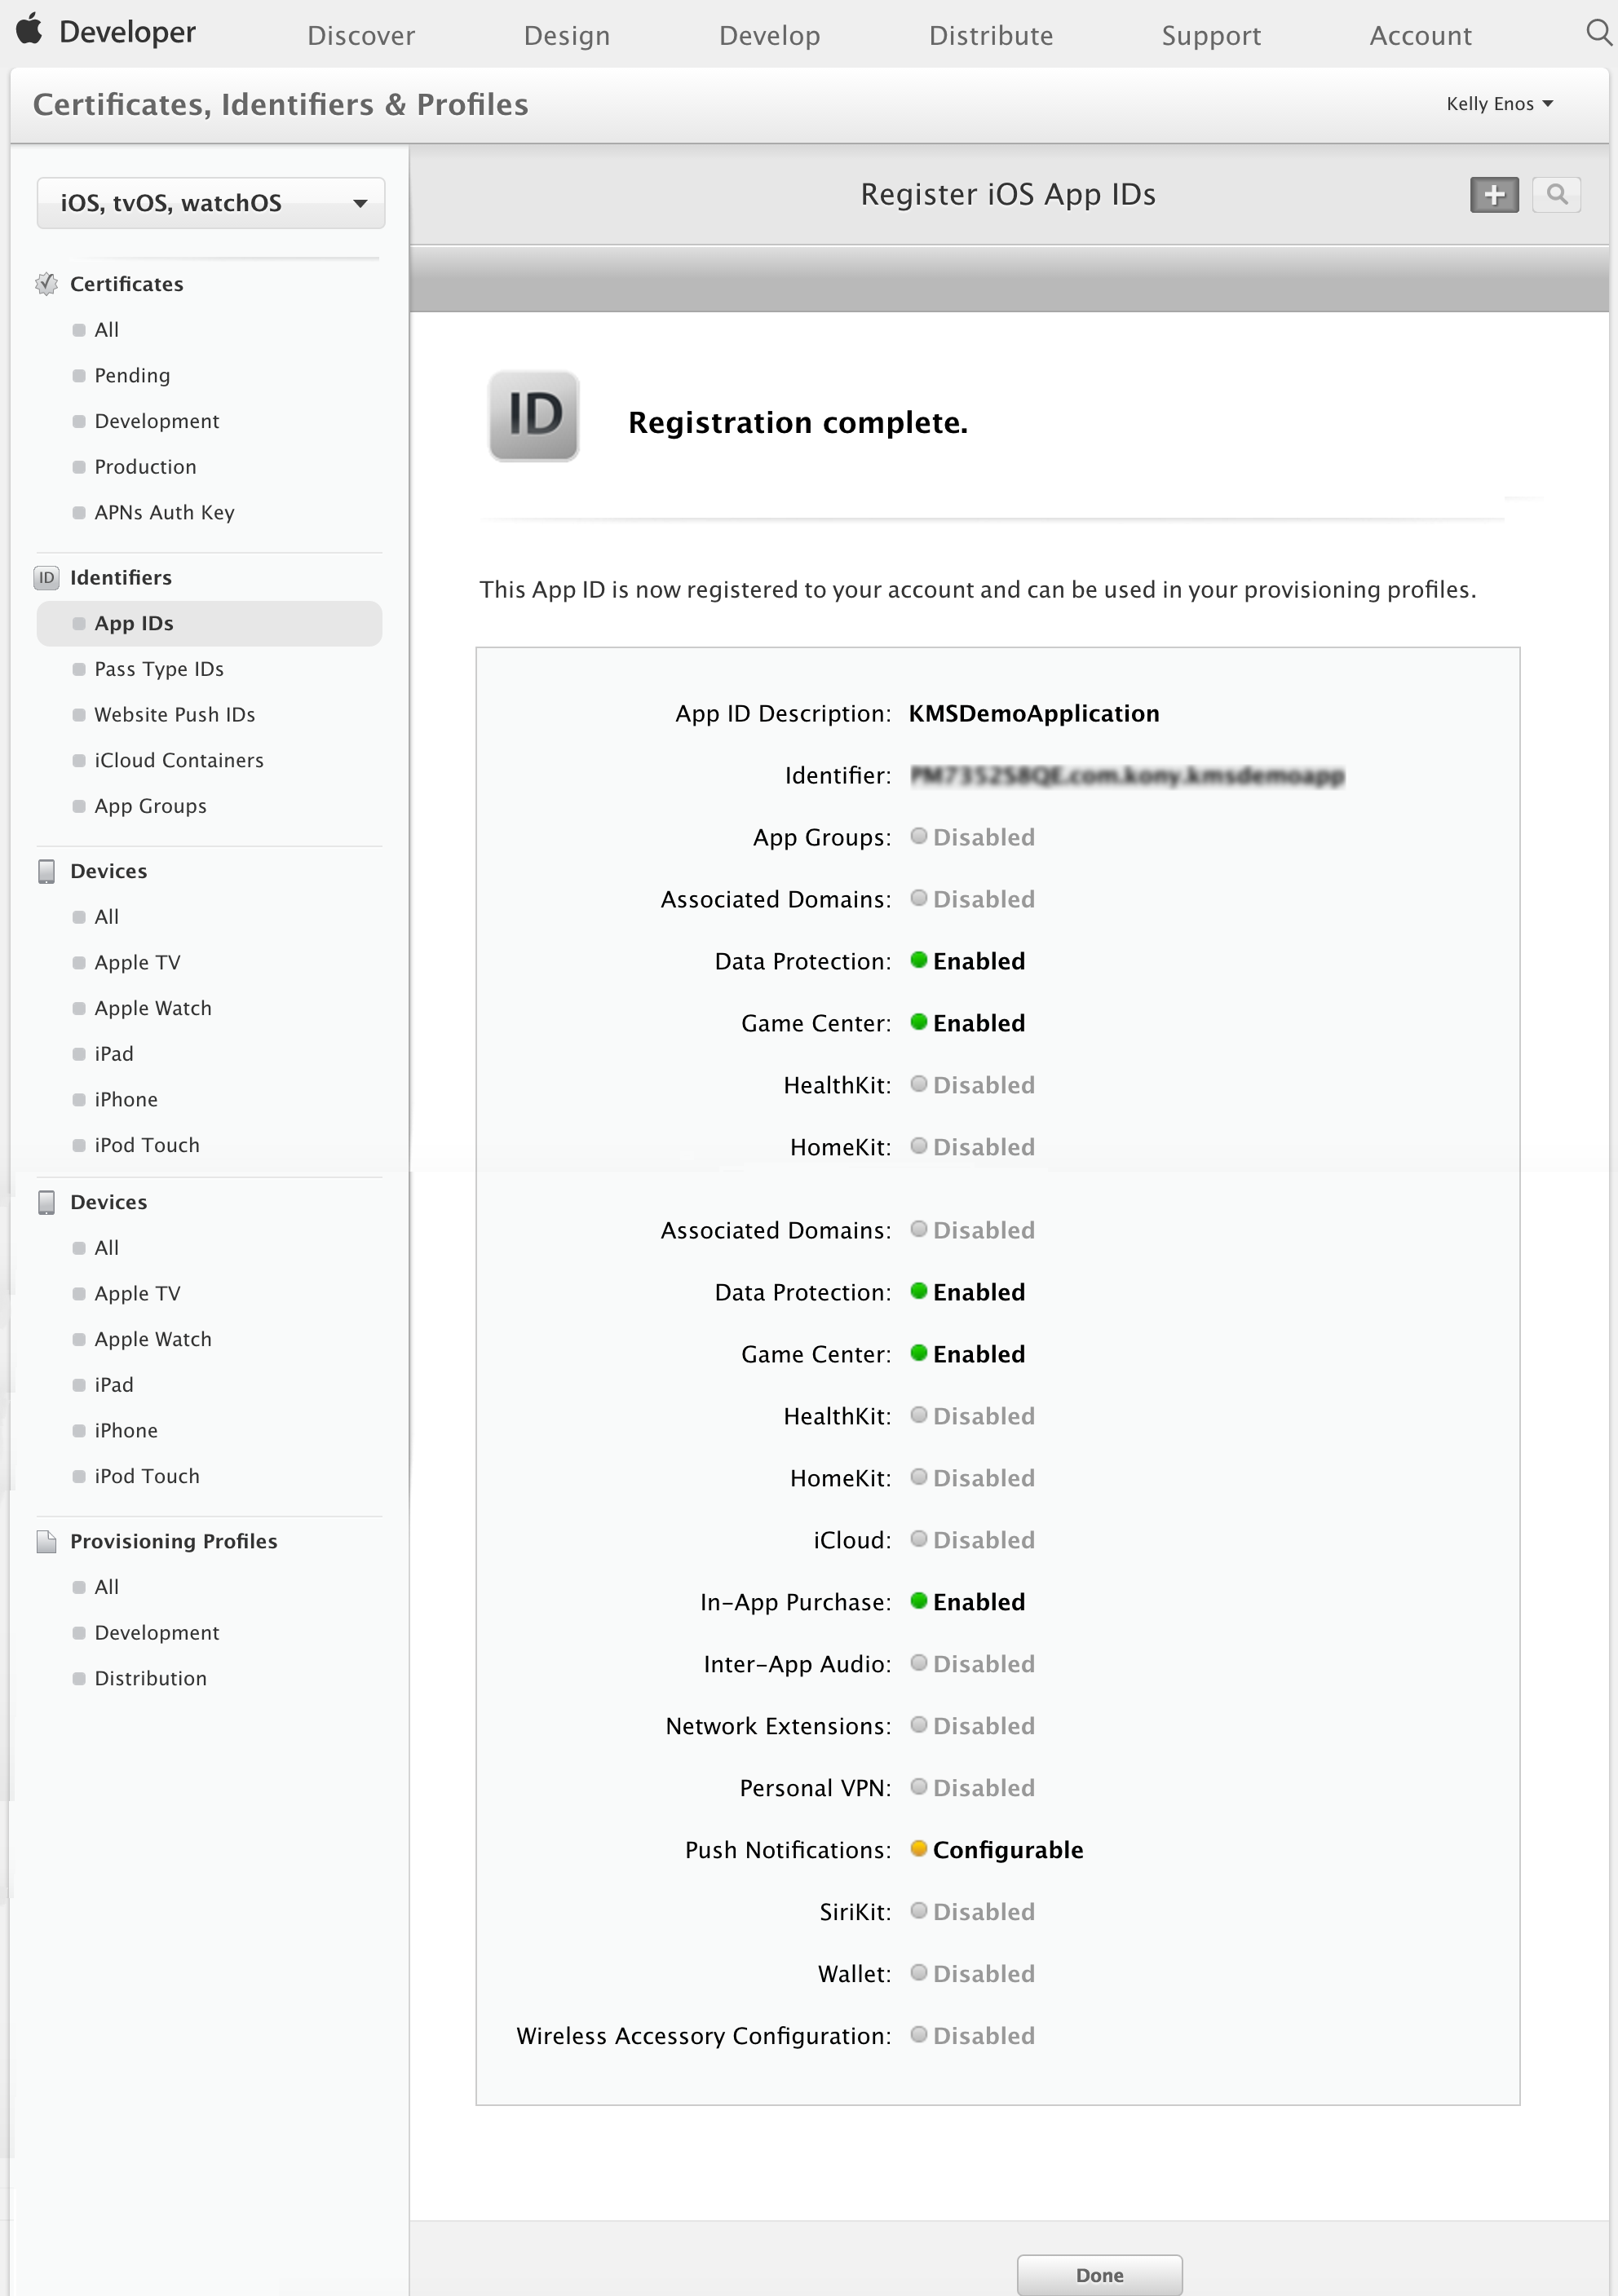
- The system displays the message that App Id is confirmed. Click Done.
- The next few steps discuss the configuration of the app ID for push notifications. Select the app ID that was created.
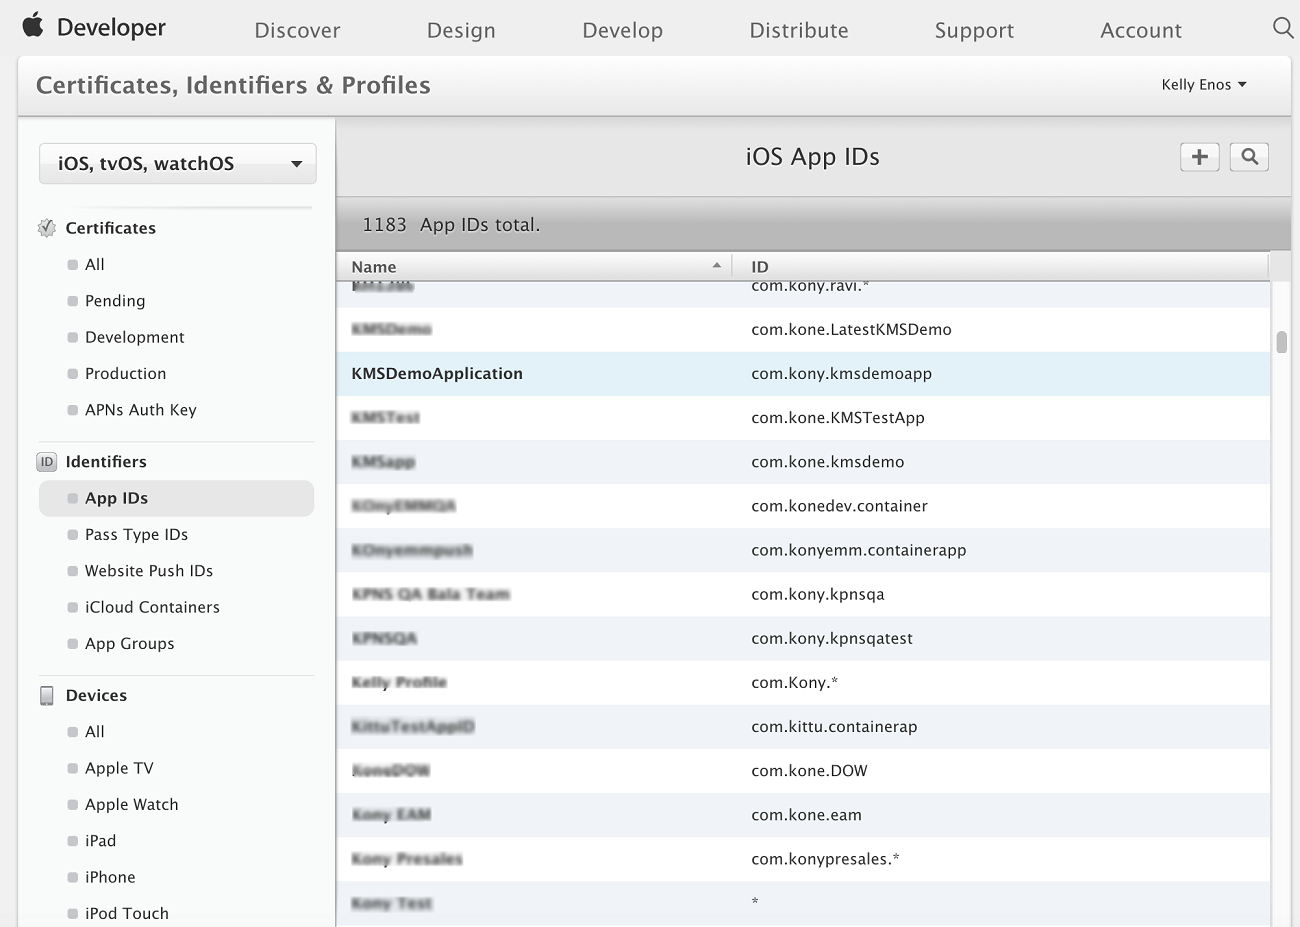
- Click the application name (KMSDemoApplication in the example below) and click Edit to edit the information of the application Id chosen.
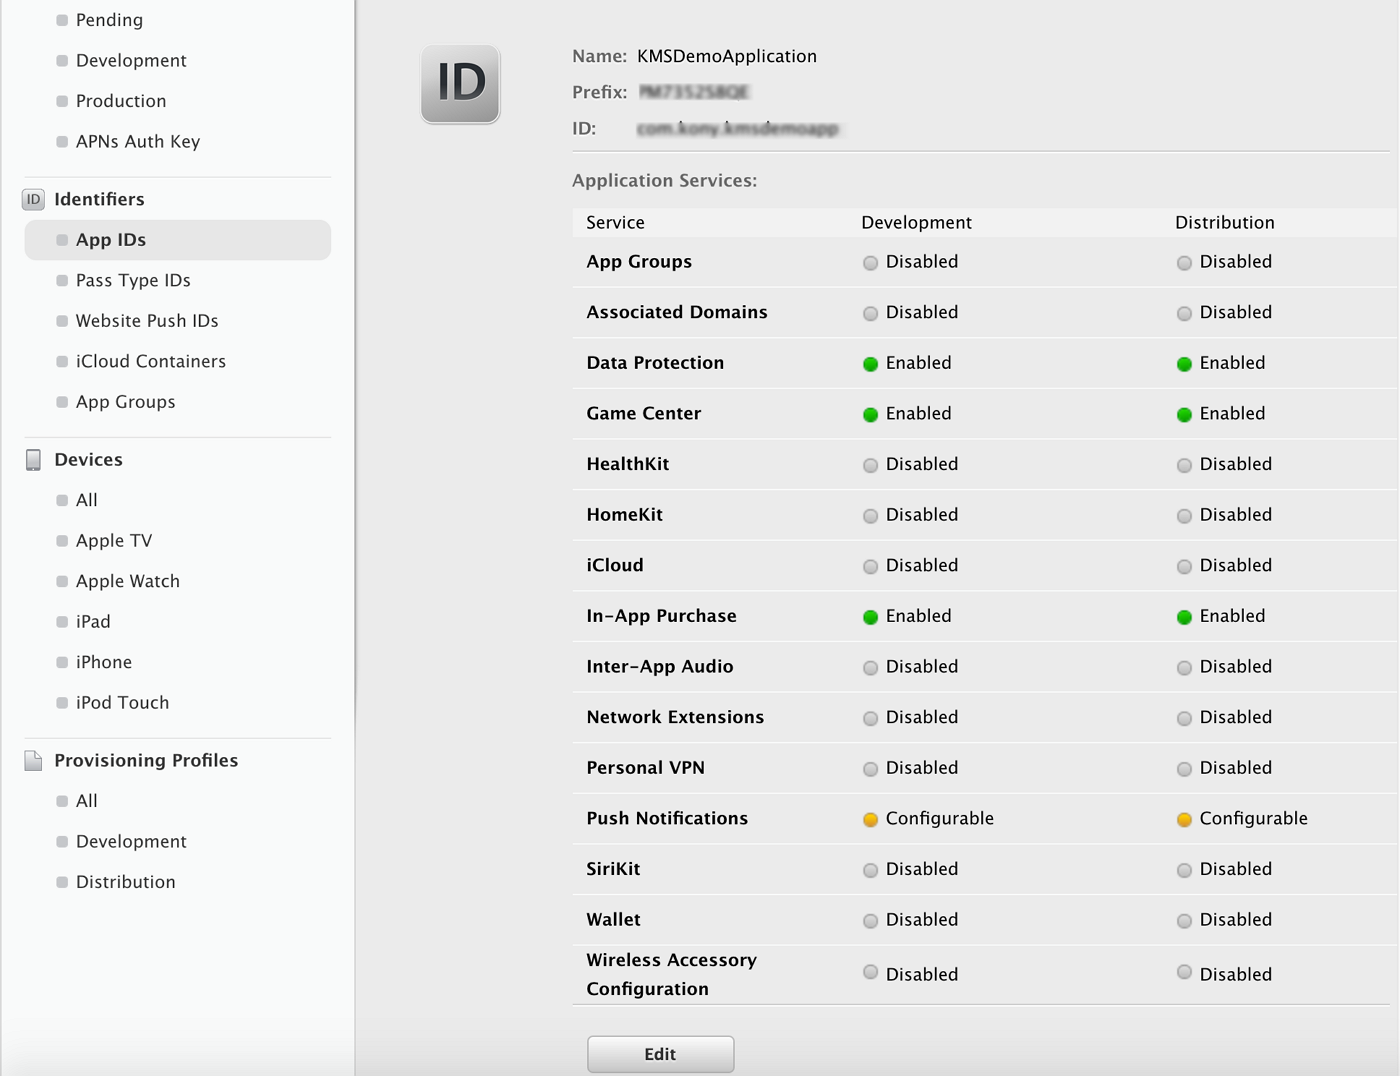
- In App ID Suffix >App Services section, select Push Notifications option to create the development and production certificates. Click Continue.

- To create a development certificate, click Create Certificate in the Development SSL Certificate section. Then, click Done.

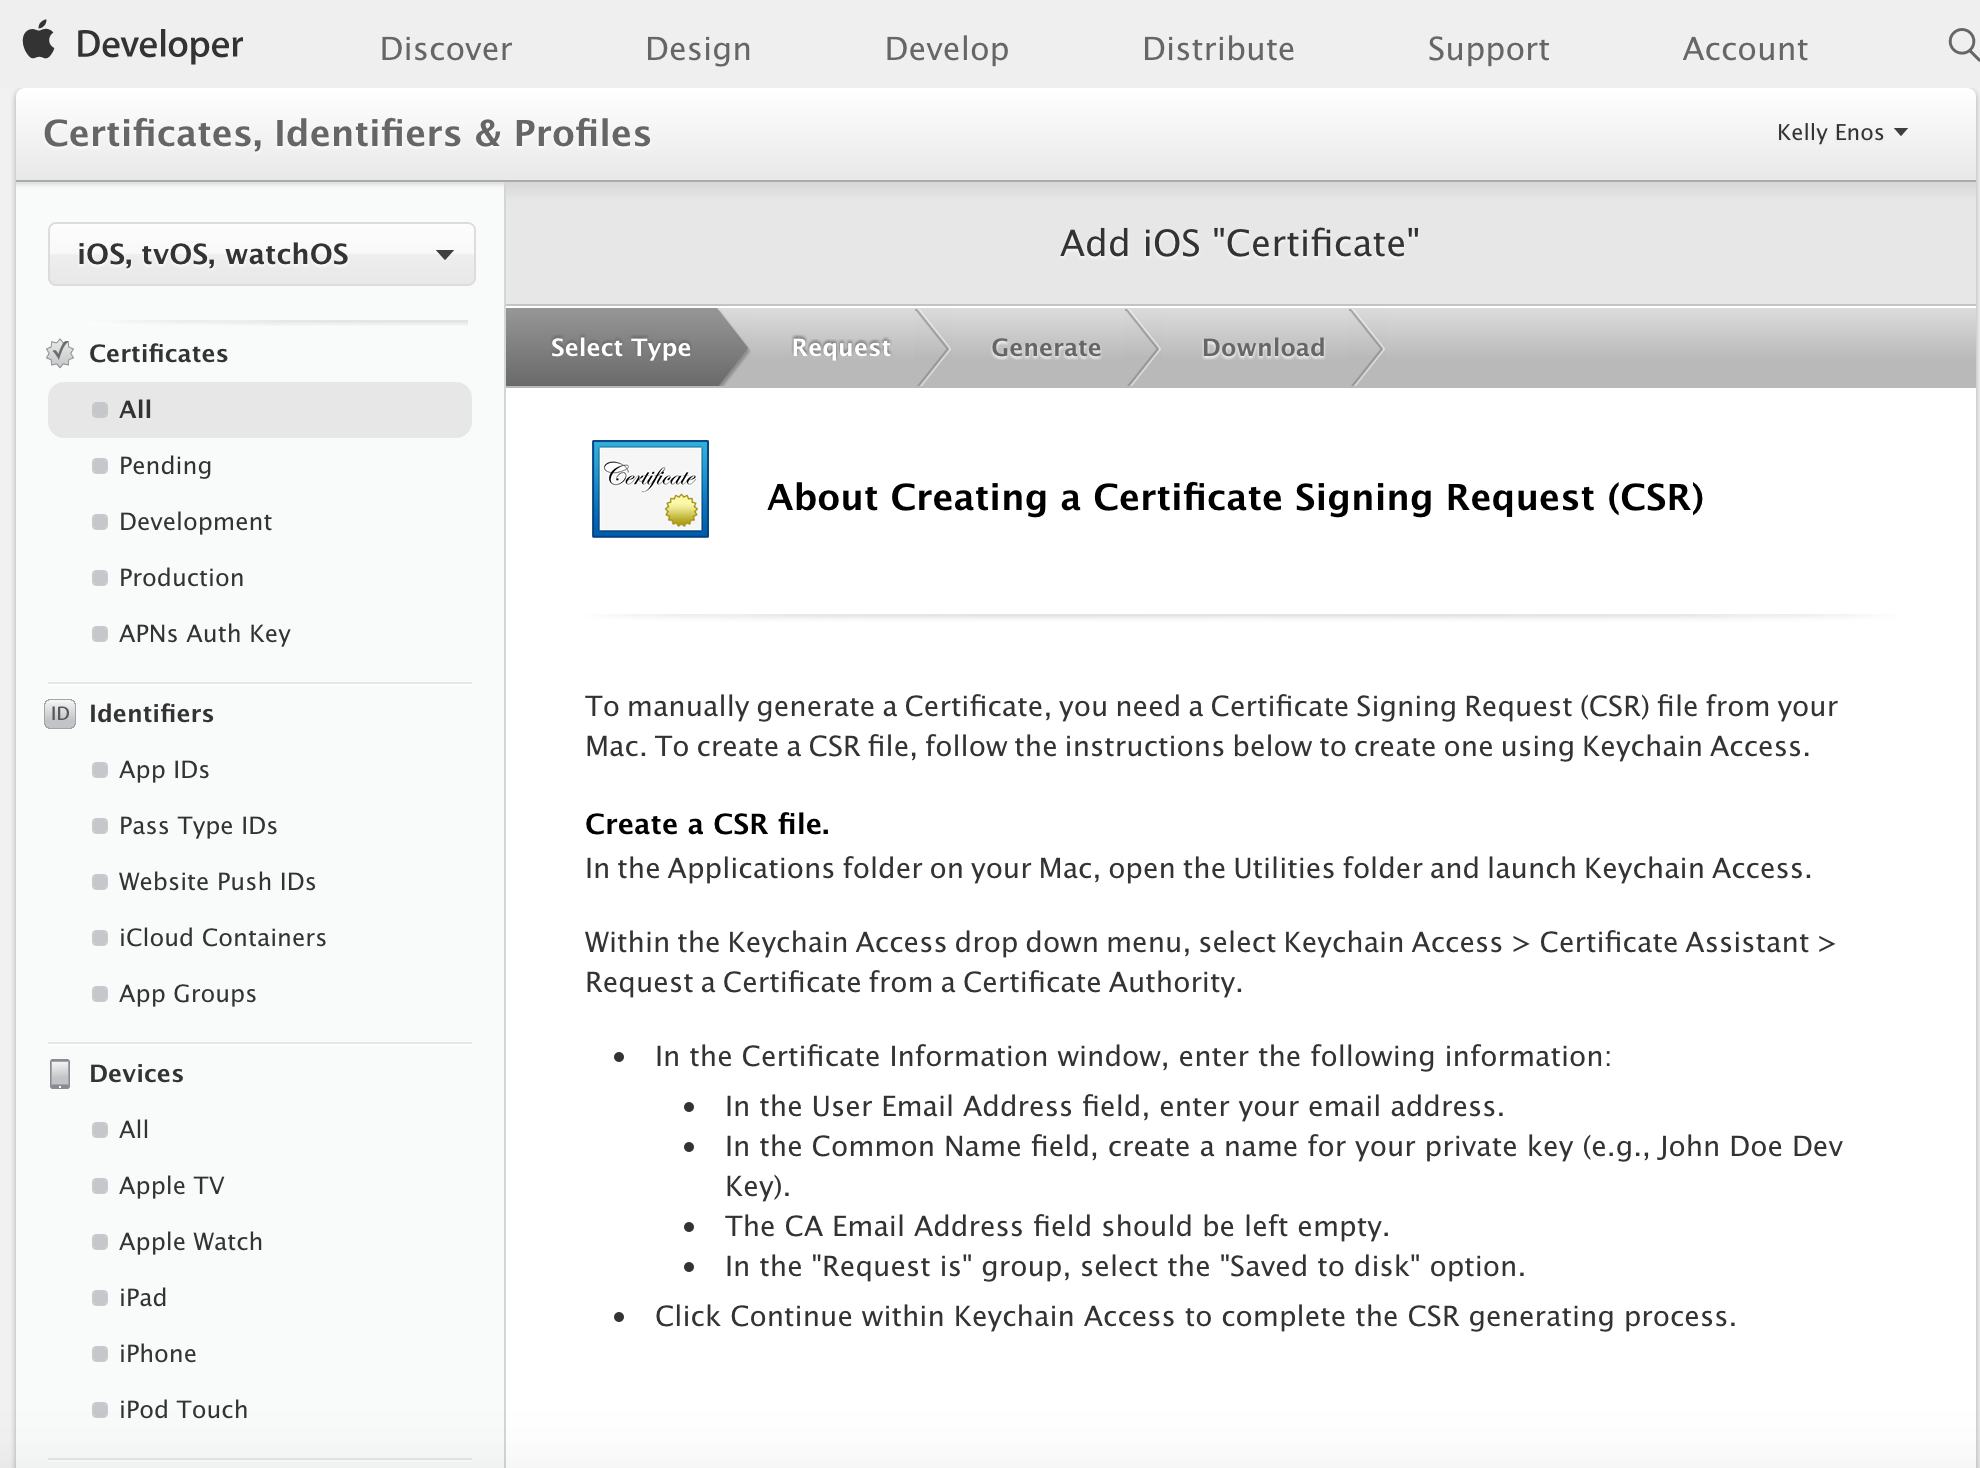
- The screen below describes the steps to create the Certificate Signing Request (CSR) but as these steps are already complete, click Continue to move to next step.
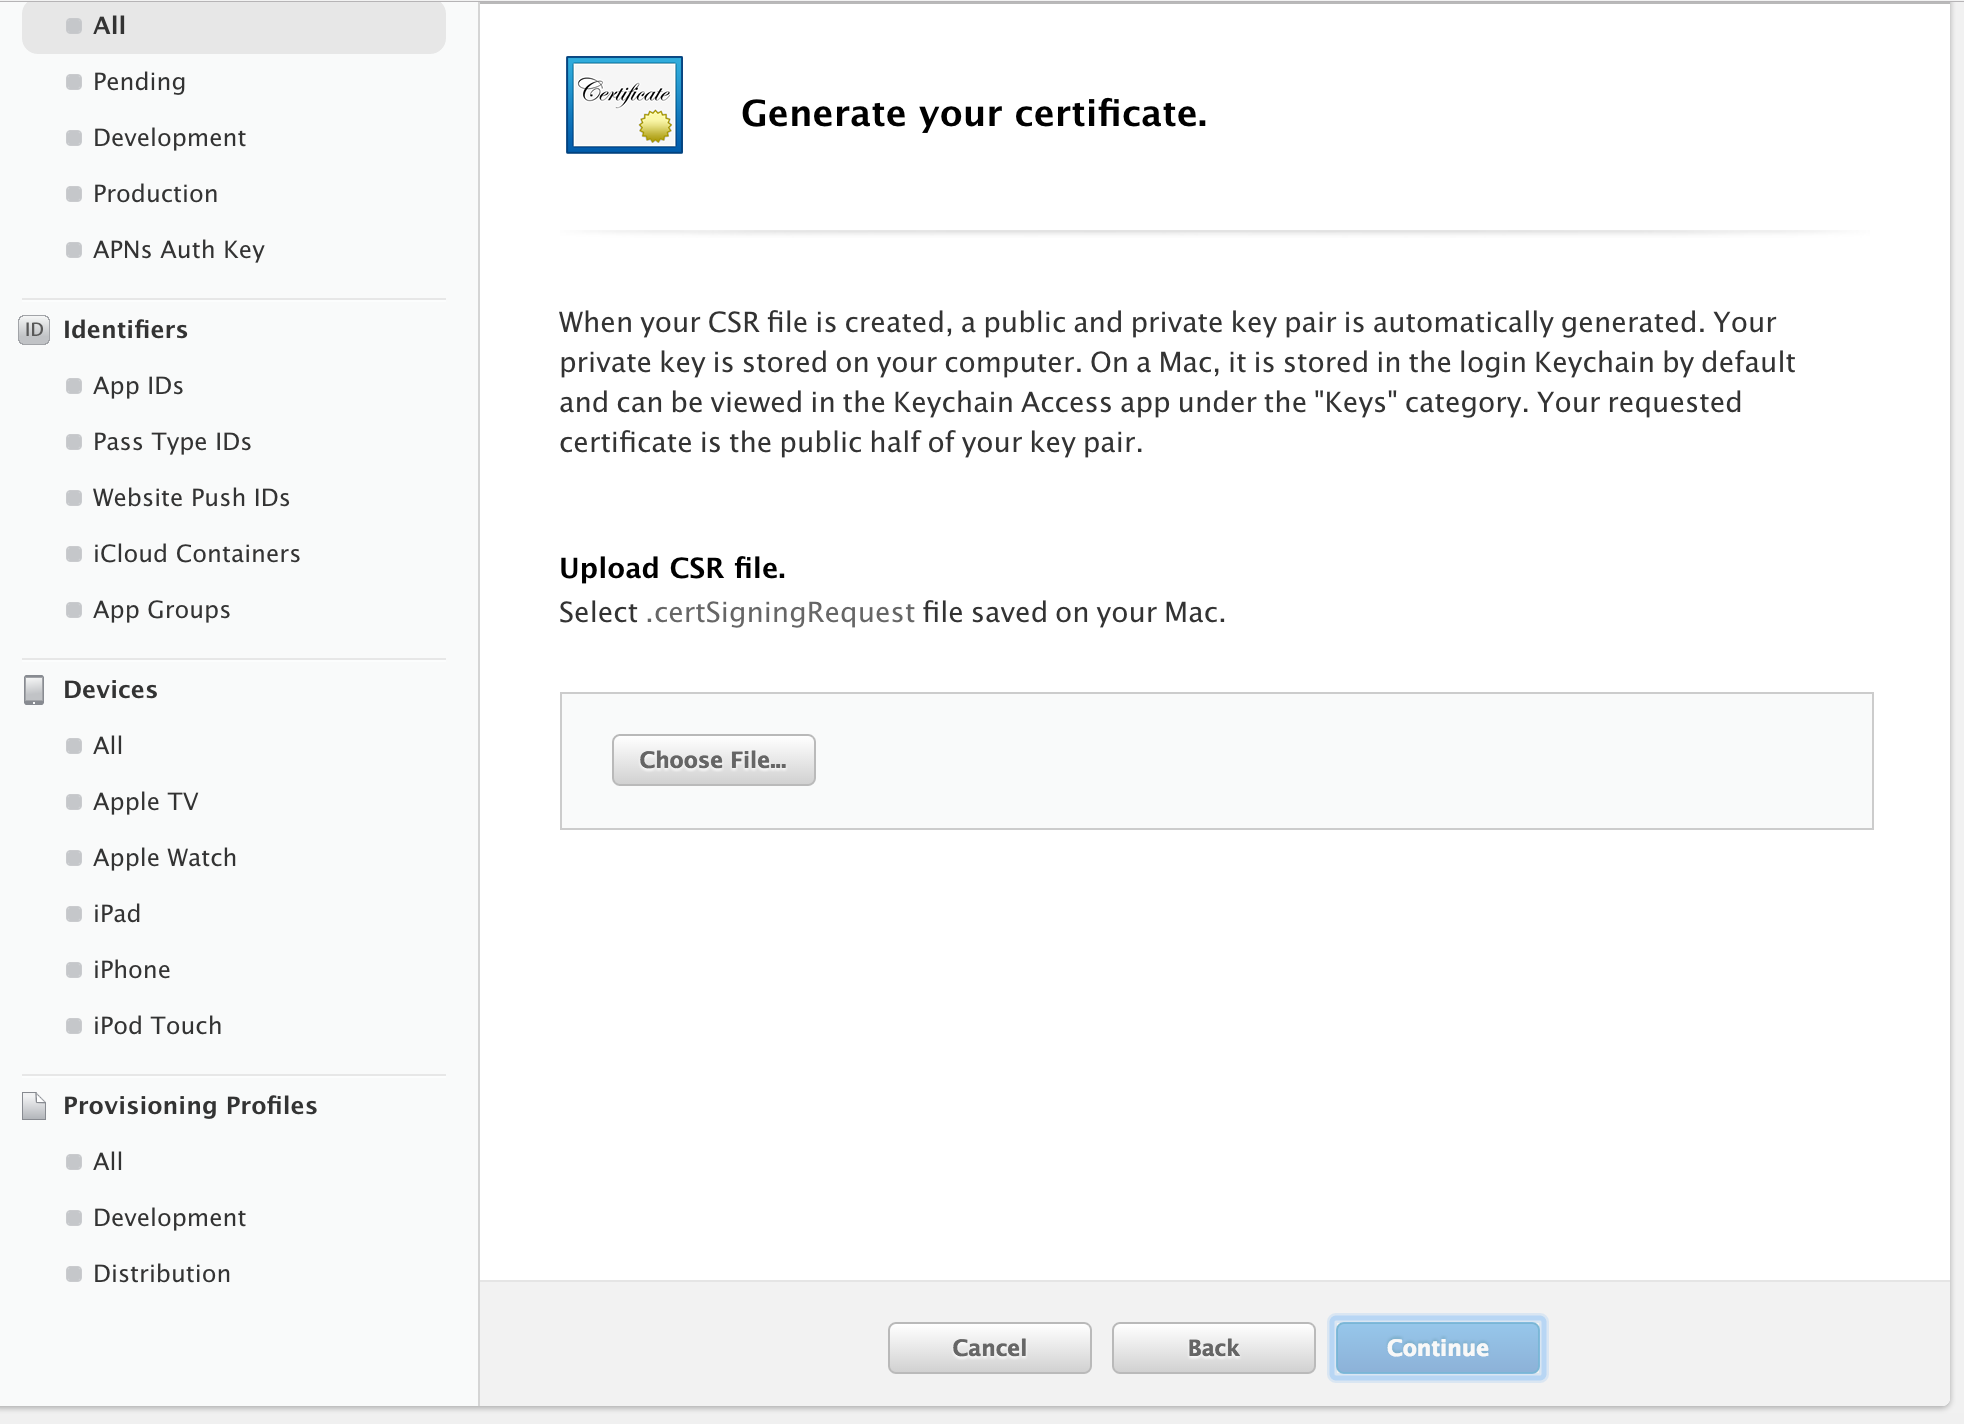
- The next step involves choosing the CSR file that was generated earlier. Click Choose File option to upload the created request.
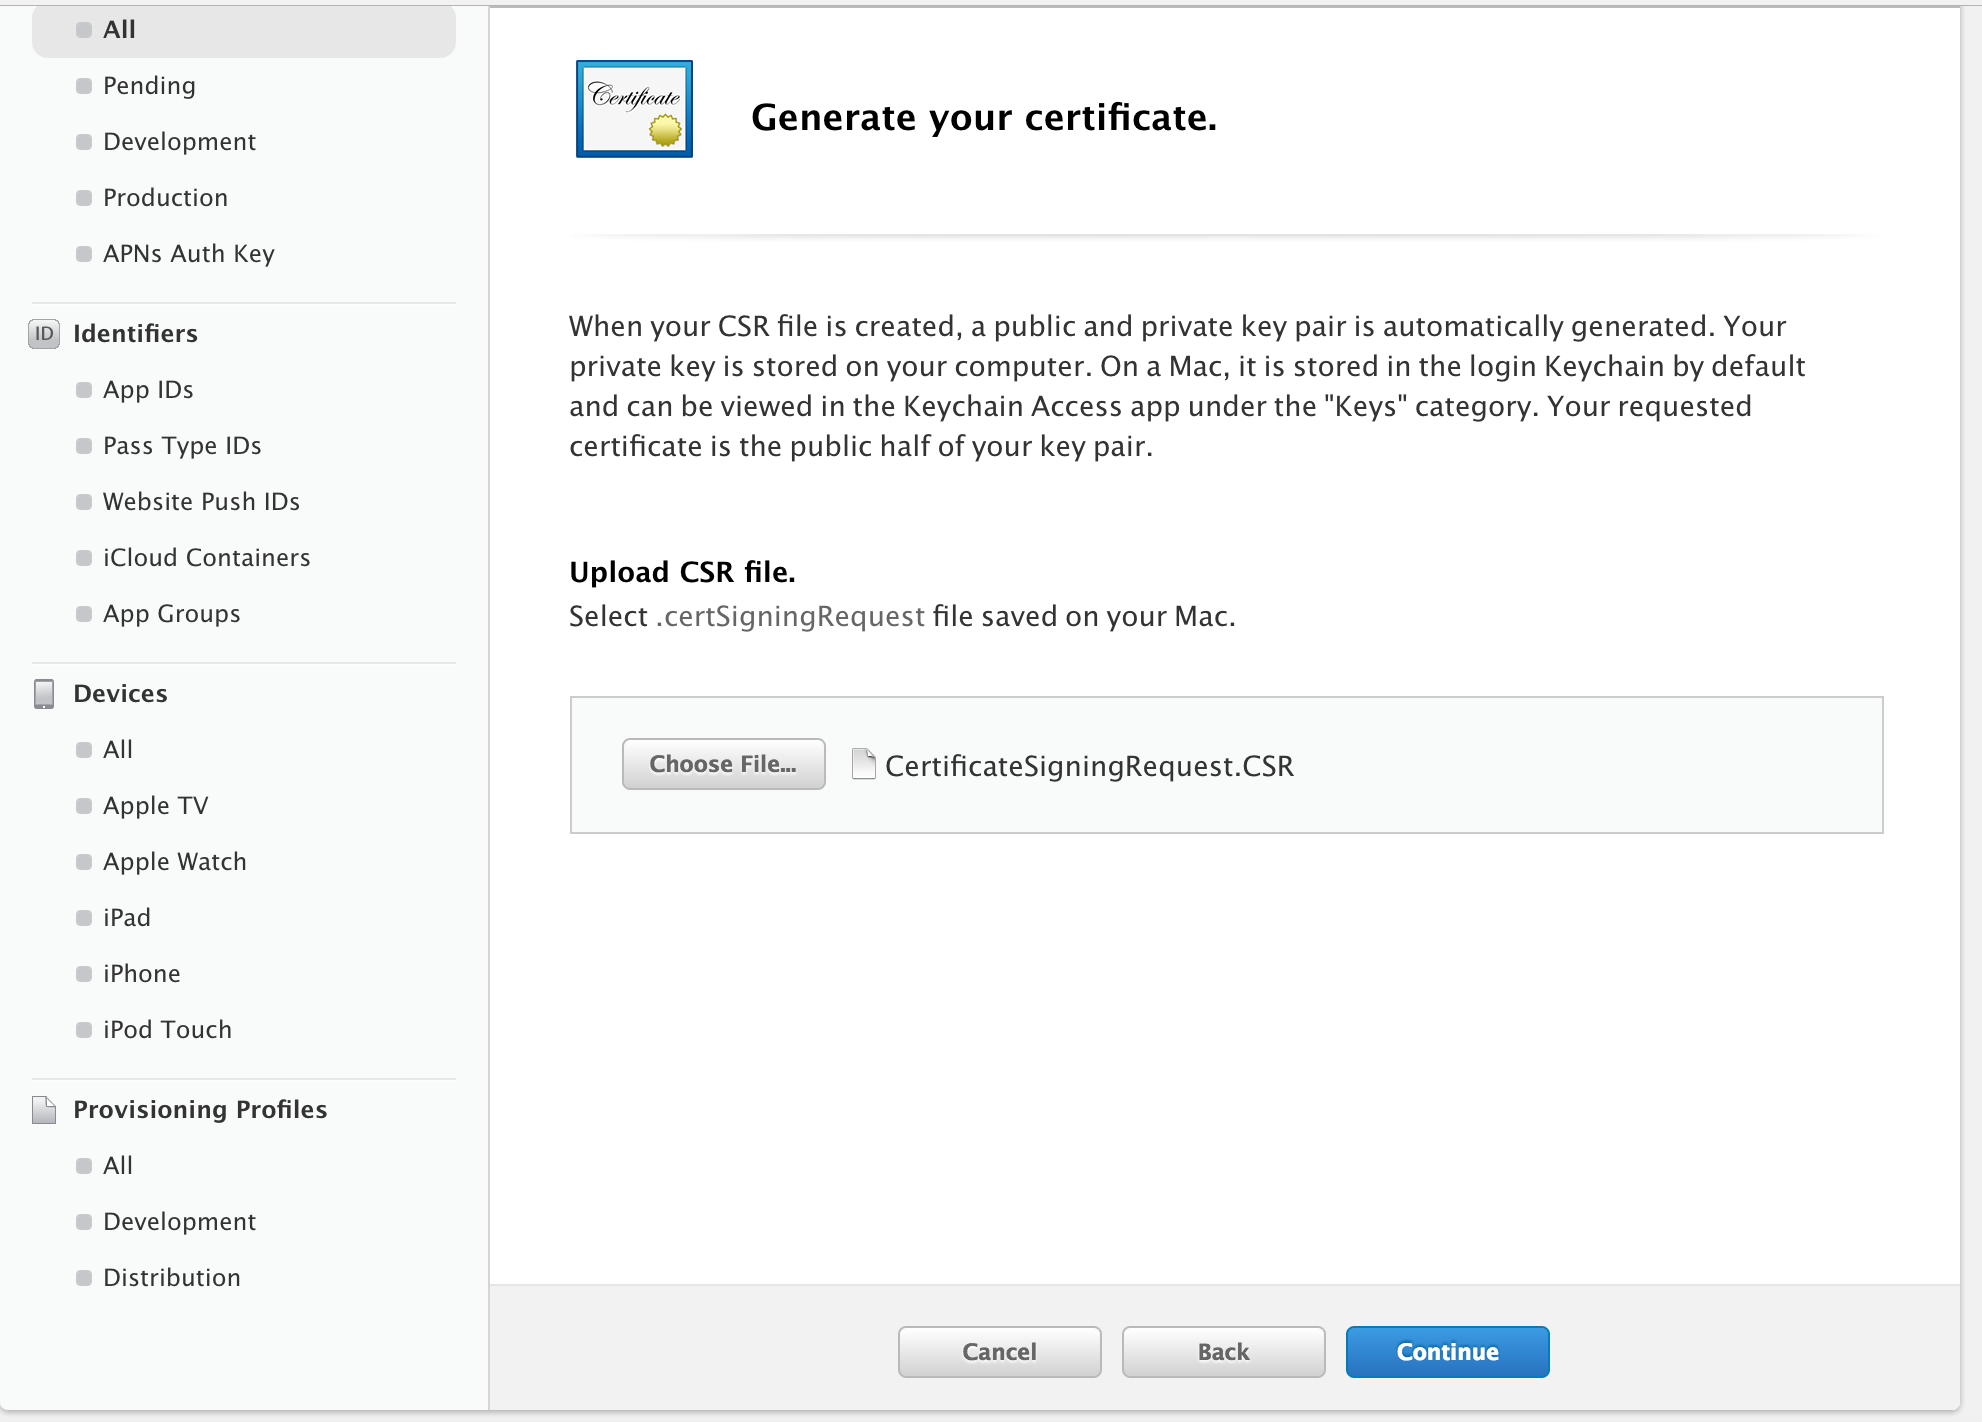
- Click Generate after the CSR file is selected to complete the certificate creation.
- Click Done on the display screen that shows that the certificate is created successfully.
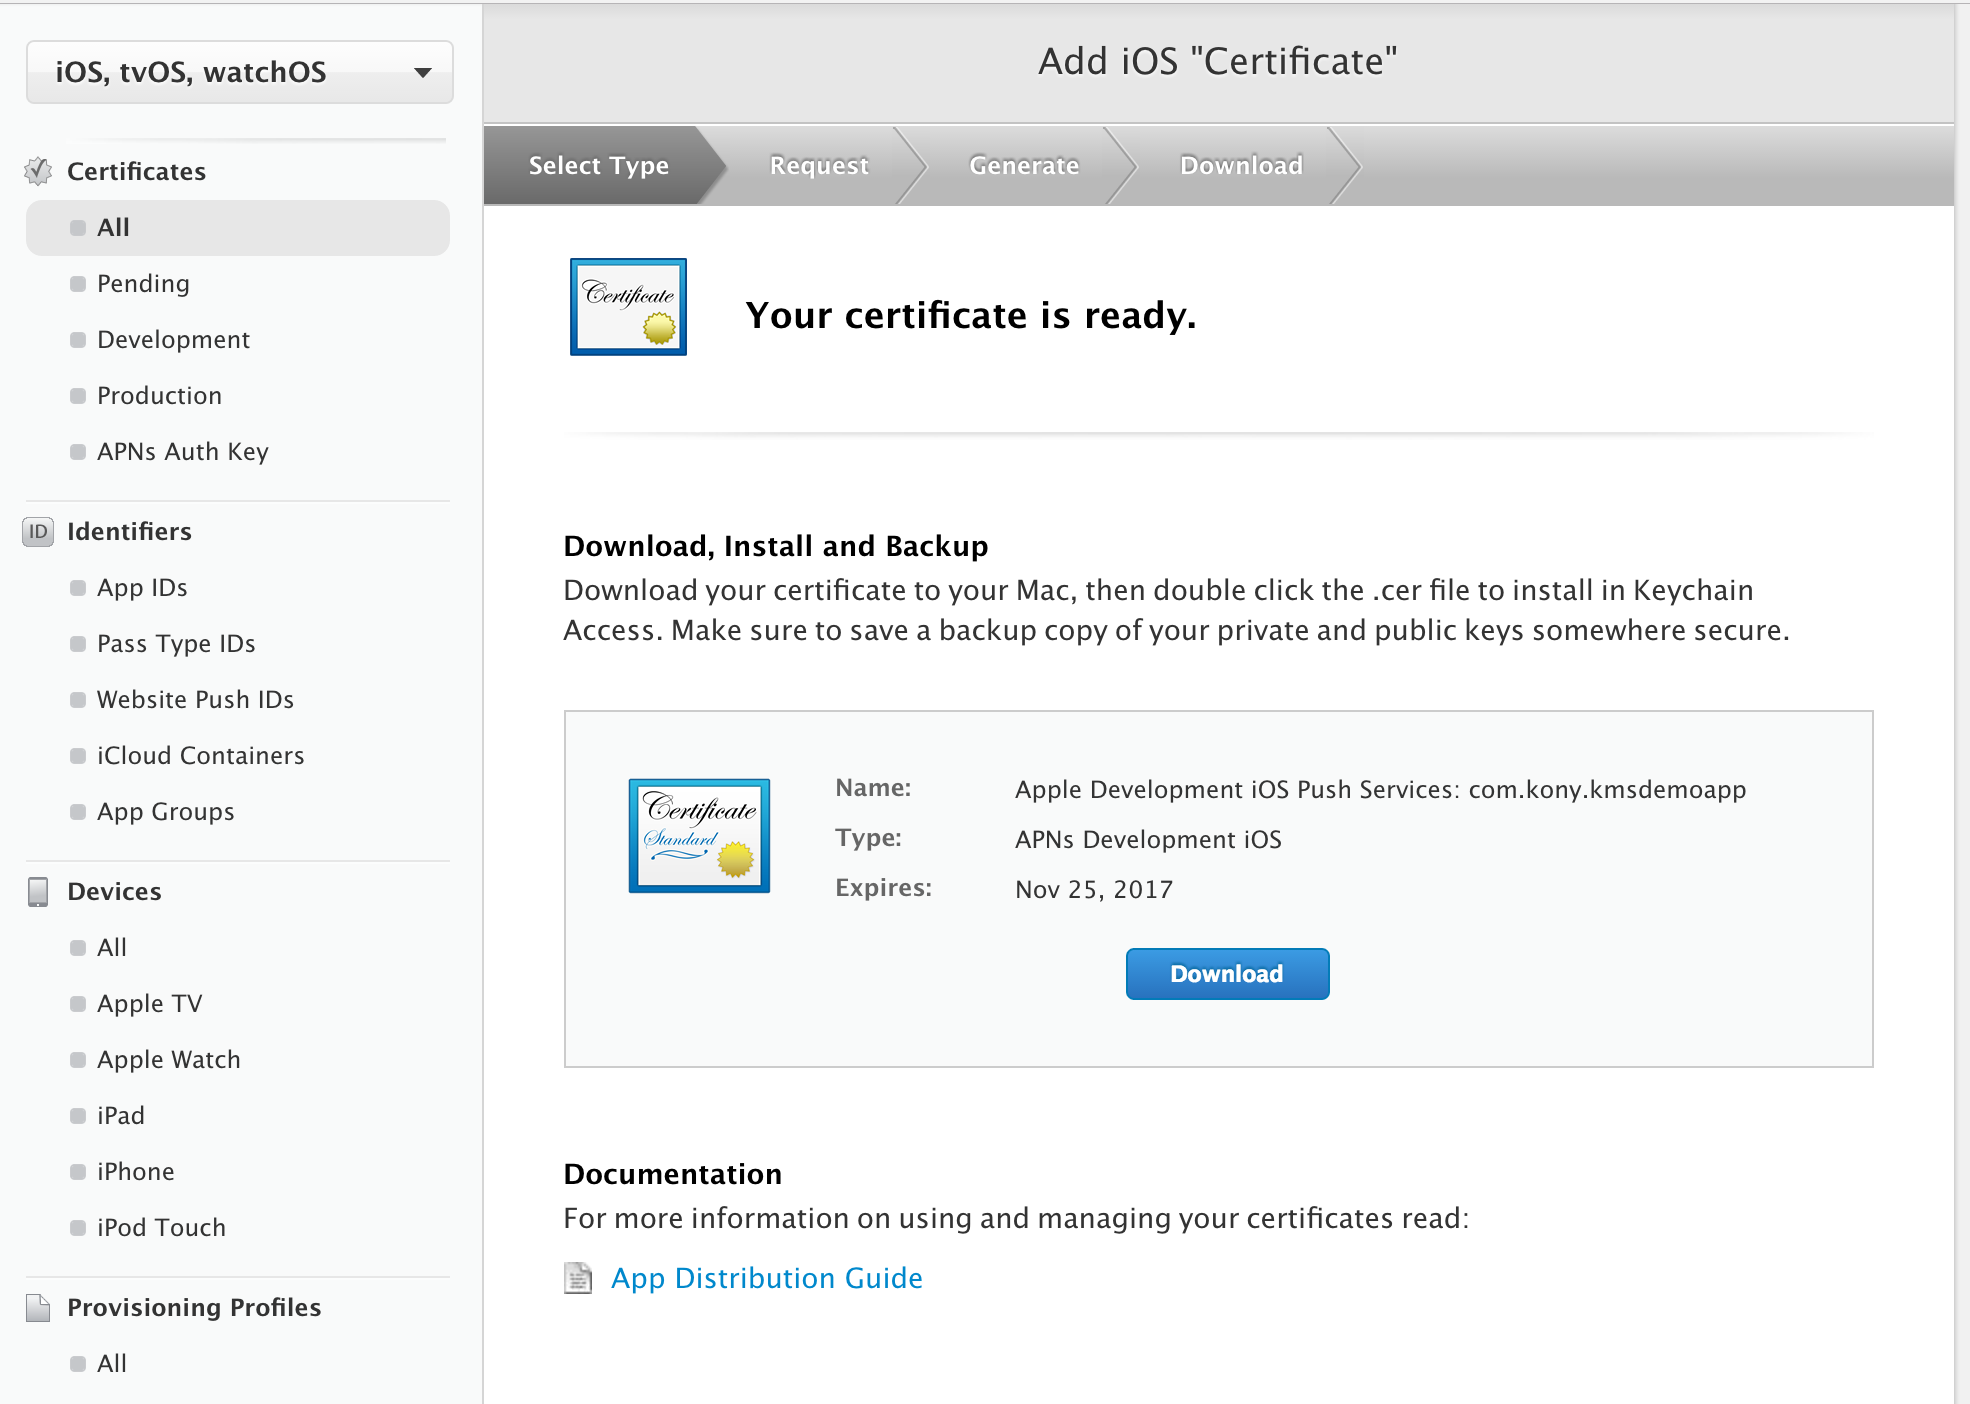
- Select com.kony.kmsapplicationdemo in the iOS Certificates and click Download to download the certificate.
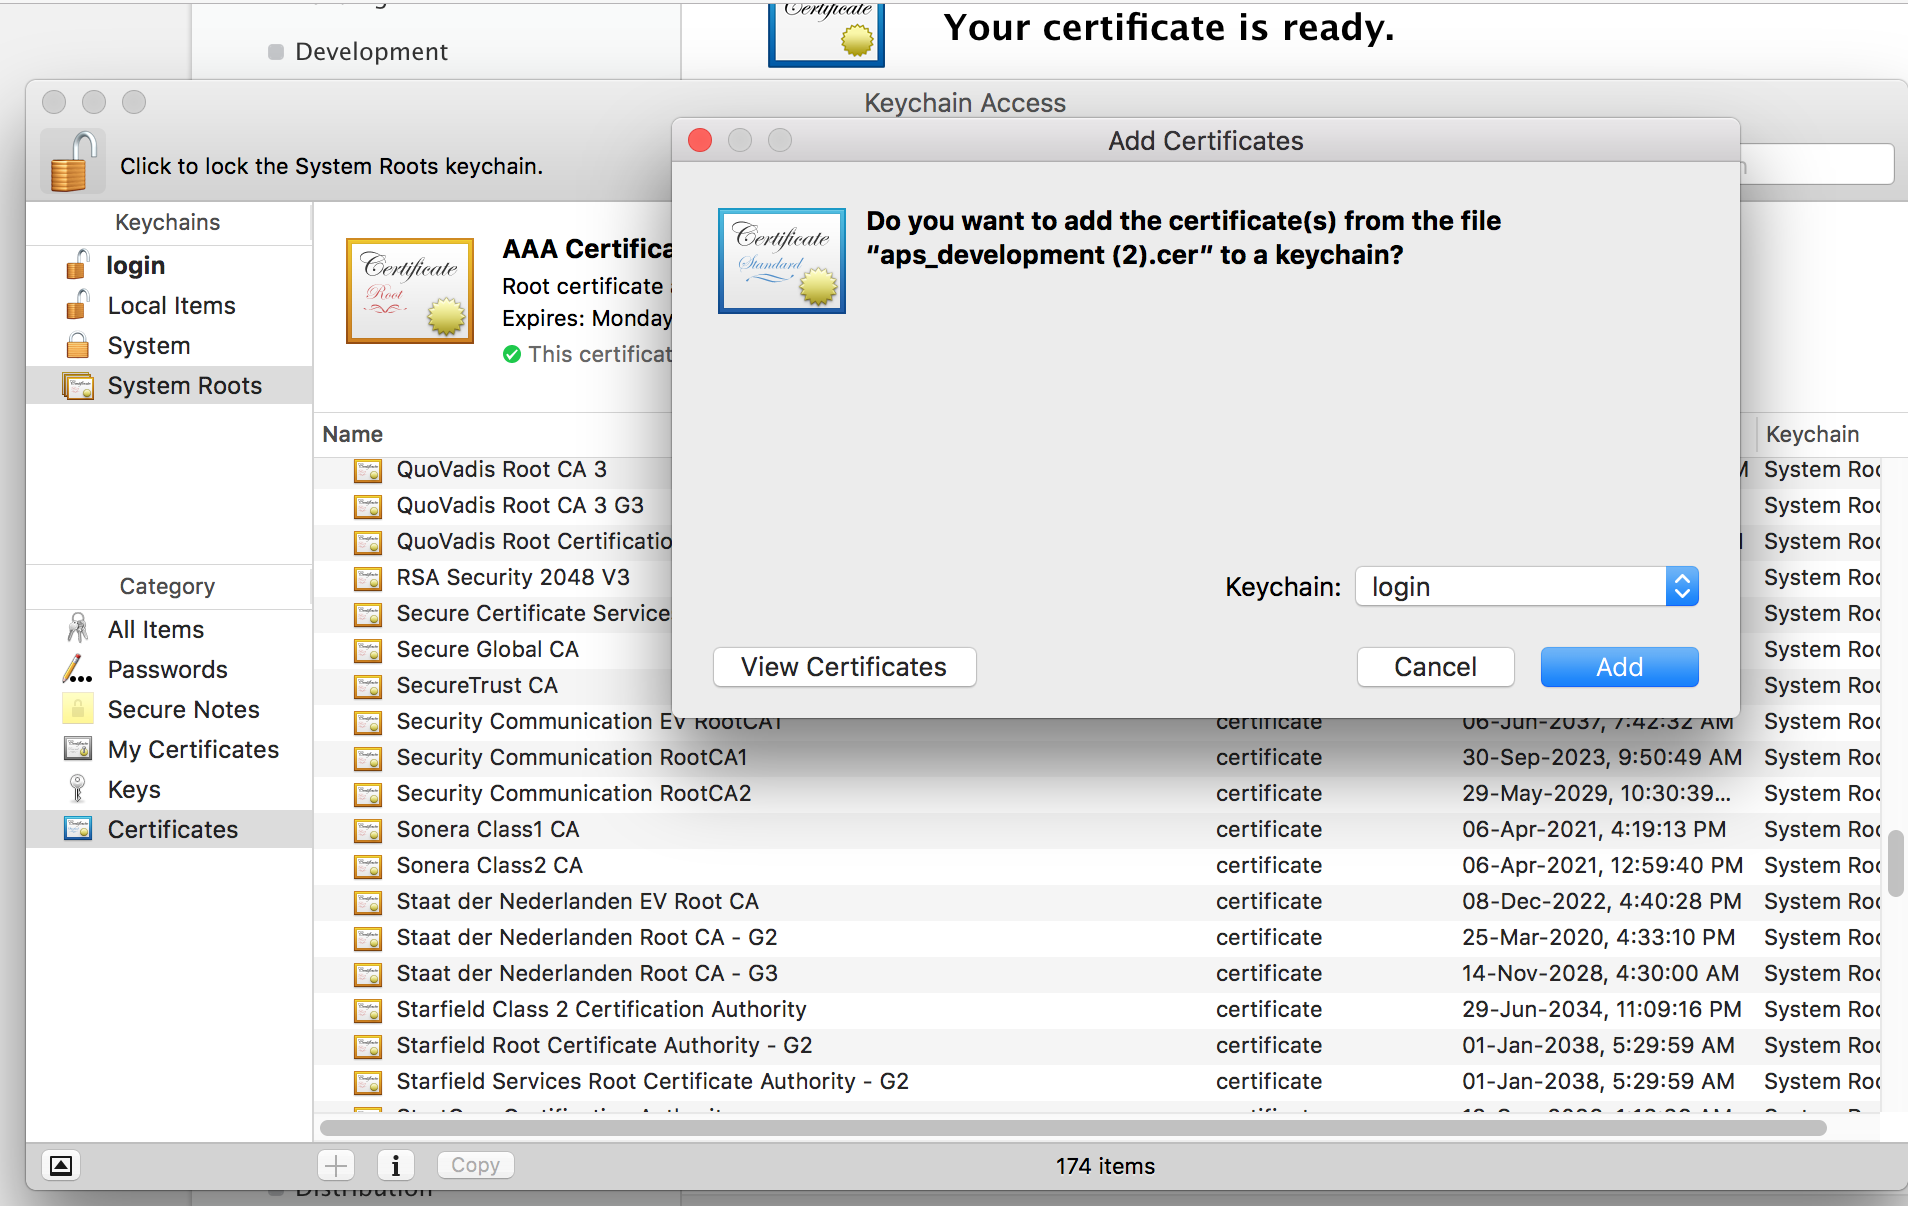
- Double click aps_production.cer in the Downloads folder to add it to the Keychain Access application.
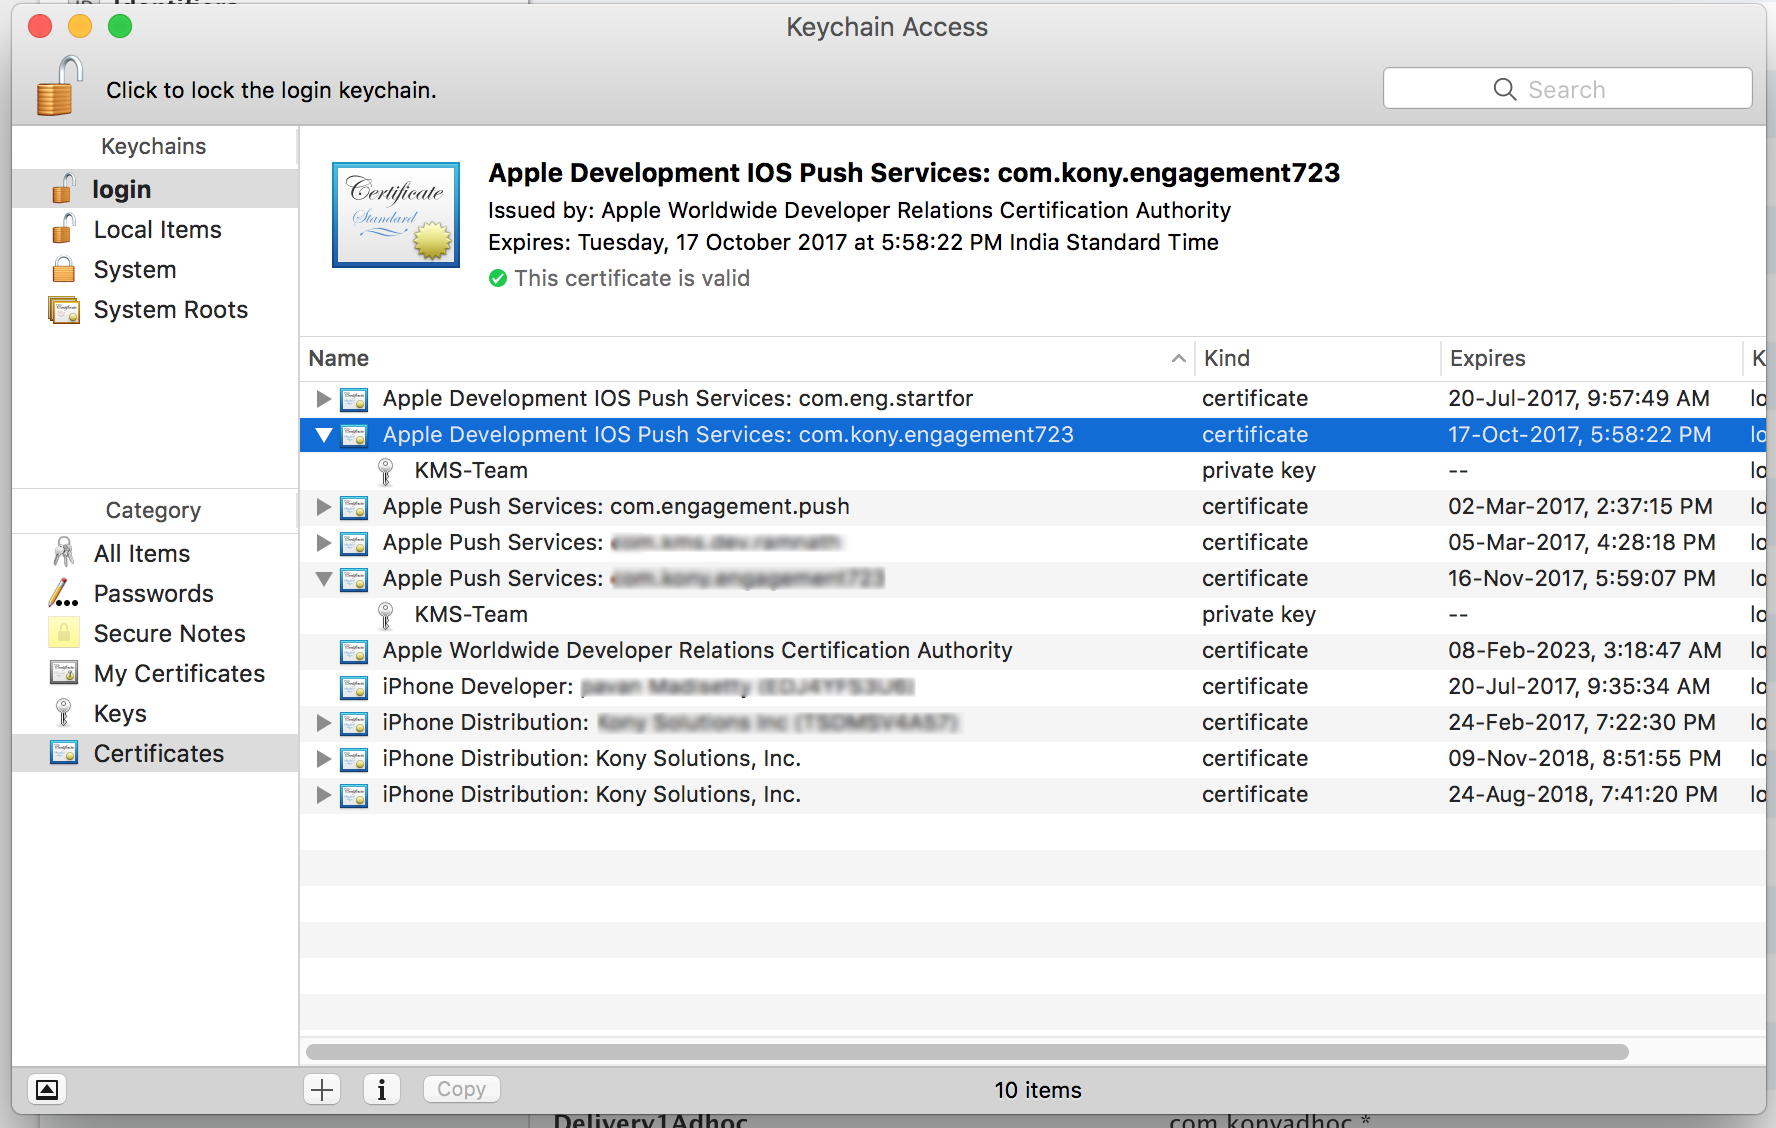
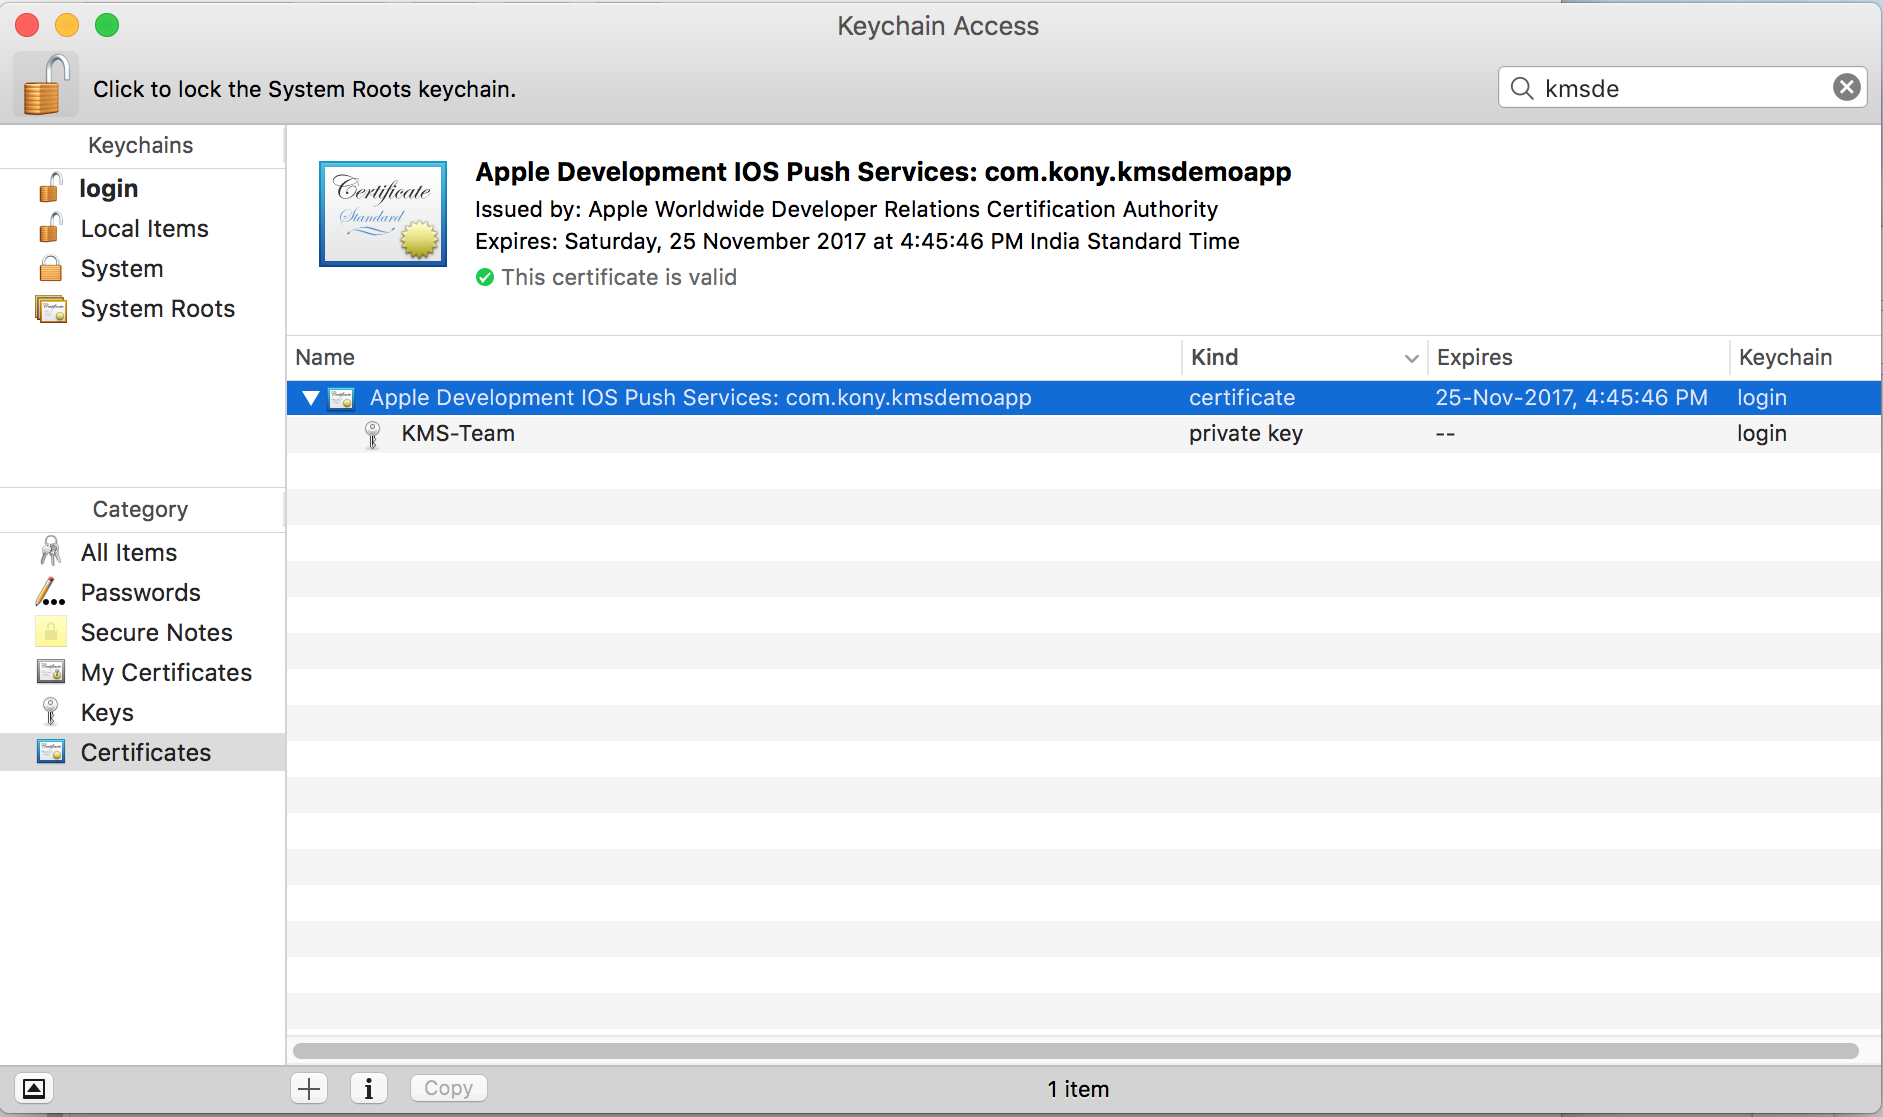
- To view the certificate in the Keychain, launch the Keychain Assistant and filter by certificates category. The push certificate is displayed.
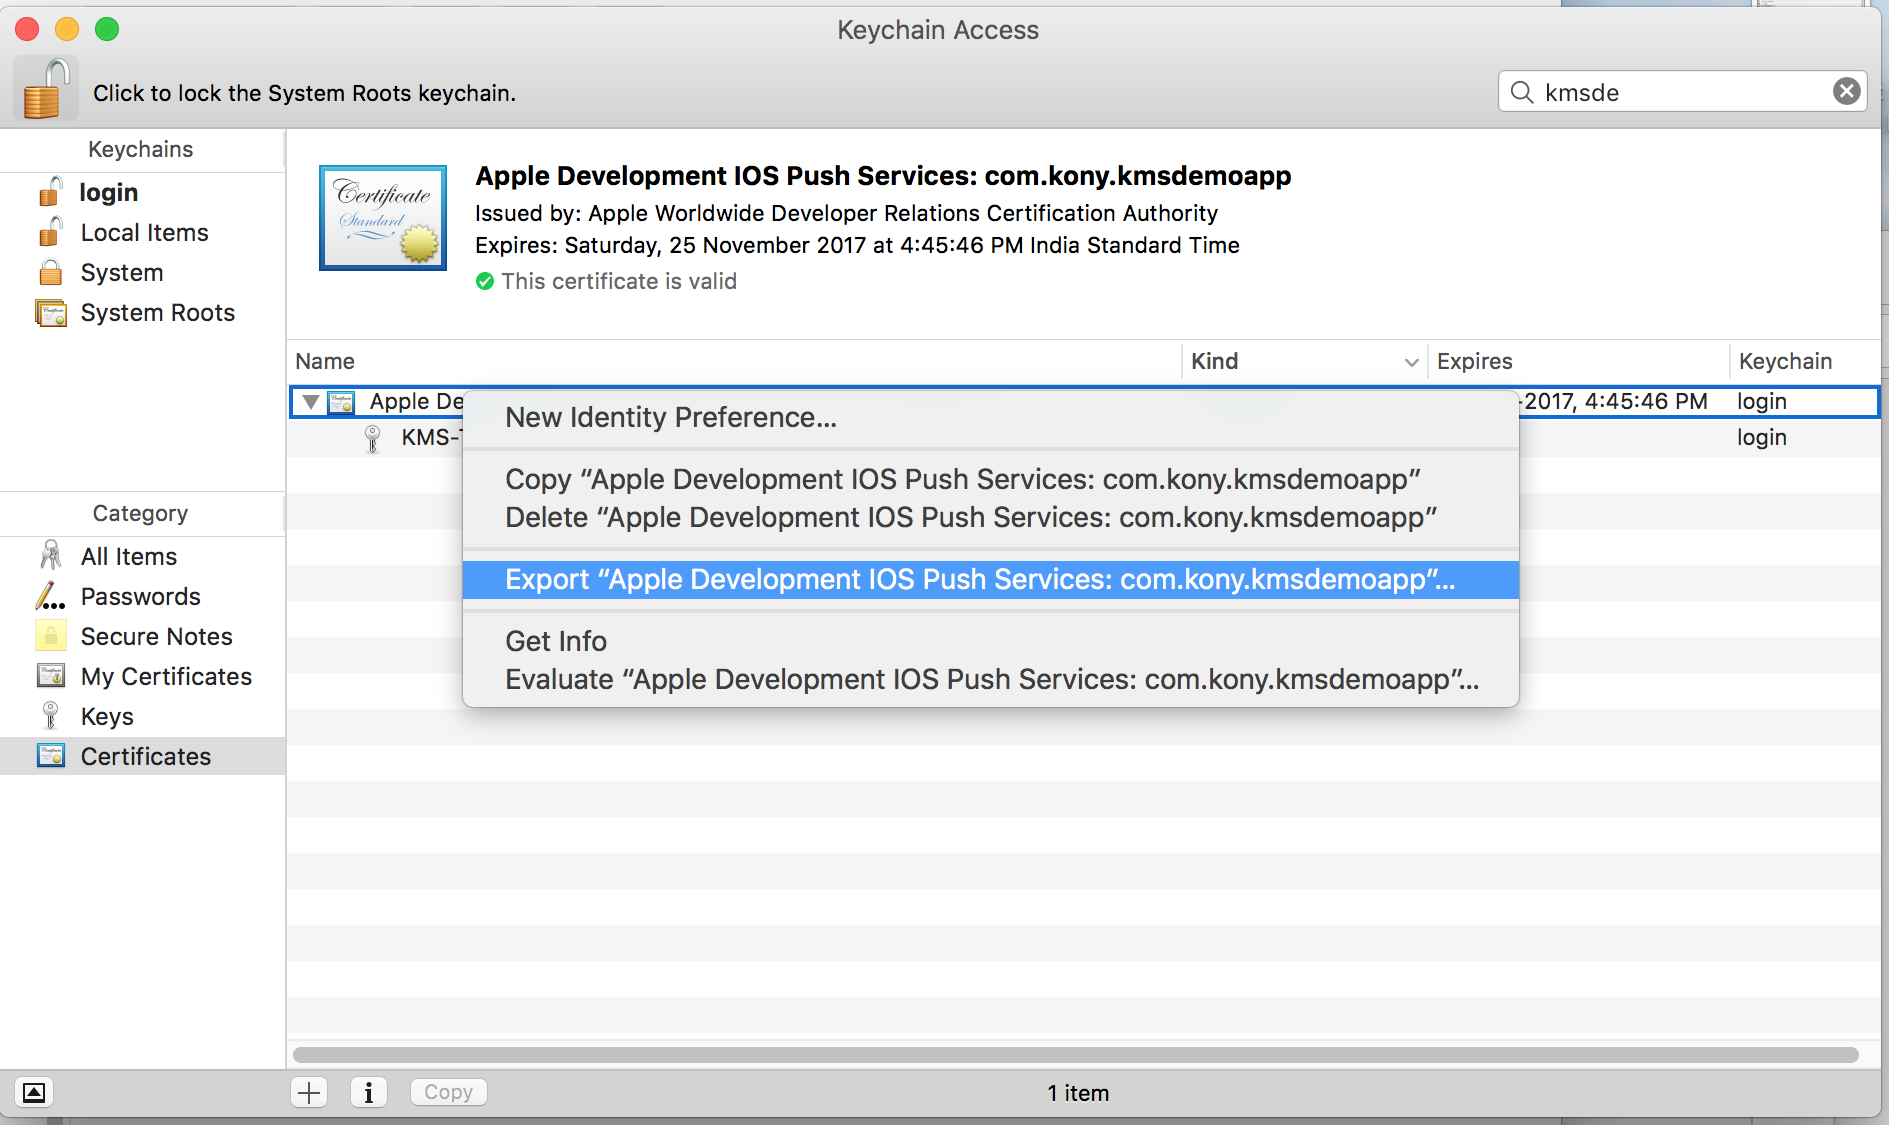
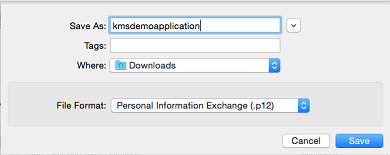
- Right-click the certificate and click Export Apple Production iOS Push Services:com.kony.kmsdemoapplication to export the certificate.
- Enter the file name and the location where the file is to be saved and click Save.
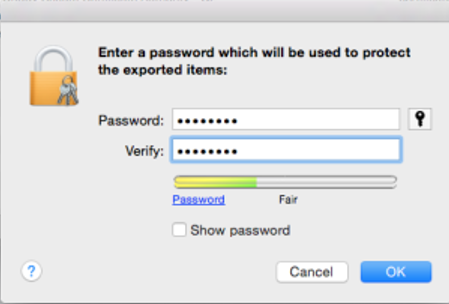
- Enter the password and click OK to continue.
- Enter your admin password for your computer and click Allow. This will cause the certificate to be exported to the folder mentioned.