
Generating the Provisioning Profile
A provisioning profile is needed to identify the devices on which the developed application can be deployed. The following steps describe the creation of the provisioning profile for KMS demo application.
- Log in to your developer.apple.com account with your credentials (user ID and password).
- Click Sign In to continue.
- On the Developer Account page, click Certificates, IDs and Profiles in the left pane to continue.
The Certificates, Identifiers and Profiles page appears.
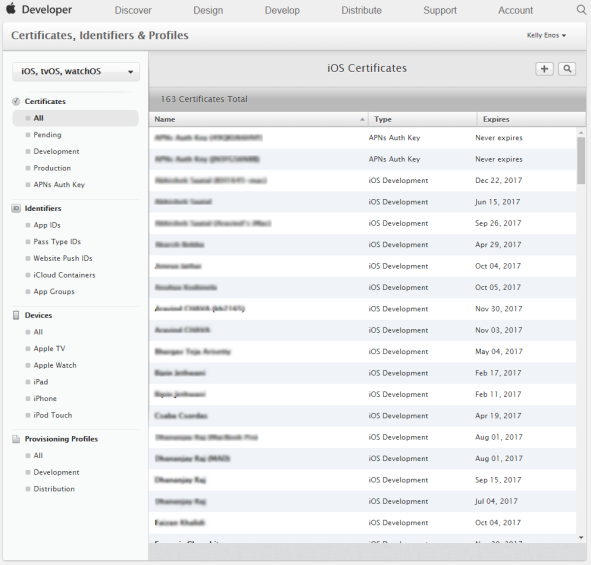
- Click All under the Provisioning Profiles header in the left pane to view all the existing profiles or create new profiles.

- On the upper-right corner of the screen, click the plus sign next to the iOS Provisioning Profiles header to create a new profile.
The What type of provisioning profile do you need? page appears.
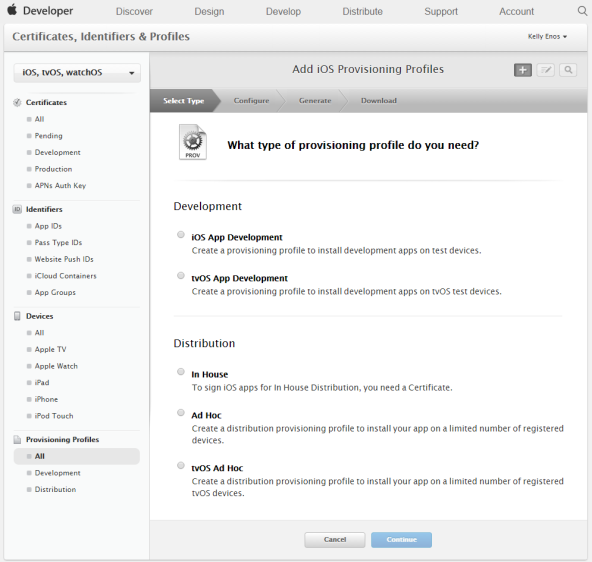
- Select the iOS App Development option under the Development section. Click Continue.

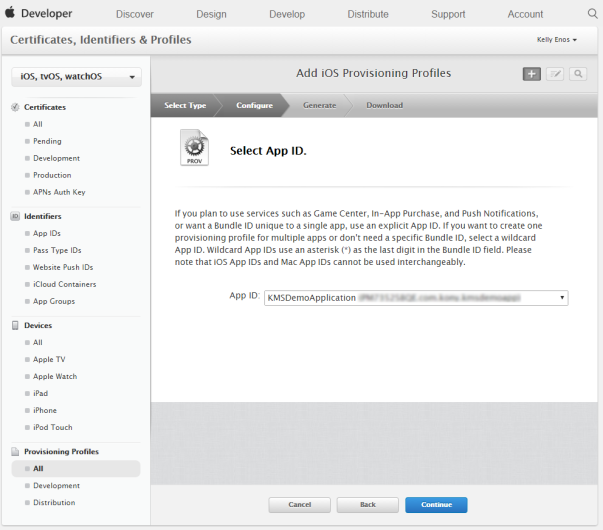
- Select the App ID for which the profile is created from the drop-down list and click Continue.
- The Select certificates page appears. Select the required certificate from the list-view to include in the profile.
NOTE: To install the application on a device, the signed certificate should be included in the profile.
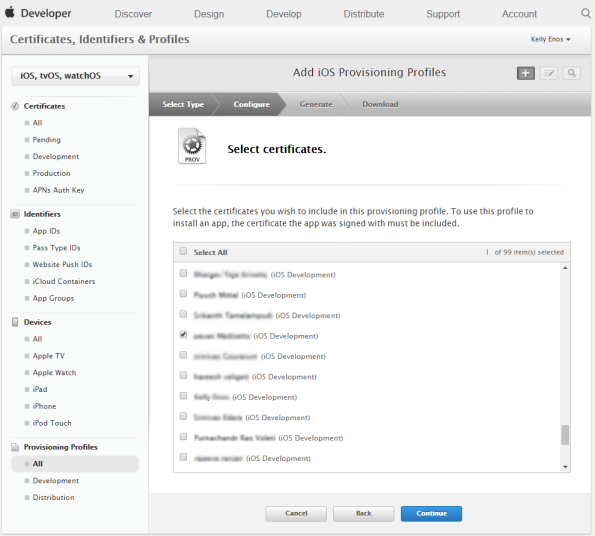
- Click Continue.
- The Select devices page appears. Select the device on which you need to install the application.
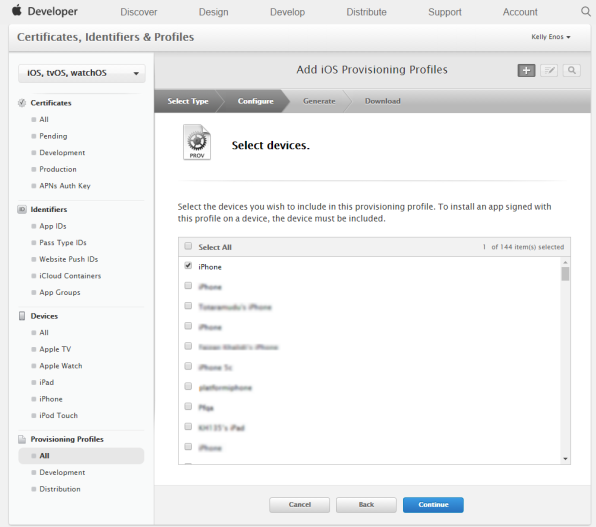
- Click Continue.
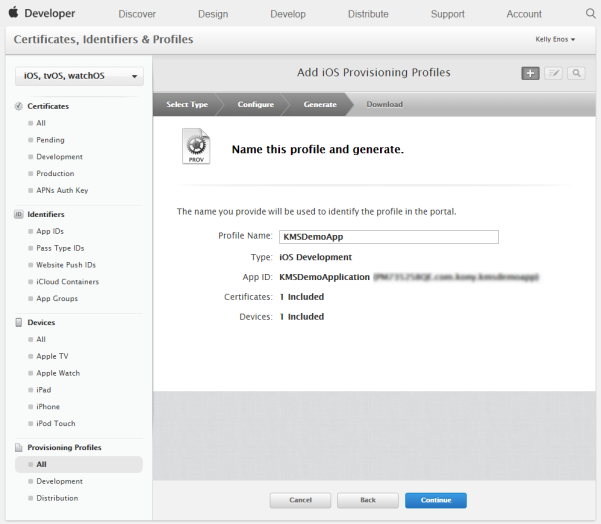
The Name this profile and generate page appears.
- Profile Name: Enter the profile name and click Continue to create the provisioning profile for the selected certificate and the device.
The Your provisioning profile is ready page appears.
- Click Download to download the profile.
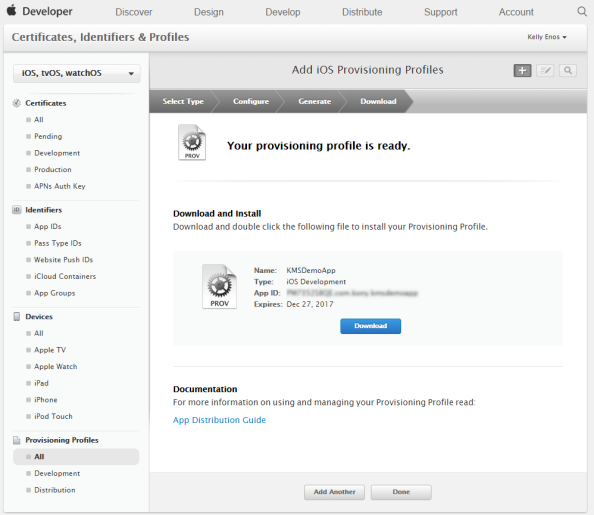
- Click Done. The system displays the newly added provisioning profile in the list-view.
