Configuring the Engagement Demo Application Using Engagement Services Console
The section explains how to provision the Engagement demo application using the Engagement services console.
To configure the Engagement demo application follow these steps:
- Open an Internet browser.
- Enter the URI: manage.kony.com in the address field and press the Enter key
The Sign in to your Kony Account page appears.
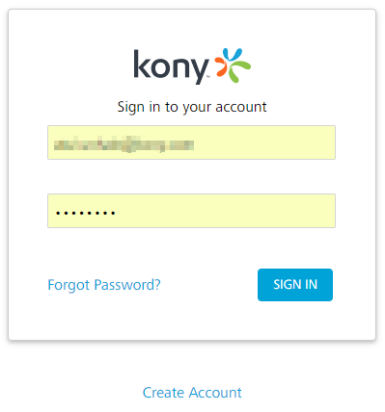
- Enter your email ID and password as user-credentials.
- Click the Sign in button to continue.
The system displays the Kony Fabric homepage.
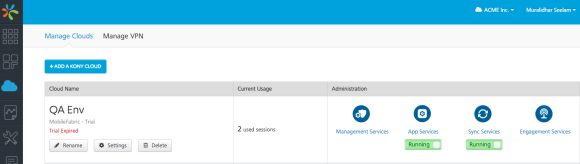
- Kony Fabric home page: Click Environments in the left panel.
The Clouds page appears.
- Click the Engagement Services tab next to the Sync Services tab.
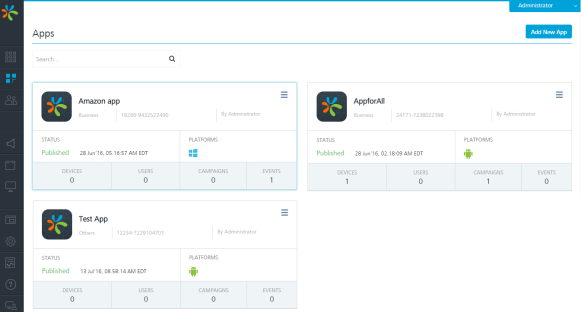
- Engagement services: In the left panel, click Apps under the Overview section. You can view all the configured applications and configure new applications.
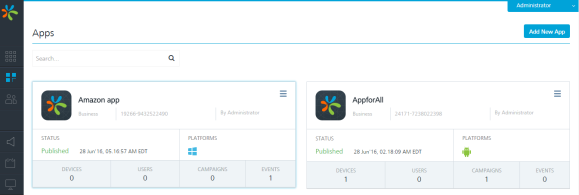
- Click the Add New App button to configure a new app.
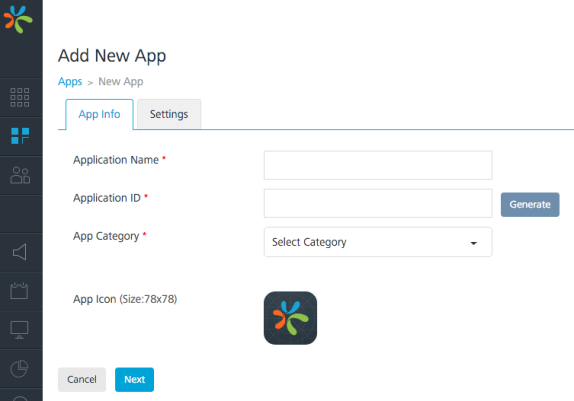
The Add New App page appears with the App Info tab set to active.
- App Info: Enter the following details.
- Application Name: Enter the application name.
- Application ID: Click the Generate button to populate the system- generated application ID. You can enter the application ID manually in the text field.
- App Category: Select the app category from the drop-down list.
- App Icon (Size: 78x78): Click the Browse button to navigate to the image file location and select it.
- Click the Settings tab and choose Android to display the Android screen.
- There are 2 modes:
- FCM Legacy
- GCM/FCM Authorization Key: Enter the GCM/FCM authorization key. The GCM/FCM key is required to send push notifications to apps.
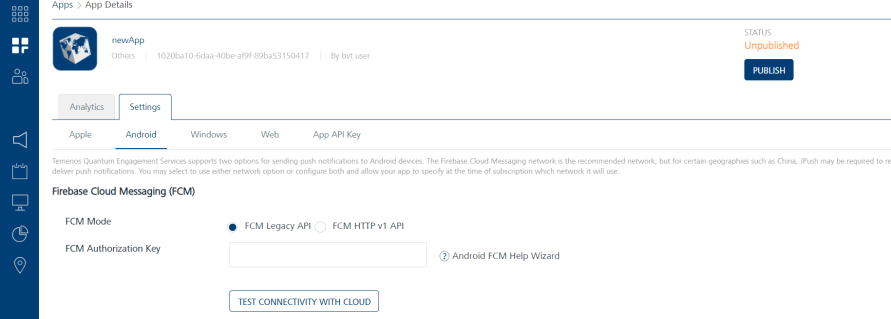
- Click TEST CONNECTIVITY WITH CLOUD to verify the entered key.
- If the entered GCM/FCM key is correct, the system displays the confirmation message that the cloud connection is successful. Click Ok to continue.
- FCM HTTP v1
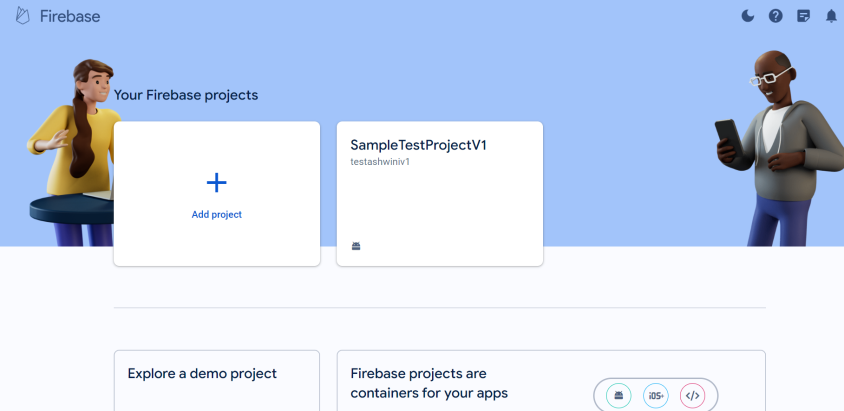
- Log in to the Firebase account.
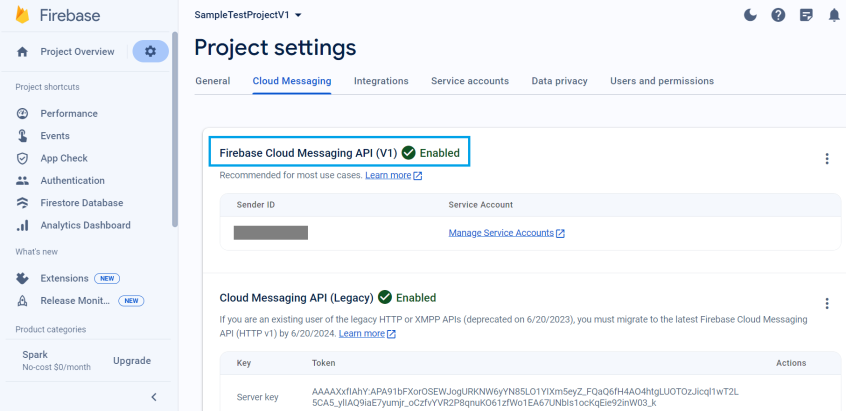
- Go to the app being used, and enable Firebase Cloud Messaging API (V1), if not enabled already.
- Extract the below information:
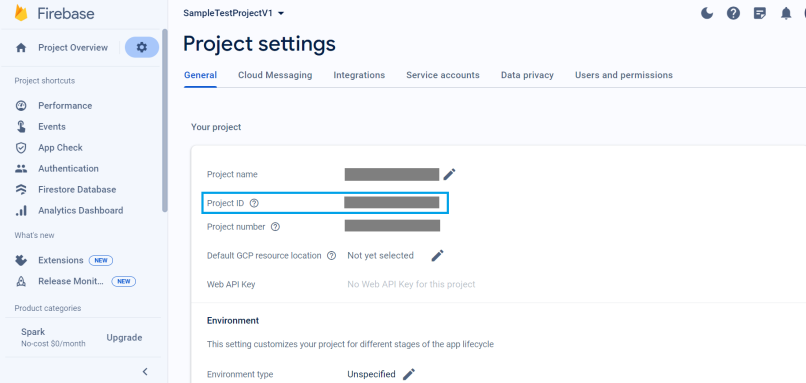
- Project ID : Go to Project settings > General > Project ID at https://console.firebase.google.com/.
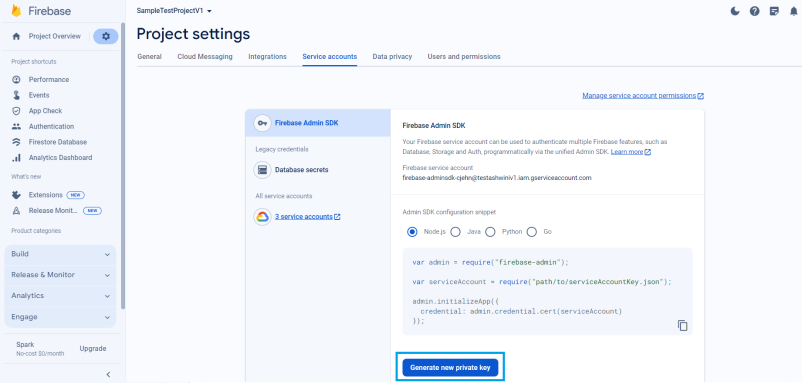
- Google Application Credentials : Go to Project settings > Service accounts > Firebase Admin SDK > Generate new private key to open a JSON file at https://console.firebase.google.com/.
- Project ID : Go to Project settings > General > Project ID at https://console.firebase.google.com/.
- In Fabric Console, go to App > Configuration Services > Engagement > Android. Under Firebase Cloud Messaging (FCM), select FCM Mode as FCM HTTP v1 API, and enter the FCM Project ID and FCM Google Creds Json extracted at point 3, then save and publish.
Alternatively, in KPNS, go to App > Settings > Android. Under FCM section, select FCM Mode as FCM HTTP v1 API, and enter the FCM Project ID and FCM Google Creds Json extracted at point 3, then save and publish.
NOTE:The following Platform Specific Properties may not work for FCM HTTP v1:
- "delay_while_idle" property has been deprecated and its functionality is handled by FCM itself in HTTP v1.
- "restricted_package_name" and "collapse_key" on the other hand aren't directly available in FCM HTTP v1 and have been deprecated.
Any values provided for these keys will hence be ignored for FCM HTTP v1.
NOTE:Few URLs need to be whitelisted by the server for FCM HTTP v1 to work:
- Log in to the Firebase account.
- There are 2 modes:
- Click Save to save the application.
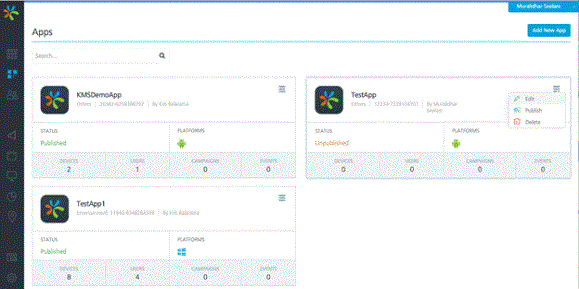
The application appears on the Apps home page. In the example below, the newly added app is TestApp. The current status of the application is unpublished. You need to publish the app to receive push notifications.

- On TestApp, in the upper-right corner, click the drop-down list and choose the Publish option to publish the application.
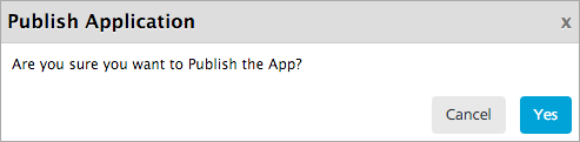
- The system displays the Publish Application dialog box asking, if you want to publish the application. Click Yes to continue.
The current status of the app changes to published.