
Enroll Windows Phone 8 Devices
To enroll Windows Phone 8 devices, follow these steps:
Note: If an enrolled phone 8 device is upgraded to phone 8.1, the user's device record on EMM must be deactivated by the administrator and the user should enroll again.
Enrollment
The built-in MDM agent in the operating system is used to enroll the device. After the device enrolls successfully, system pushes the enterprise store application onto the device.
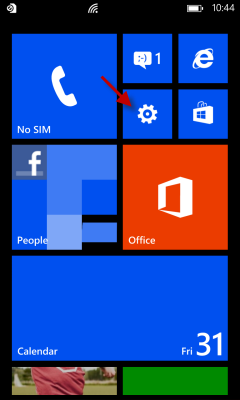
- Tap the Settings icon to open Settings screen on the device.
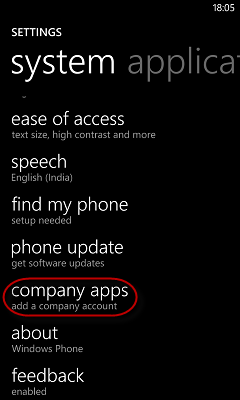
- Tap the company apps link to open company apps screen.
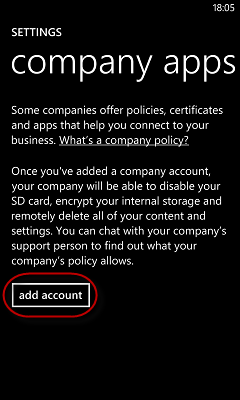
- Tap add account to continue.
Important: For Nokia Windows Phone 8 device enrollments, Nokia account registration is a pre-requisite.
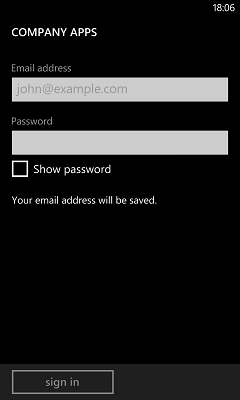
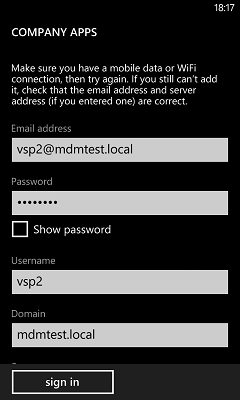
- Enter your credentials in the following fields:
- Email Address: Enter your email address.
- Password: Enter your password.
- Tap Sign in to continue.
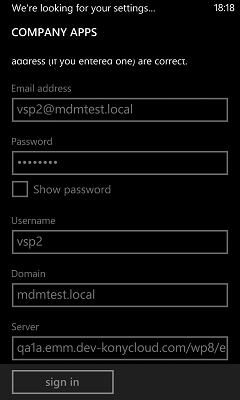
Username, Domain and Server fields appear.
- Enter details in the following fields:
- Username: Enter your User name.
- Domain: Enter your domain.
- Enter the Server address and tap sign in to continue.
System verifies the entered credentials and displays the confirmation message.
Important: Server name is should be your server URL, device name and your enroll enrollment endpoint. For example, yourcompany.com/wp8/enroll
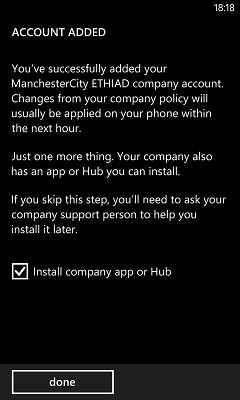
- Once, credentials are verified, Account Added message is displayed. Tap done. The enrollment process is now complete.

- You can return to the home screen.
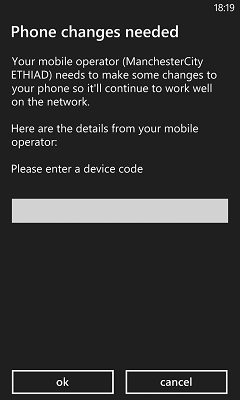
- Enter a code of your choice and remember to enter the same when prompted from the enterprise store application.Tap OK to continue.
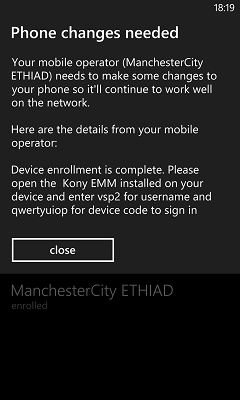
- Tap close. Your device is now enrolled.
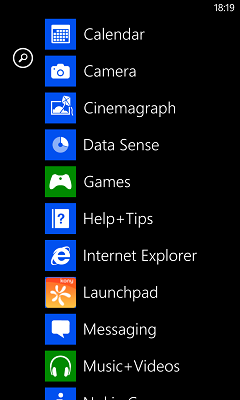
Device screen displays all the available icons.
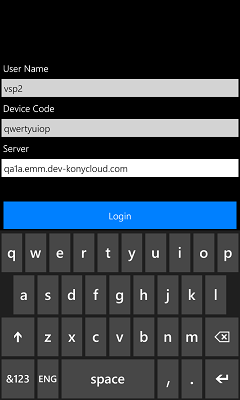
- Once enrollment is complete you need to open the enterprise store application and enter the necessary details.Enter details for the following fields:
- User Name: Enter the user name.
- Device Code: Enter the device code. (The same code of your choice you entered while enrolling). Only ASCII characters are accepted and no other special characters.
- Server: Enter the server address.
- Tap Login to continue.
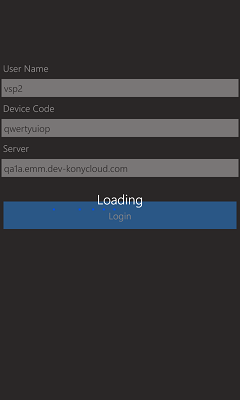
System validates the entered credentials.
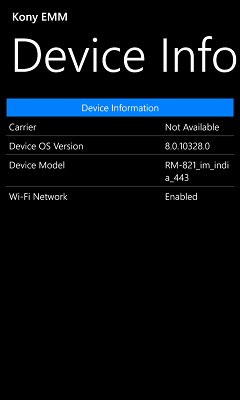
Device info screen appears with following details
The Device Info page displays the complete information of the device. The page displays the following details:
- Carrier (Service Provider with which the device currently works.)
- Device OS Version (Current device OS version)
- Device Model
- WiFi Network (it only defines if the WiFi is enabled or not)
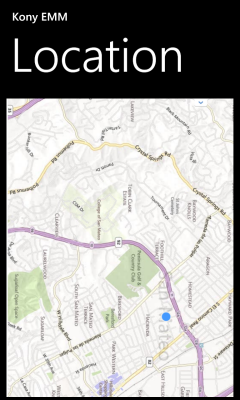
- Tap the Menu button to navigate to the Location screen. This screen displays the location details on a map. You can use the zoom tool to change the size of the visible area.
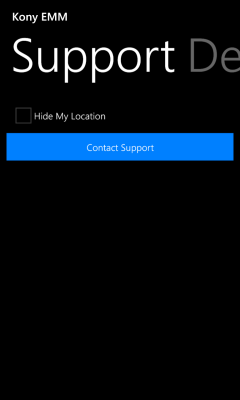
- Tap the Menu button to navigate to the Support screen. When a user wishes to get support through the device agent, the communication is enabled through email option only.
| Copyright © 2018 Kony, Inc. All rights reserved. |