
Invoking Services from a Mobile Application
You are almost good to go! Now that your server pieces are complete, you can connect your client application to the Kony Fabric app and get your application up and running!
Once all services are configured and tested, connect your app to the client code by adding the required invocation code into your mobile app. This chapter will teach you the best options available to get your client app connected to your services.
Deploying your Kony Fabric Application
To start using your Kony Fabric application, you will need to deploy the created Kony Fabric application. This can be done thru the Publish tab in your application. The Publish section manages the clouds where your service deployment is available for use. You can use this section to publish or unpublish your services deployment, and make any runtime configurations if you wish.
Follow the steps to Publish your Application:
- Go to the Publish tab of your application.
- In this view, you will see the list of supported Environments where you can deploy your application. Select the environment where you wish to deploy your services, and click PUBLISH.
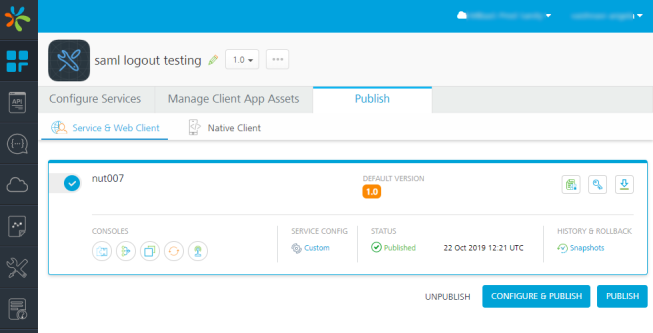
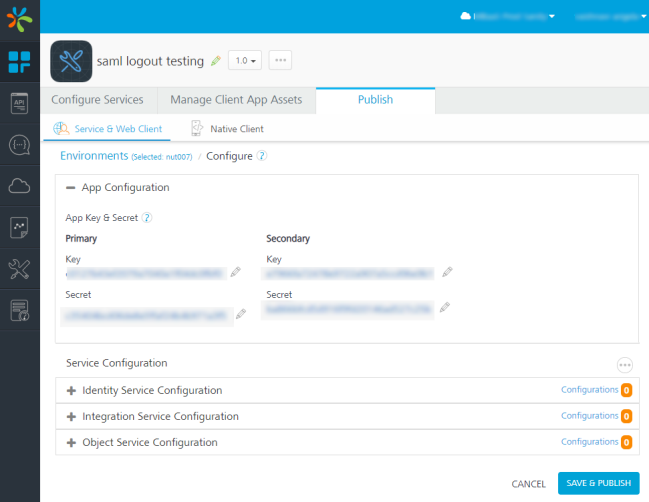
- You can also click Configure and Publish to configure your services. After configuration, click SAVE & PUBLISH to deploy your application.
- After the app is published, a dialog box appears. From the Publish Progress dialog box, retrieve the
App keyandApp secret. You need to add the app key and app secret into your client application to invoke Kony Fabric services.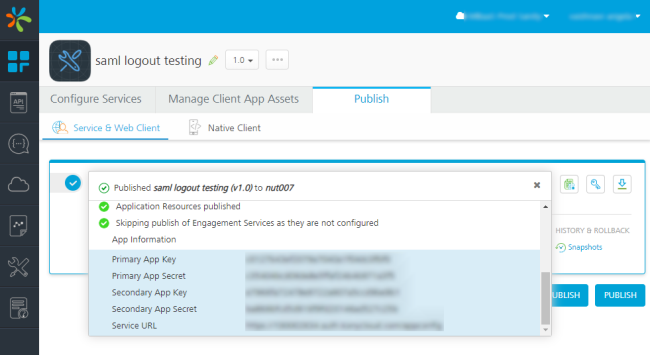
Adding Kony Fabric APIs in the Mobile Application
To see your mobile app in action with a live backend, you need to add the required SDK invocation calls for your service. For our Kony Mobile application to be connected to Kony Fabric backend, you need to perform the following steps:
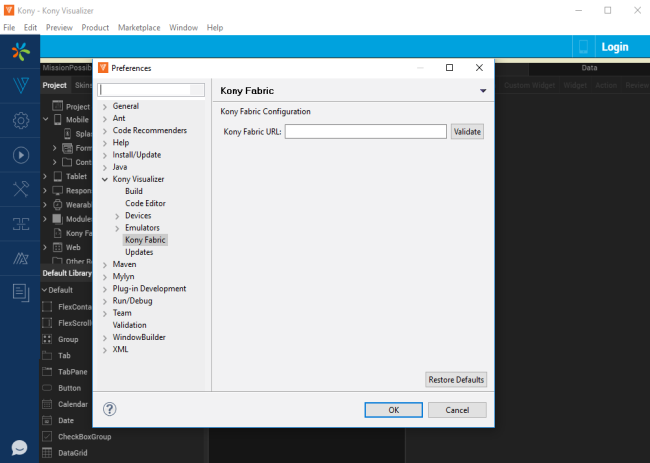
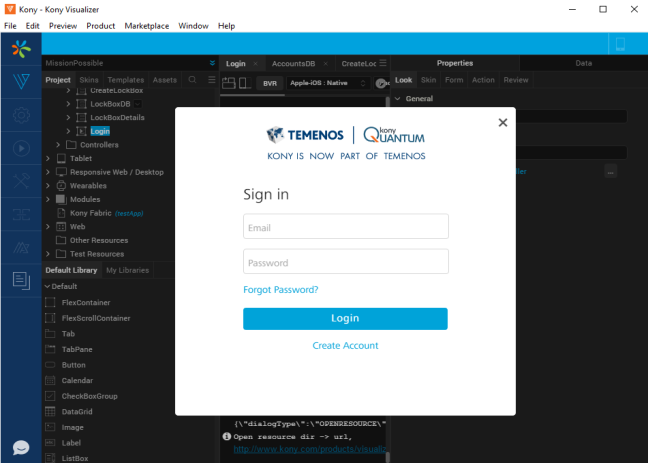
- Open the Kony Client application in Kony Visualizer. Configure Kony Fabric URL in the Project Properties of your application.
- Login to console using the Login button at the top-right of Kony Visualizer.
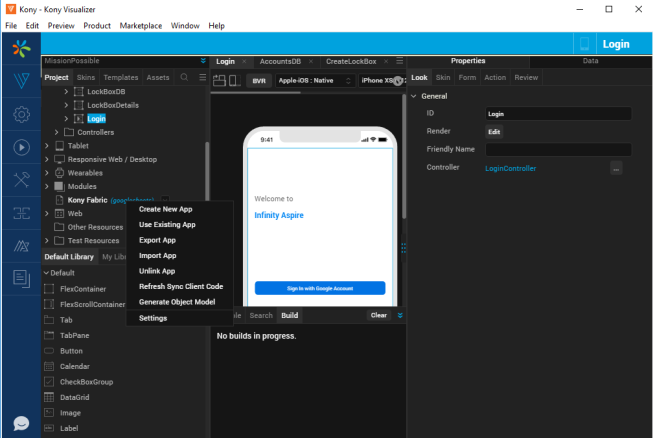
- Connect the client application to Kony Fabric backend.
You can do this in Kony Visualizer by selecting the Kony Fabric section in the Project Explorer, and select Use Existing App.
- This will bring up a list of services. Click Associate to select your Kony Fabric application.
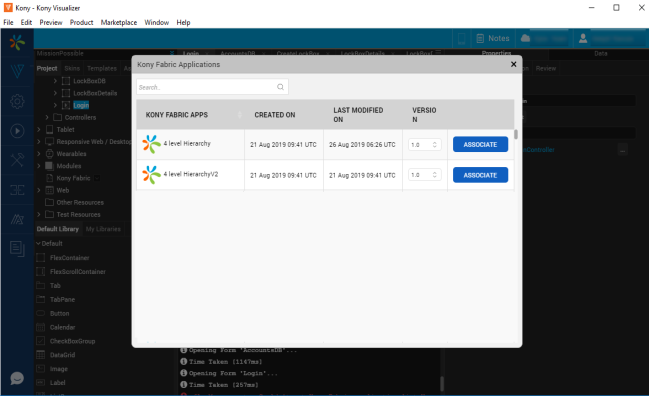
- Now your client application and backend services are connected.
- Next, build your Visualizer application. This step will initialize Kony Fabric SDK for you.
- Call your Kony Fabric APIs.
The quickest way to get started using Kony Fabric APIs, is to use the Auto-generated code available with every service and operation. The Sample code can be accessed from Kony Fabric console using the below menu:
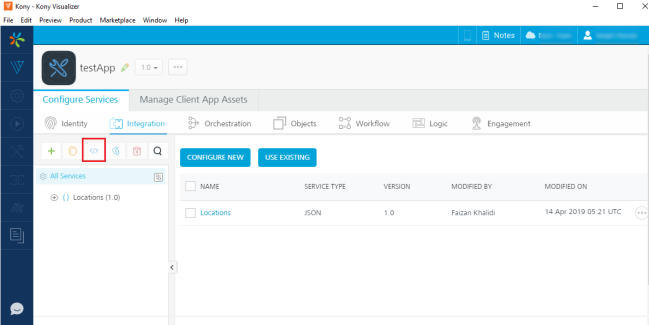
The sample code for each service and operation can be accessed and added into your Frontend application.

Note: Sample code snippet for selected operation: You are done! Re-build your application and try it out!
Kony Fabric also supports iOS and Android Native, and PhoneGap applications. To view sample code for other platforms, access the service or operation through Kony Fabric console and use the Sample Code menu option.
| Copyright © 2017 Kony, Inc. All rights reserved. |