
How to Add Applications
To add an app to your Quantum Fabric, follow these steps:
- Go to https://manage.kony.com.
- Provide your Quantum account login credentials, and then click Sign in. After validating your credentials, you are directed to your Quantum Fabric cloud account.
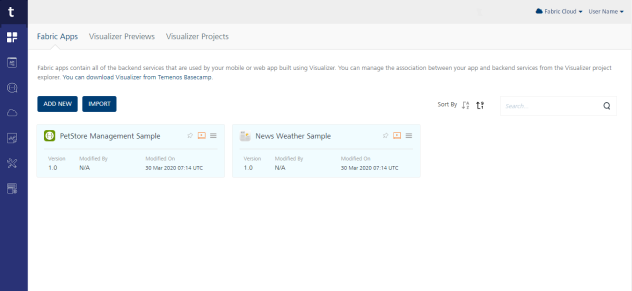
- From Quantum Fabric Console's left pane, click Apps. In the right pane, the Fabric Apps page appears. By default, the Fabric Apps page appears listing existing apps.
The Visualizer Previews page lists the test live previews that you performed in a particular Cloud account. Quantum Visualizer supports the Run Live Preview option that you can use to preview a prototype of your Visualizer application.
For more information on How to user Live Preview in Quantum Visualizer, refer Live Preview- The Visualizer Projects page lists the projects that you published to a particular Cloud. The Project tab in Quantum Visualizer contains the Export > Cloud Project option.
For more information on How to share a project on the Cloud, refer Publish your project to the cloud
- In the the Fabric Apps page, click ADD NEW. By default, the Configure Services tab is selected.
NOTE: From Quantum Fabric V8 SP4, you can pin your favorite apps for quick access on the Apps page by clicking the Pin To Dashboard button of an app. So, the next time you log on to Quantum Fabric, you will notice that all the last pinned apps are available on the Apps page (Dashboard).
IMPORTANT: You can access your favorite pinned apps until you clear the cookies from your browser. You cannot access the apps you pinned in one browser by logging in from another browser or a private browser.
- A new app is added, and you are directed to the Identity page of the new app. From here you can manage an app and add services to your app.
- Manage your app as follows:
- Click the Image button to select an image from your local machine.
NOTE: The image size should be less than 20 KB.
- Click the Sample Code button to view the sample code of your app.
- Click the Edit App Name button to provide a unique name for your app.
- Click Console Access Control button to control the access to the applications and services of apps.
- Click the Delete button to delete the app from your account.
- Click the Import button to import an app to your account.
- Click the Export button to export the current from your account.
- Under the Configure Services tab, add and configure Quantum Fabric services.

You can add and configure the following services under the Configure Services tab:
After you add services to your app, you can also do the following from an app page:
- Click the Image button to select an image from your local machine.
- Manage your app as follows: